Camping Food
10 Camping Recipes That Don’t Require a Refrigerator

Camping is a wonderful way to fully appreciate nature’s beauty and enjoy the great outdoors. One fun aspect of camping is cooking over a campfire. However, cooking can become challenging if not properly prepared. One commonly forgotten factor is the lack of refrigeration while camping, which can make preparing favorite dishes more difficult. Learn how to make 10 **amazing camping recipes without needing a refrigerator**! Discover new ways to enjoy delicious meals while exploring the wilderness.
What Camping Recipes Don’t Require a Refrigerator?
It’s the middle of summer and you’re out camping with your friends. You’ve been looking forward to this trip for weeks, and it’s finally here! You set up your campsite and start cooking dinner. However, when you go to get your food from the cooler, you realize that all of your food is spoiled. What do you do?
You could try to find a grocery store in the area, but you don’t want to leave the campground. You also don’t want to eat anything that’s been cooked over the campfire. Luckily, we have some great camping recipes that don’t require a refrigerator! So, instead of going hungry, try one of these recipes.
Here are 10 camping recipes that don’t require a refrigerator:
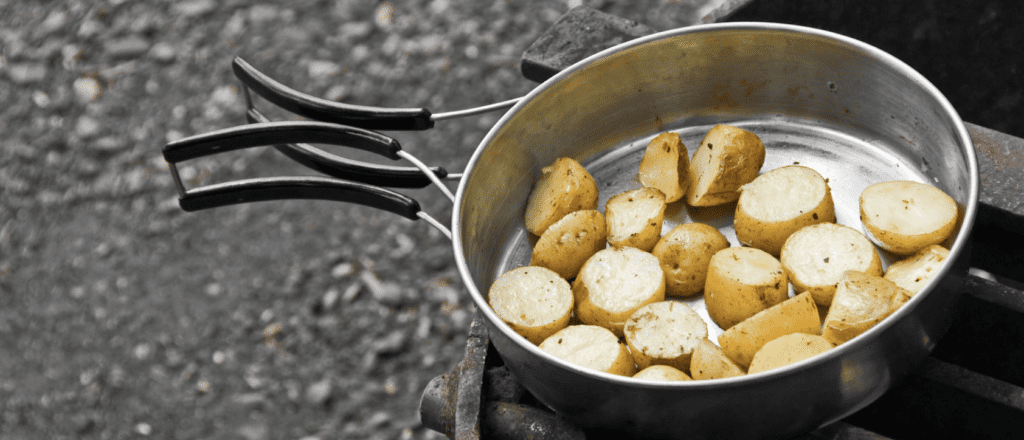
Campfire Potatoes
This is a classic camping recipe that doesn’t require any refrigeration. All you need are some potatoes, butter, and salt!
Ingredients:
- Potatoes – diced into small pieces (about the size of a quarter)
- Butter – melted or in the sun until it’s soft enough to spread with your fingers like an oil slick on water
- Salt to taste (optional)
Directions:
- Wash your hands and clean them with soap or hand sanitizer. Then, wash the potatoes under running water before dicing them into small pieces about four inches square each cut piece will make two servings). I like using Russet Potatoes because they have a higher starch content so they hold their shape better when cooked, but any type of potato will do.
- Place the diced potatoes in a large ziploc bag or a bowl and pour melted butter over them making sure to coat all of the pieces. Add salt if desired (I like using garlic salt).
- Close the bag tightly (or cover the bowl) and shake or stir until all of the potatoes are coated with butter.
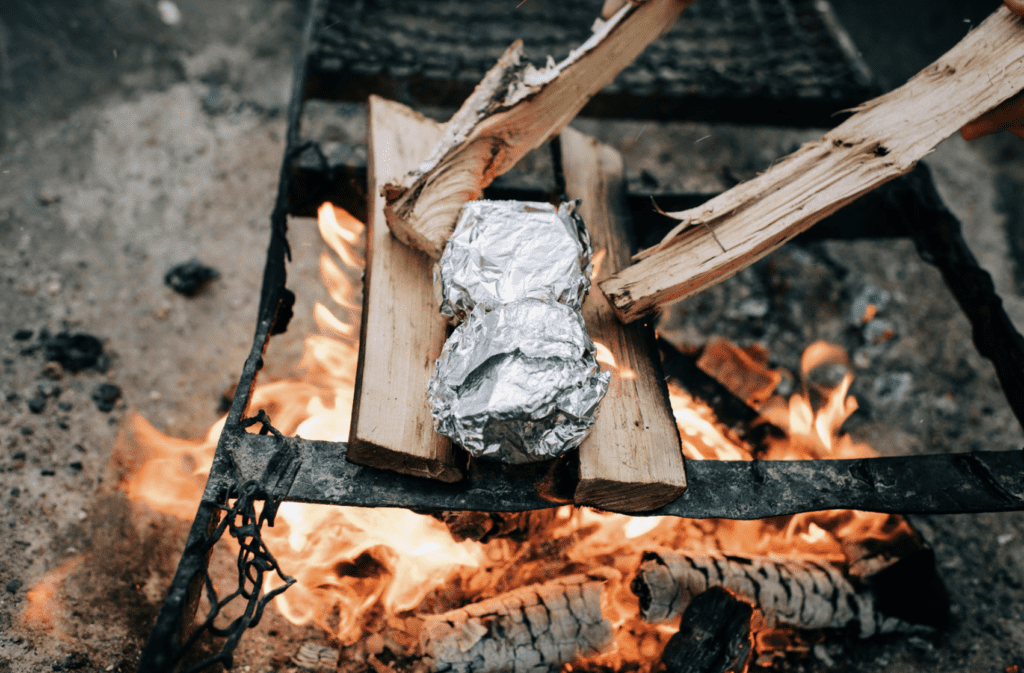
- Spread out a piece of heavy-duty aluminum foil (at least 12 inches square). Place the potato mixture in the center, and fold up the edges of the foil so that it makes a little pouch. Make sure that there aren’t any holes poked into the foil or it will leak butter when cooked on hot coals (and we don’t want that!).
- Place this pouch directly in your campfire’s hot ashes for up to 20 minutes. To check if they’re done, open up one of the pouches and see how soft the potatoes are (they should be tender enough to eat with a fork). If they’re not done yet, replace the pouch and cook for another five minutes.
- Once they’re done, remove them from the campfire and enjoy!
Variations:
- Instead of butter, try using olive oil or canola oil.
- Add some shredded cheese, bacon bits, or green onions to the potatoes before cooking them.
Add some spices like garlic powder or paprika for extra flavor!
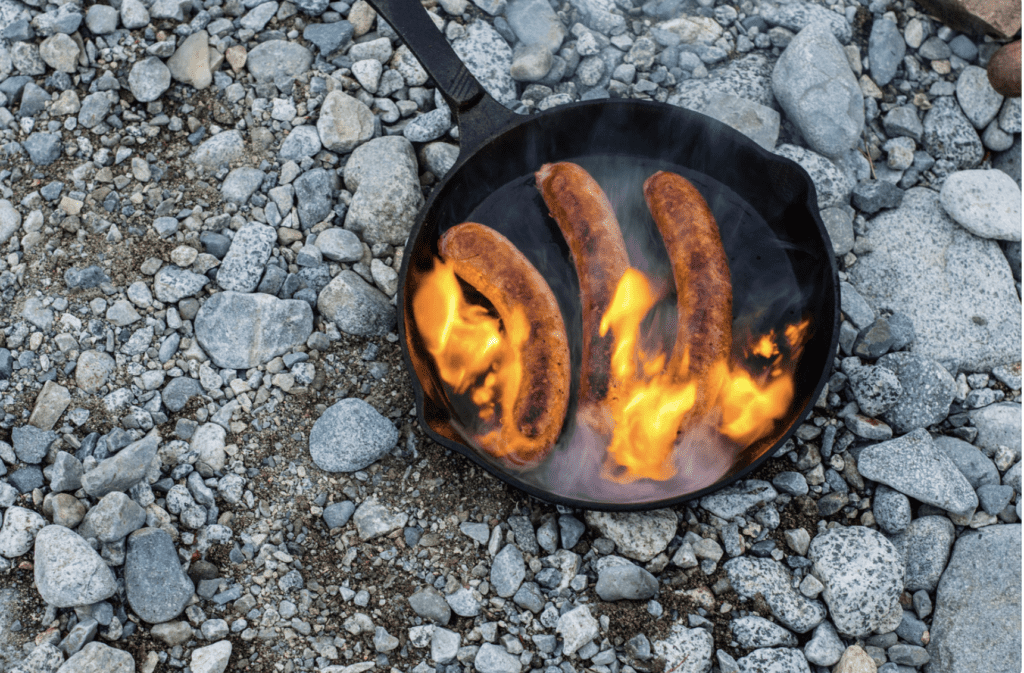
These potatoes are delicious on their own, but they also go well with sausages and hot dogs cooked over the fire too! You can even make a complete meal out of this recipe by adding chili beans to your potato mixture before wrapping it up in foil and cooking it over hot coals.
We hope that you enjoy this recipe! If you try any variations, please let us know how they turn out! Happy camping 🙂
Hot Dogs
Ingredients:
- 1 package hot dogs
Instructions:
- Grill or fry the hot dogs.
- Serve with your favorite toppings.
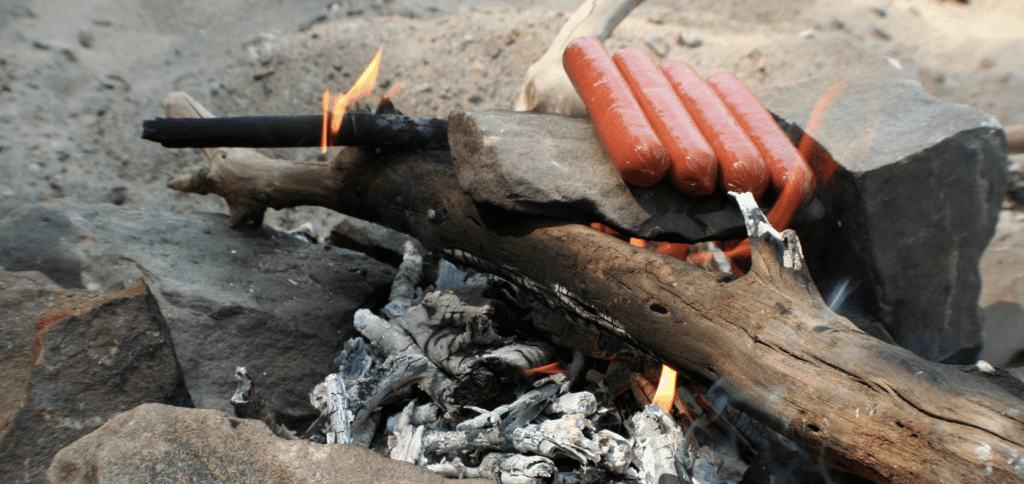
Variations: For a spicy version, try using Italian sausage instead of regular hot dogs. You can also add some chili beans to the mixture before wrapping it up in foil and cooking it over hot coals. If you’re feeling adventurous, swap out your standard condiments for something more exotic like mango chutney or guacamole!
Grilled Cheese Sandwiches
Ingredients:
- 8 slices bread
- 4 tablespoons butter, softened
- 8 ounces cheddar cheese, shredded
Instructions:
Butter one side of each slice of bread. Place cheese on unbuttered sides of bread, and close sandwiches with buttered sides out. Grill sandwiches over medium heat on a griddle or in a skillet until golden brown, about 3 minutes per side.
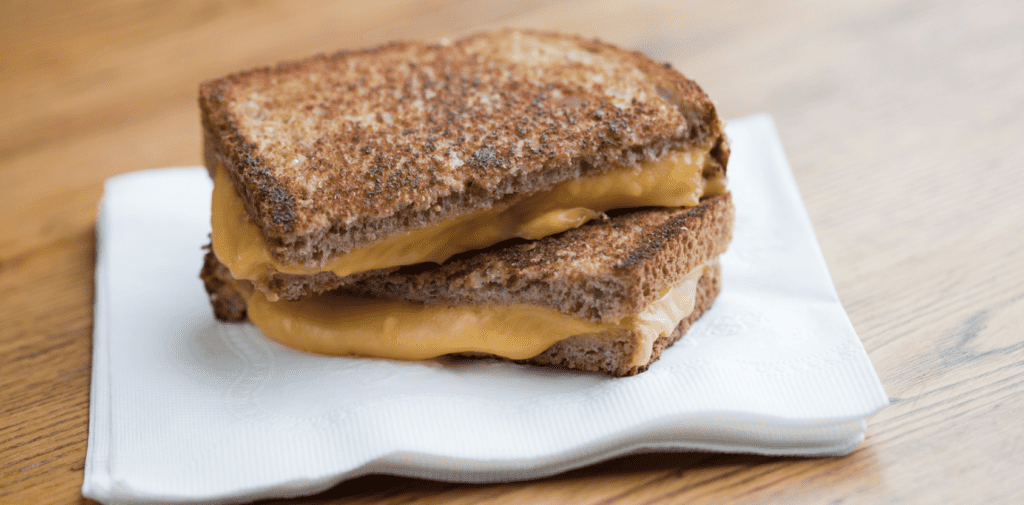
Variations: Try using different types of cheese for your grilled cheese sandwiches! We recommend using something like Swiss, brie, or blue cheese. You could also add some sliced ham, turkey, or bacon to the mix!
Chili Con Carne
Ingredients:
- 1 pound ground beef
- 1 large onion, chopped
- 3 cloves garlic, minced
- 1 green bell pepper, chopped
- 2 tablespoons chili powder
- 1 teaspoon cumin
- 1 teaspoon oregano
- 1 teaspoon salt
- 1/2 teaspoon black pepper
- 2 cups beef broth
- 1 can (15 ounces) kidney beans, drained and rinsed
- 1 can (15 ounces) black beans, drained and rinsed
- 1 can (15 ounces) pinto beans, drained and rinsed
- 1 can (14.5 ounces) diced tomatoes, undrained
- 1/2 cup chopped fresh cilantro
Instructions:
In a large pot over medium heat, cook the ground beef until it’s no longer pink. Drain off the fat and return the meat to the pot with onions, garlic, green pepper, chili powder, cumin, oregano, salt and black pepper. Cook for about five minutes or until vegetables are tender-crisp stirring occasionally; drain any excess liquid if necessary.
Add the beef broth and bring to a boil; reduce heat, cover pot tightly with aluminum foil and simmer for 30 minutes or until liquid is reduced by half.
Add kidney beans, black beans, pinto beans to chili along with tomatoes (with juice) plus cilantro. Bring back up to a simmer then remove from heat immediately; serve hot.
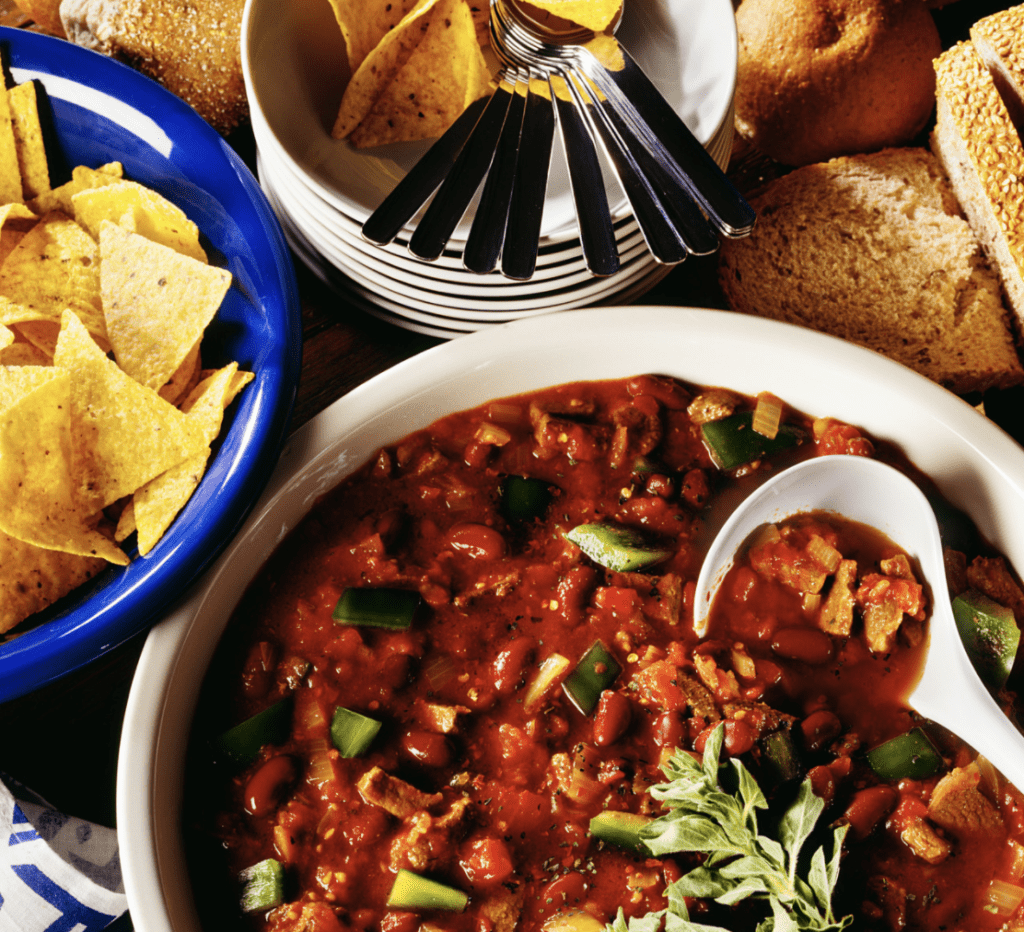
Variations: You can add other types of beans to this recipe if you like, such as garbanzo or white Northern beans! You could also swap out ground beef for ground turkey if desired (or even soy crumbles). Add some chopped green chilis along with the diced tomatoes in step three to give it a little more heat. Top with shredded cheese, diced avocado, or sour cream when serving for extra deliciousness!
Grilled Salmon
Ingredients:
- Salmon fillets (about one per person)
- Olive oil
Salt & pepper to taste (or any other seasonings you like) Instructions: Rub the salmon with olive oil and sprinkle on some salt or pepper. Grill over medium heat for about five minutes per side until cooked through completely but still moist inside when cut open with a fork! Serve hot, cold, or at room temperature.
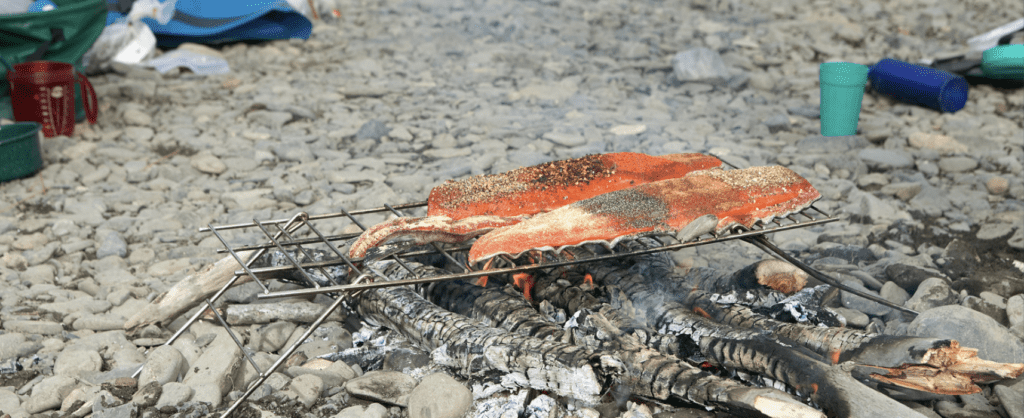
Variations: You can use any type of fish you like for this recipe! Try tilapia, catfish, swordfish, tuna steak…the possibilities are endless! Add some lemon slices to the grill along with your files so that they get nice and charred before serving them alongside those beautiful fillets; it’s delicious in every bite.
Fruit Salad
Ingredients: Apples (cored and cut into cubes) Bananas (peeled and sliced thin) Kiwis (peeled and quart) Strawberries (halved or quartered) Blueberries Grapes (seedless and cut in half)
Instructions: In a large bowl, mix together all of the fruits listed above. Serve chilled or at room temperature. Enjoy!
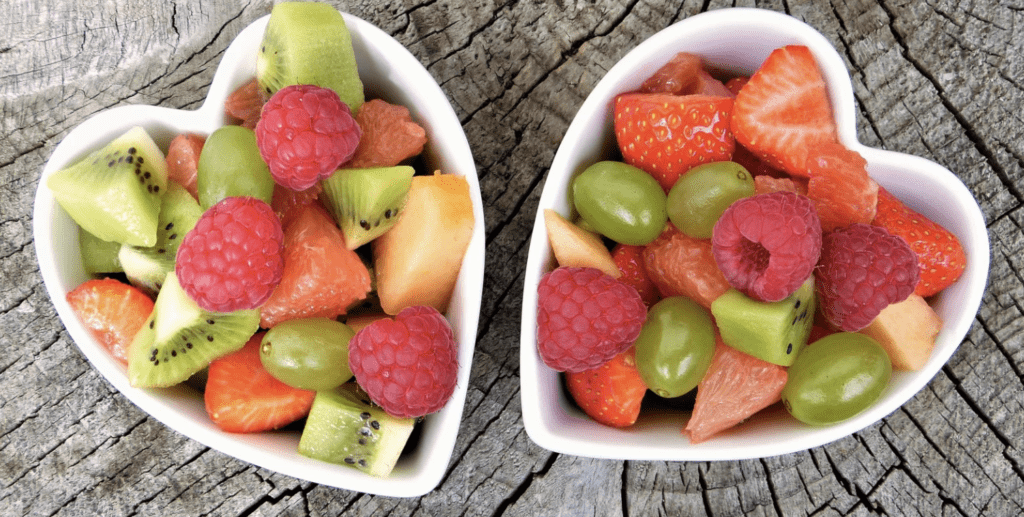
Variations: This recipe is easily adaptable to your taste preferences- feel free to omit any fruit you don’t like, or add in some that you do! We also love adding a little bit of honey or maple syrup when we make our fruit salads for an extra sweetness and flavor dimension. If it’s a hot day, try freezing some of the fruit beforehand so that your salad will be nice and frosty. Add in some chopped nuts or seeds for added texture.
Campfire Bacon and Egg Breakfast Sandwich
Ingredients:
- Four slices of bread Six strips bacon Two eggs Salt & pepper to taste (or other seasonings)
Instructions:
Place the bacon on a sheet pan lined with aluminum foil.
Wrap up tightly so that it’s secure from falling apart during transport; place this in your cooler until ready for use later on.
Heat up oil or butter over medium heat then crack two eggs into frying pans at once with one piece each side by laying them flat next to each other instead of stacking top-to-bottom like normal scrambled eggs would be cooked because it’ll just fall apart that way.
Once the edges of the eggs have started to set, flip them over and let them cook for another minute or two until done; remove from heat. Slice the bread into four equal pieces then assemble your breakfast sammie by layering bacon, egg, and a sprinkle of salt and pepper (or any other desired seasonings). Enjoy!
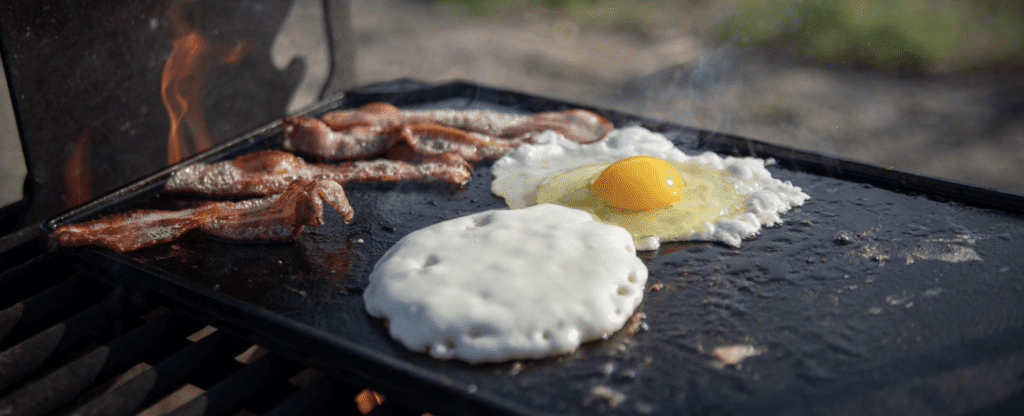
Variations: You could also try using ham or sausage in place of the bacon if you prefer- just make sure that everything is cooked through before assembling your sandwich. Feel free to add avocado, cheese, tomato, or any other desired toppings as well!
Campfire Popcorn
Campfire Popcorn Ingredients:
- One cup popcorn kernels Salt to taste (or any other seasonings)
- Oil for coating pan
Instructions:
- Coat a large pot or dutch oven with oil then heat over medium-high heat until shimmering but not smoking.
- Add in three-quarters of the popcorn kernels and shake them around so they’re well-distributed; cover (lid should fit snugly on top).
- After about five minutes, you’ll hear popping sounds coming from inside your pot which means it’s time to take off the lid and stir everything up again before putting back on top while also shaking every now again as needed during the cooking process–about 30 seconds between each stir/shake.
- Once the popping has slowed down to a couple of pops every few seconds, remove from heat and allow to cool for a minute or two before transferring to a paper bag or bowl. Add salt (or any other desired seasonings) and enjoy!
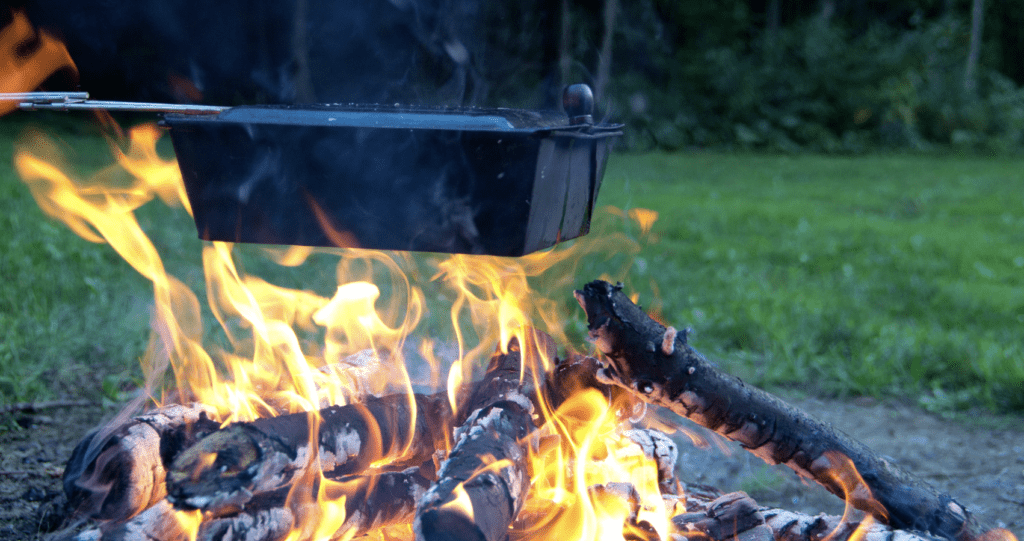
Variations: You could also try different variations of this recipe by adding in some melted butter, sugar, or even chocolate chips into the mix before cooking.
If you have any leftover popcorn after making this recipe, feel free to store it in an airtight container for snacking on later.
Chili
Ingredients:
- Two tablespoons olive oil One large onion, diced Three cloves garlic, minced Two tablespoons chili powder
- One teaspoon cumin Half teaspoon smoked paprika
- One can (14. oz) black beans, drained and rinsed
- One can (14. oz) diced tomatoes
- Two cups vegetable broth or water Salt and pepper to taste
Optional toppings: Shredded cheese Sour cream Sliced jalapeno peppers
Instructions:
In a large pot or dutch oven, heat the olive oil over medium heat until shimmering. Add in the onions and garlic and cook until softened, stirring occasionally.
Stir in the chili powder, cumin, smoked paprika, black beans, tomatoes with their juice, vegetable broth/water, salt, and pepper.
Bring to a simmer then cook for about 30 minutes stirring occasionally. If the chili starts to look too thick, add in a little more vegetable broth/water.
Serve with shredded cheese, sour cream, and sliced jalapeno peppers (if desired). Enjoy!
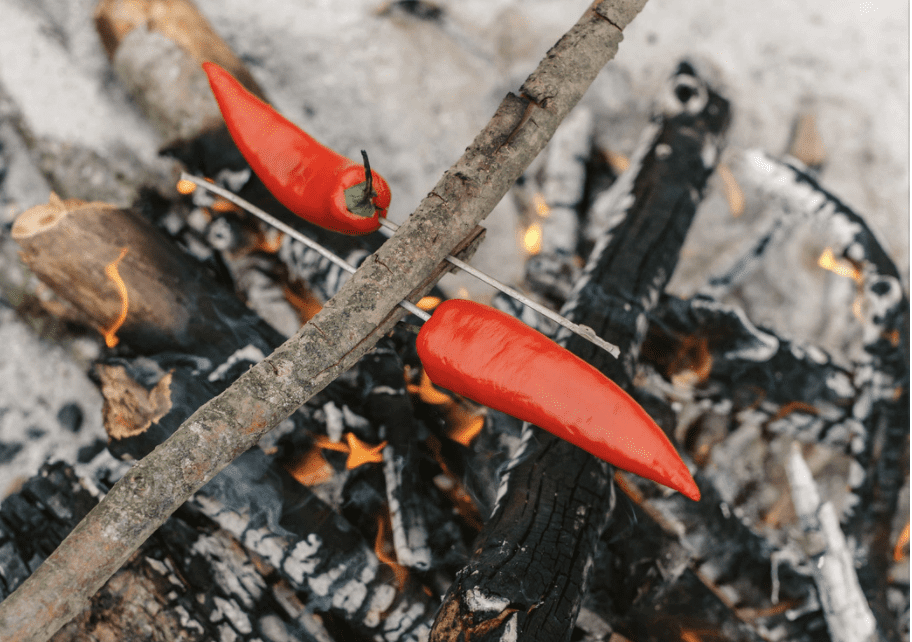
Variations: You could also try adding in some ground beef or turkey, diced green bell peppers, or even corn into this recipe. If you have any leftover chili after making this recipe, feel free to store it in an airtight container for snacking on later.
Breakfast Burrito
Ingredients:
- One large flour tortilla (or two small ones)
- One egg Salt and pepper to taste
Desired toppings: Shredded cheese Salsa Diced onion or green bell peppers Sliced avocado
Instructions:
Heat a pan over medium heat for about five minutes before adding in some oil or butter so it gets nice and hot but not burning.
Crack open one egg onto the middle of your tortilla, sprinkle with salt and pepper then fold up both sides towards each other like you’re wrapping something around itself- this will create an envelope shape that holds all of our ingredients inside while also keeping them from leaking out too much during the cooking process!
You can also use another type of wrapping paper if desired instead since most stores sell these types nowadays (and they’re cheaper).

If using another type of wrapping paper instead, just place your egg directly on top before folding up both sides towards each other again but this time making sure that all edges meet perfectly together without any gaps left open so no air will escape from inside while cooking process takes place because otherwise, it could cause problems during cooking.
We hope that you enjoy these recipes! If you try any variations, please let us know how they turn out! Happy camping 🙂
Short & Quick GraBs
Sandwiches
This is one of the easiest camping recipes that you can make. You don’t even need to bring bread! Just cut up all of your meat and veggies, put them inside a tortilla shell, and you’re good to go! Hummus – I know what you are thinking…humus? Yes, hummus! All you need is a can of chickpeas, tahini sauce, garlic, lemon juice, and olive oil. Mix it all together in a food processor and you’re done!

Baked Potatoes
Baked potatoes are delicious, and they’re easy to prepare when you go camping. All you have to do is wrap the potato in aluminum foil, put it on a grill or directly in the fire, and wait until it’s finished cooking.
Rice Bowls
Rice bowls are an easy camping recipe that don’t require a refrigerator. They’re also another meal that you can cook directly on the grill or in the fire.
You need to start by bringing all of your ingredients with you if you are planning on making rice bowls for camping. This includes rice, vegetables, spices, and proteins like chicken or beef. You will also need a pot and a stove.
To prepare the rice bowl you first need to bring your water to a boil on the stove, then add in your spices and other ingredients. Once the rice is cooked, all you have to do is assemble it into a bowl with your desired toppings such as cheese or avocado!
Foil Dinners
This is another simple camping recipe that doesn’t require a refrigerator. You just take your ingredients and wrap them up in aluminum foil, then place them directly on the grill until they’re finished cooking.
Grilled Cheese Sandwiches
Grilled cheese sandwiches are an easy camping recipe to make without a refrigerator. Once you’ve completed this recipe, you’ll never want to make grilled cheese in any other way!
You will need bread for this camping meal idea, and you can choose between sourdough or sandwich bread. You also need butter and your favorite type of cheese. You don’t even need a frying pan! Just heat up the griddle on the stove over the fire and cook the sandwich for 3-4 minutes per side.
You can add a little twist to your camping trip by preparing some amazing camping recipes that don’t require a refrigerator! It will save you from having to order pizza or running back and forth from the store, so anyone can enjoy these easy campfire meals.
Beginners Guides
Best Coolers for Camping in 2022 – How to Choose the Perfect Camping Cooler for Your Needs
Best Coolers for Camping in 2022
If you are looking for the perfect cooler for your camping trips, you have come to the right place. This guide will review different coolers available and help you choose the best one for your needs.
We’ll also provide a few tips on how to keep your food cold in hot weather. So whether you’re a beginner camper or an experienced outdoorsman, read on for some helpful advice!
[affiliatable id=’95284′]
Also take a look at our 2022 Camping Cooler Tips and Tricks for the Perfect Camping Trip
How to Choose the Perfect Camping Cooler for Your Needs
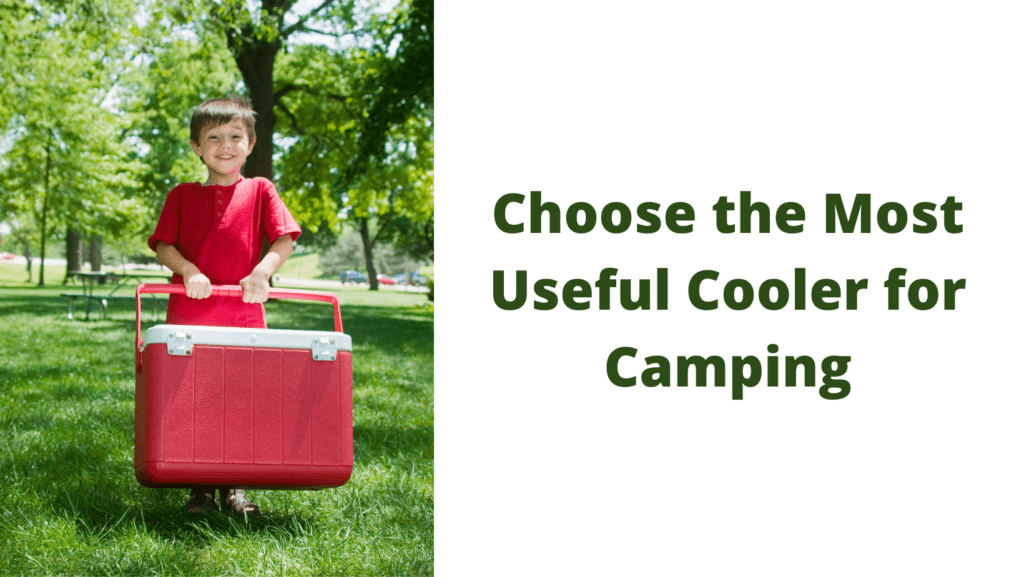
When it comes to coolers, size is an important consideration. If you are traveling by car or boat, you will need to choose a model that fits the space available in your vehicle. You may find that two smaller coolers are a better investment than one house-sized version.
When it comes to food storage, you will want to look for a cooler that has enough space to store all of your food and drinks. Another important feature to look for is insulation. A good cooler will keep your food and drinks cold for hours, even in hot weather. If you plan on camping in remote areas, you may also want to choose a cooler with a built-in ice maker.
This will allow you to have ice on hand, even if there is no power source available. When it comes to choosing the best cooler for your needs, there are a few things to keep in mind. Size, insulation, and capacity are all important factors to consider. With so many options on the market, you are sure to find the perfect cooler for your next camping trip.
Coolers for Camping
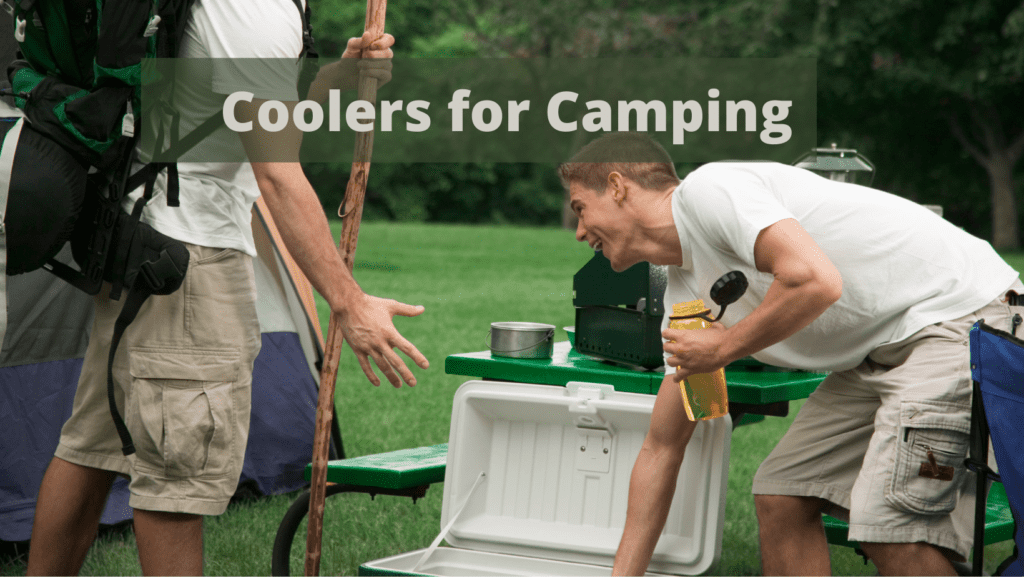
Choosing the best camping cooler involves finding the right balance of capacity, weight, and durability. Hard-sided coolers are often heavier than soft-sided coolers, but they offer more protection for your food and drinks. If you’re planning on spending a lot of time hiking or trekking, a lighter weight cooler may be a better option.
Another important consideration is how much capacity you’ll need. If you’re camping with a large group, you’ll need a cooler that can hold enough food and drinks for everyone. On the other hand, if you’re only planning on bringing enough for yourself and one other person, a smaller cooler will suffice.

Finally, consider how durable you need your cooler to be. If you’re only using it for short camping trips, a less durable model may be fine. However, if you’re planning on taking it on longer excursions or even using it as your primary fridge, look for a model that’s built to withstand rough use. By taking all of these factors into account, you can find the best camping cooler for your needs.
Three Main Types of Camping Coolers
When it comes to camping coolers, there are three main types to choose from
- Soft coolers, hard coolers, and powered coolers. Soft coolers are similar to insulated bags and are great for campers who want a lightweight and portable option.
- Hard coolers are the original style of the camping ice chest and are still the most popular option. They tend to be heavy but have the best ice retention and are very durable.
- Powered coolers use electricity from your vehicle’s DC outlet, a portable power station, or a portable solar panel to stay cool. They don’t require ice and are very expensive.
When choosing a cooler for your next camping trip, consider your needs and budget to find the perfect option for you.
Camping Cooler Buying Advice
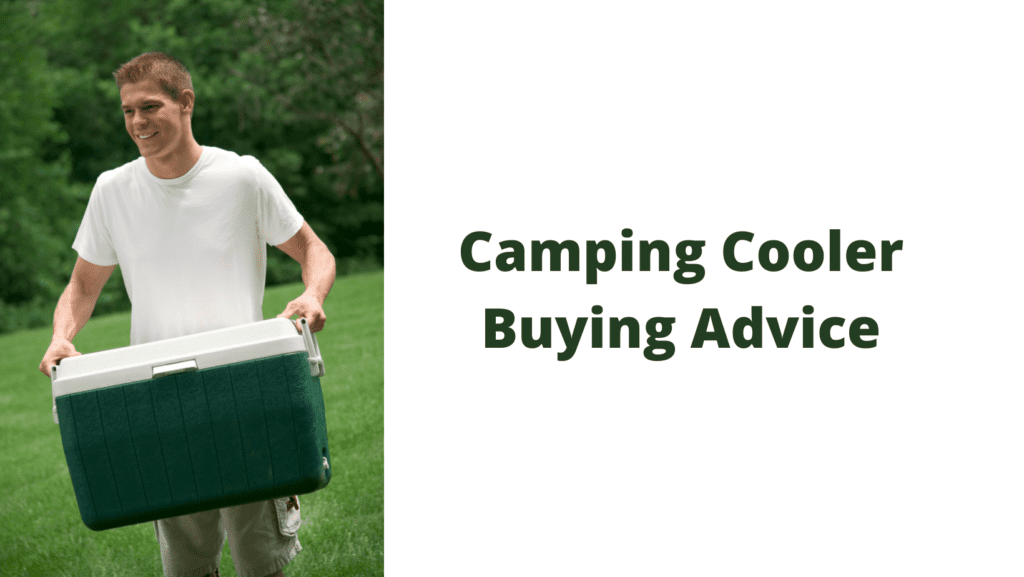
When choosing a camping cooler, it’s important to consider the type of camping you’ll be doing. Will you be car camping, where you have easy access to ice and fresh food?
Or will you be backpacking, where weight and space are at a premium? If you’re car camping, size and capacity are the most important factors to consider. However, if you’re backpacking, weight and portability are key.
It’s also important to think about how many people you’ll be feeding on your trip. If you’re cooking for a large group, you’ll need a bigger cooler than if you’re cooking for two. Finally, consider the length of your trip. If you’re only going to be out for a weekend, you can get away with a smaller cooler than if you’re planning a week-long excursion.
By taking all of these factors into account, you can narrow down your options and choose the best camping cooler for your needs.
Style of Camping
Camping coolers come in all shapes and sizes, but not all are created equal. The type of camping you plan to do will dictate the type of cooler you need.
For example, family camping requires a different type of cooler than solo camping. The same goes for walk-in camping, car camping, kayak camping, and more. To help you choose the right cooler for your needs, here is some Camping Cooler Buying Advice.
When it comes to family camping, you need a cooler that can accommodate all of your family’s food and drinks. You also need a cooler that will keep those items cold for days at a time.
Solo campers, on the other hand, can get away with a smaller cooler that doesn’t hold as much food and drink. Kayak campers need a waterproof cooler to keep their belongings dry, while car campers can use any type of cooler as long as it fits in their vehicle.
No matter what type of camping you’re doing, be sure to choose a cooler that fits your needs. With the right cooler, you’ll be able to keep your food and drinks cold and enjoy your time outdoors.
What to Cool: Drinks & Food
Camping cooler buying advice can be hard to find. What type of food do you cook when you go camping? Meats, dairy products, and eggs all require more cooling power from your cooler than fruits, vegetables, and beverages.
The size and shape of the cooler also matter. If you have a lot of food to cool, you’ll need a bigger cooler. If you’re only cooling drinks, a smaller cooler will suffice. Consider how often you’ll use the cooler and how long you’ll need to keep things cool when making your decision.
Camping coolers are a great investment for any camper. With a little research, you can find the perfect cooler for your needs.
How Many Coolers Do You Need
Camping coolers come in a variety of sizes, and choosing the right one can be critical to having a successful camping trip. The first thing to consider is the number of people who will be using the cooler.
For small groups, a large cooler is often overkilled and can actually be less effective at keeping food cold. On the other hand, larger groups will need a bigger cooler in order to have enough space for all of the food and drinks.
Another important factor to consider is how long you’ll be camping. If you’re only going for a few days, you won’t need as much storage space as if you’re planning a longer trip. Ultimately, picking the right cooler comes down to knowing your needs and choosing the size that best fits those needs.
Weather Conditions and Temperatur
Camping coolers are essential for keeping food and drinks cold while spending time outdoors, but with so many different models on the market, it can be difficult to know which one is right for you.
One of the most important factors to consider is the expected weather conditions. Extremely hot weather takes a toll on even the best-insulated coolers – but a model with thicker insulation and a freezer-style gasket will perform better than one without these features.
If you camp in an area that experiences extreme cold weather, you’ll need a cooler that can keep your food and drinks frozen – so make sure to choose a model with thick walls and a good seal.
By considering the expected weather conditions, you can make sure to choose a camping cooler that will keep your food and drinks cold all weekend long.
Duration of The Trip
Camping cooler buying advice is tricky because it depends on the duration of your trip. If you’re going on a long trip without the chance to restock on ice, you’ll need a larger cooler than if you’re going on a shorter trip or camping road trip where you can buy new ice every couple of days.
The most important thing is to make sure your cooler is large enough to hold all the food and drinks you’ll need for your trip. You also want to consider how easy it will be to transport your cooler. If you’re camping in a remote area, you might need a wheeled cooler that can be towed behind your car.
On the other hand, if you’re car camping in a developed campground, you can get away with a less expensive and more compact cooler.
Choosing the right cooler for your needs is essential to having a successful camping trip. Be sure to consider the size of your group, the duration of your trip, and how easyWhatever type of cooler you decide to buy, make sure it’s big enough for your needs and easy to carry.
Bear-Resistant Ready for Wildlife
Camping in the bear country requires taking some extra precautions to ensure both your safety and the bears. One of the most important pieces of gear you can bring is a camping cooler that is bear-resistant.
There are many different brands and models of bear-resistant coolers on the market, so it is important to do your research before making a purchase.
The Interagency Grizzly Bear Committee maintains a list of products that have been tested and approved as being truly bear-resistant. When selecting a cooler, also consider things like size, durability, and ease of use.
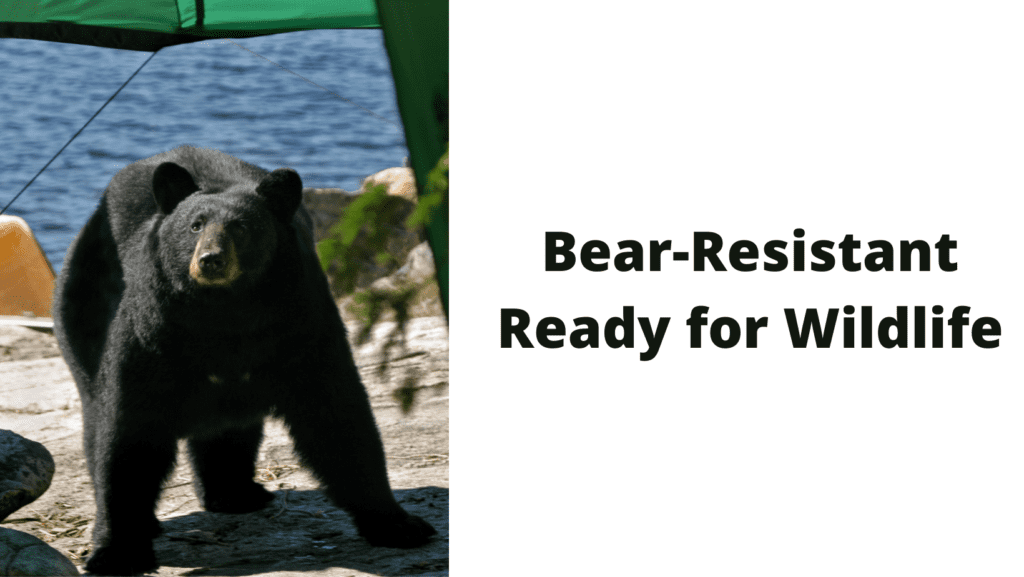
Bear-resistant coolers are an essential piece of gear for anyone planning to camp in areas where bears are present. By following some simple guidelines, you can help ensure a safe and enjoyable camping experience for everyone involved.
Camping Cooler Buying Conclusion
Camping coolers are an essential piece of gear for any camping trip. They come in a variety of sizes and feature a range of different capabilities. When choosing a camping cooler, it is important to assess your needs and priorities.
Are you looking for a cooler that can hold a lot of food and drinks? Or are you more concerned with portability? Once you have a good idea of your needs, you can begin to review the most important features of camping coolers. Capacity is always an important consideration.
Camping coolers come in a range of sizes, from small personal coolers to large wheeled coolers that can accommodate multiple people. If you are planning on doing any cooking while camping, make sure to choose a cooler that can accommodate your pots and pans.
Another important feature to consider is insulation. The best camping coolers have thick walls and robust insulation that will keep your food and drinks cold for hours.
Finally, if you are planning on camping in areas where there are bears, make sure to choose a bear-resistant cooler. This will ensure that your food stays safe and secure during your trip.
Choose the Most Useful Cooler for Camping
During the peak of summer, heading out into the great outdoors for a camping trip is one of the best ways to relax and escape the heat. However, if you don’t have the right cooler with you, all that fun can quickly turn sour. That’s why it’s important to choose the best cooler for camping, based on your specific needs.
One of the most important factors to consider is how long you need the cooler to keep things cold. If you’re only going on a short overnight trip, a small personal cooler might suffice.
But if you’re planning a week-long excursion, you’ll need something larger that can accommodate all your food and drinks. Another key consideration is how easy the cooler is to transport. If you’re trekking deep into the woods, a heavy-duty wheeled cooler will be difficult to maneuver.
A lighter-weight option like a backpack cooler might be a better choice. Whatever type of cooler you choose, making sure it’s specifically designed for camping will help ensure that your trip is a success.
Size and Space
The best cooler for camping depends on a few factors, such as the size of your group and the length of your trip.
For longer trips or larger groups, you’ll need a bigger cooler with more storage space. Otherwise, you might end up running out of food or having to drink warm beverages. On the other hand, if you’re only going camping for a night or two, you can get away with a smaller cooler. Just make sure to pack wisely and make a meal plan ahead of time so you know exactly how much food and drink you’ll need.
Insulation
Best Cooler for CampingWhen you’re out in the wilderness, there are a lot of important things to consider.
One of the most important is how you’re going to keep your food and drinks cold. After all, nobody wants to eat warm food or drink hot beverages when they’re trying to enjoy the great outdoors. That’s why coolers are such an essential piece of camping gear.
However, not all coolers are created equal. The best coolers are up to 3 inches thick with double-wall construction sandwiched around dense polyurethane foam. This provides superior insulation, keeping your food and drinks cold for hours on end. So if you want to enjoy the best possible camping experience, be sure to invest in a high-quality cooler.
Durability
When looking for the best cooler for camping, it is important to consider durability.
Thicker walls usually mean more durability. Rotomolded coolers are usually the most durable thanks to the lack of pressure points.
Also look for a model with top-quality components, such as integrated hinges and rubber latches. By considering these factors, you can be sure to find a cooler that will last through many camping trips.
Ice Life
When it comes to finding the perfect cooler for your next camping trip, there are a few things you’ll want to keep in mind. First and foremost is ice life – you’ll want a cooler that can keep your food and drinks cold for as long as possible.
The type of insulation used is a major factor in this, so make sure to choose one with high-quality foam.
Additionally, elevated feet help minimize heat transfer, and a freezer-style rubber gasket ensures proper lid sealing. With these features in mind, you’re sure to find the best cooler for your next camping trip.
Size & Weight
Large rotomolded coolers are usually the most spacious and best insulated but they also take up the most space and can be very heavy.
If you’re car camping or have a lot of gear, then a large cooler is probably your best bet. But if you’re backpacking or kayaking, you’ll want to consider a smaller model.
Weight is also an important consideration. Some coolers can weigh as much as 50 pounds when empty! If you’re carrying your cooler any distance, you’ll definitely want to consider one of the lighter models.
Ease of Use
When it comes to coolers, there are a lot of different factors to consider. One of the most important is the ease of use.
Most models are fairly intuitive to use. Some, however, are easier to dig around in than others. You should also look for a model that`s readily portable. If you need a large cooler, consider a model with built-in wheels and handles.
Another factor to consider is price. Coolers can range from fairly affordable to quite expensive. It`s important to find a model that fits your budget.
Finally, consider what type of features you need. Some coolers come with built-in features like cup holders or storage pockets. Others are simpler and only keep food and drink cold. Ultimately, the best cooler for camping is the one that`s right for you.
Features
A good camping cooler should have a few key features that make it ideal for use in the great outdoors.
First, it should have built-in tie-down points, which will allow you to secure the cooler to your vehicle or campsite table. Second, it should have a drain plug with a leash, so that you can easily empty out any melted ice or water.
Finally, it should have a locking lid, to prevent animals from getting into the cooler and raiding your food supply. These features will help to ensure that your camping cooler is up for the task of keeping your food and drinks cold in even the hottest weather.
Accessories
There’s nothing worse than having to wade through a pool of melted ice to get to your food while camping. That’s why many of the best coolers now come with a wire storage basket to keep everything organized and easy to access.
Most brands also offer a variety of other camping cooler accessories, like divider panels and drain plugs, to help you customize your ice chest.
And if you’re really looking to step up your cooler game, some even come with built-in bottle openers and cupholders. So whether you’re planning a weekend camping trip or a long-haul road trip, make sure you choose a cooler that will meet all of your needs.
Jason is the author of Laienhaft, a blog for all things outdoor and camping. If you’re looking for the best tent to take on your next camping trip, or need some advice on how to get started with recreational camping, Jason has you covered. He’s also an expert on survival skills – if you’re ever lost in the wilderness, he’s the guy you want to find!
Backpacker
Laienhaft Acquires Infos-Campings.Com Domain – Our Joined Way Forward to Experience Outdoor, Camping, and Making Friends and Live the Experience

We are excited to hear from you at Laienhaft and would like to invite you to join us on an adventure filled with outdoor activities, camping, and the chance to make new friendships to enhance your experiences. Our website makes it easy for you to book a tour, find companions to share in the fun with, leave a review, or reach out with any questions you may have. We can’t wait to hear from you and hope to have the opportunity to welcome you on a future adventure with us soon! Thank you for choosing Laienhaft!
Laienhaft Acquires Infos-Campings.Com Domain
Laienhaft is proud to announce the acquisition of infos-campings.com domain. The website is a very popular domain in the camping and outdoors industry, with a loyal following of readers.
Laienhaft is committed to providing the best possible camping experience for all of our customers, and we believe that this acquisition will help us to better serve the needs of campers. We are welcoming the infos-campings.com domain reader and look forward to continuing to provide the high-quality content that they have come to expect from us.
Our Joined Way Forward to Experience Outdoor, Camping, and Making Friends and Live the Experience
Have a question about the great outdoors? We’ve got you covered! Here at Laienhaft, we are dedicated to providing answers to all of your outdoor and camping questions. Whether you’re wondering how to start a campfire or how to pitch a tent, we have the answer for you. We also offer tips and advice on all things camping, from what to pack for a hike to where to find the best campsites. So whatever information you’re seeking, we’ll have the answer for you!
When you’re planning a camping trip, there’s a lot to think about. What kind of shelter will you need? What food and supplies will you need to bring? And how will you keep everyone comfortable and safe while you’re away from home?
One important thing to consider is how you’ll change clothes while camping. If you’re staying in a tent, you’ll need to be careful not to track dirt and mud inside. And if you’re pregnant or have young children with you, they’ll need a place to change that’s out of the elements. Here are some tips for changing clothes while camping:
- Choose clothing that’s easy to layer. That way, you can take off or put on layers as the temperature changes.
- Pack a small bag with essentials like shampoo, soap, and a towel. This way, you can freshen up even if there’s no running water nearby.
- If you’re pregnant or breastfeeding, consider bringing a nursing cover or other item that will make it easy to breastfeed or pump in privacy.
With a little planning, changing clothes while camping can be easy and stress-free. So go ahead and enjoy your time in the great outdoors!
No matter what you’re looking for, we want to cover your boiling question to help you out. Whether you’re trying to figure out how to change clothes while camping or you’re looking for tips on camping with friends, there’s a wealth of information available online.
Of course, not all of it is necessarily accurate – there are plenty of myths and urban legends about camping, too. For example, you may have seen articles claiming that camping tents can cause cancer, or that pregnant women shouldn’t go camping.
However, as long as you use your common sense and do some research, you should be able to distinguish between the facts and the fiction. And if you ever get stuck, there’s always someone out there who’s happy to help – after all, that’s what the camping community is all about!
Pregnant women need to take special care when camping, as they are at increased risk for heat exhaustion and dehydration. There are also several tips that all campers should follow, such as staying hydrated, using sunscreen, and being aware of wildlife. With a little planning and preparation, camping can be a safe and enjoyable experience for everyone.
It is Ok to Go Camping While Pregnant
Camping while pregnant is not only important for mom, but it provides a few reasons why they should care. It is a fun and healthy experience for both mom and baby. Select outdoor activities which are safe and fun, but keep them in perspective to your physical condition and the surrounding environment.
Before setting out on a camping trip during pregnancy, you should consult with your doctor. Pregnant women have special needs when it comes to camping, but with a little planning, they can enjoy all the benefits of this great outdoor activity. Here are a few tips to help you plan a safe and enjoyable trip:
- Check with your doctor before you go. Some medical conditions may make it unsafe for you to camp, so be sure to get the OK from your healthcare provider first.
- Choose an easy-to-access campsite. You’ll want to be able to get in and out of your tent easily, so look for a site that’s close to the parking area and has level ground.
- Pack lightly. Carrying a heavy load can be tough on your back and hips, so pack only the essentials.
- Wear comfortable shoes. hiking boots or other closed-toe shoes will protect your feetBy following these simple tips, pregnant women can safely enjoy all that camping has to offer.
For many pregnant women, the idea of spending a night in a tent surrounded by nature can be both appealing and anxiety-inducing. However, with a little planning and preparation, camping can be a safe and enjoyable experience for expectant mothers.
What Size Inverter is Needed for Camping and Outdoor Activities?
When it comes to camping and outdoor activities, having the right size inverter needed for camper is crucial. It ensures a seamless power supply for all your electronic devices, from charging phones to powering laptops. Opt for a portable inverter with sufficient wattage output to meet your specific needs and enjoy a hassle-free outdoor experience.
Wondering About the Best Way to Start?
When it comes to the great outdoors, there is no such thing as a stupid question. Whether you’re wondering about the best way to start a campfire or how to pitch a tent, we are here to help. We want to answer all of your outdoor and camping questions so that you can make the most of your time in nature. So don’t be afraid to ask away – we promise, we won’t judge. After all, we were all newbies once, too.
Looking for a fun way to show your love of the outdoors? Check out our collection of Funny Camping and Outdoor License Plates! From clever sayings to punny jokes, these license plates are sure to get a laugh from everyone who sees them. We’ve got a plate for every type of camper, from the more serious ones who like to rough it in the wilderness to the less experienced campers who are just there for the s’mores.
So whether you’re looking for a new way to show off your personality or you’re just looking for a laugh, our Funny Camping and Outdoor License Plates are sure to Please note that some of our plates are available for personalization, so be sure to check out each product page for more information. Happy shopping!
Many people enjoy camping, but it can be difficult to know how to camp safely and effectively. There are many different types of camping, from car camping to backpacking, and each has its own set of safety concerns. For example, car camping is generally safe, but you should be aware of the risks of leaving your car unattended in a remote area.
Backpacking can be more dangerous, as you will be carrying all of your supplies with you and maybe camping in unfamiliar territory. It is important to research the area you will be hiking in and to take the necessary precautions, such as carrying a map and compass.
The camp kitchen is the heart of any campsite. It’s where meals are prepared, stories are shared, and memories are made. A well-equipped camp kitchen should include everything you need to make your favorite recipes, from a stove and pots and pans to utensils and food storage containers. If you’re new to camping, you may not know where to start when it comes to stocking your camp kitchen. Luckily, we’ve put together a list of essential items that will help you make the most of your time in the great outdoors.
Laienhaft welcomes you to their joined way forward to experience outdoor camping and making friends. They love feedback from their customers and enjoy hearing about their experiences. Laienhaft loves being outdoors, camping, and making new friends. They are excited to have you join them on this journey to experience all that the outdoors has to offer.
Spending time together in the great outdoors can be a bonding experience for both kids and adults. Camping is the perfect opportunity to unplug from technology and connect with nature—and each other. There are many different activities that can be enjoyed while camping, from hiking and fishing to playing games and roasting marshmallows over a campfire. No matter what you do, spending time in the wilderness is a great way to create lasting memories with your loved ones. So get out there and explore—you might just surprise yourself at how much fun you have!
Laienhaft knows that there is nothing like getting out in nature and enjoying the fresh air and scenery. Camping is a great way to do this and it is also a great way to meet new people. Laienhaft looks forward to hearing about your experiences and sharing in the great outdoors together.
For more information, please contact: press@laienhaft.com
Jason is the author of Laienhaft, a blog for all things outdoor and camping. If you’re looking for the best tent to take on your next camping trip, or need some advice on how to get started with recreational camping, Jason has you covered. He’s also an expert on survival skills – if you’re ever lost in the wilderness, he’s the guy you want to find!
Beginners Guides
Camp Kitchen: How to Assemble a Functional Camping Kitchen
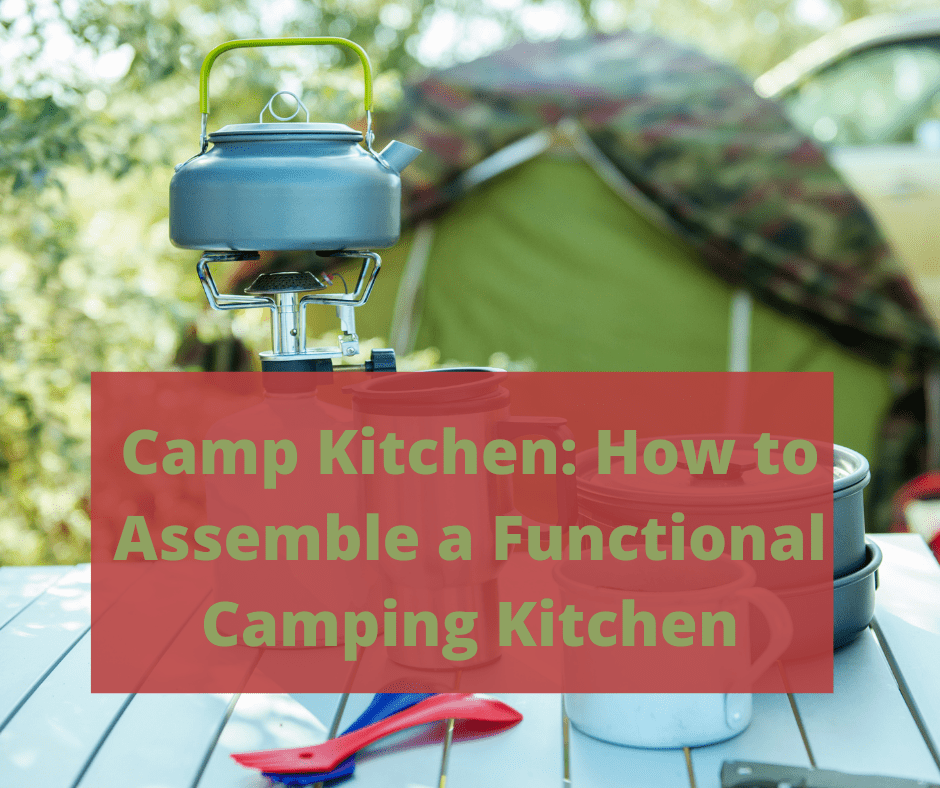
Preparing meals while camping can be a fun and rewarding experience, as long as you have the right equipment. A camp kitchen is essential for anyone wanting to cook while out in nature. In this blog post, we will discuss the key items needed to create a functional camp kitchen. By following our tips, you’ll be able to cook your favorite meals and enjoy the great outdoors!
Camp Kitchen
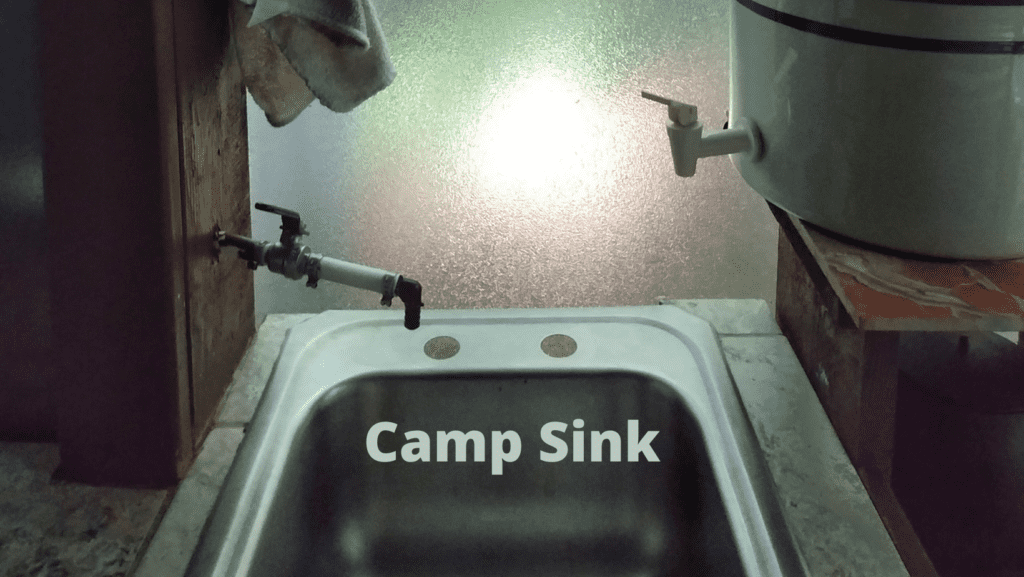
A well-stocked kitchen is essential for any camping trip. But with a little planning, it’s easy to put together a kitchen kit that has everything you need to cook up a feast. Start by considering your menu. You’ll need at least two pot sizes, a griddle, and a skillet, as well as some mixing bowls and cooking utensils.
A cutting board is also very handy. Once you’ve got your list of essentials, you can either purchase these items or borrow them from your home kitchen. With a little careful packing, you’ll be all set to enjoy some delicious campfire meals.
Plan to Grill
While planning for your camping trip, don’t forget the most important part – the food! You’ll need to bring along a few key items to make sure you can whip up your favorite meals. First, if you plan on doing any grilling, be sure to bring a grate that you can put over the fire.
[affiliatable id=’95294′]
Many campsites don’t have them, and you don’t want to be stuck without one. Also, make sure to pack all of the utensils and cookware you’ll need, including a pot, pan, plate, and bowl for each camper. And don’t forget the all-important can opener! Finally, make sure you have enough non-perishable food to last the entire trip. By following these simple tips, you’ll be sure to have a delicious camping trip!
Pots and Pans
If you’re planning a camping trip, one of the first things you’ll need to do is choose the right pots and pans. To save space, many campers opt for a nested set, which includes a variety of pots that can be stored inside one another.
When it comes to material, there are five main options: aluminum, cast iron, stainless steel, titanium, and ceramic. Each material has its own advantages and disadvantages. Aluminum is lightweight and conducts heat well, but it’s also susceptible to denting and scratches. Cast iron is durable and treated with a coating that makes it non-stick, but it’s also heavy and takes longer to heat up.
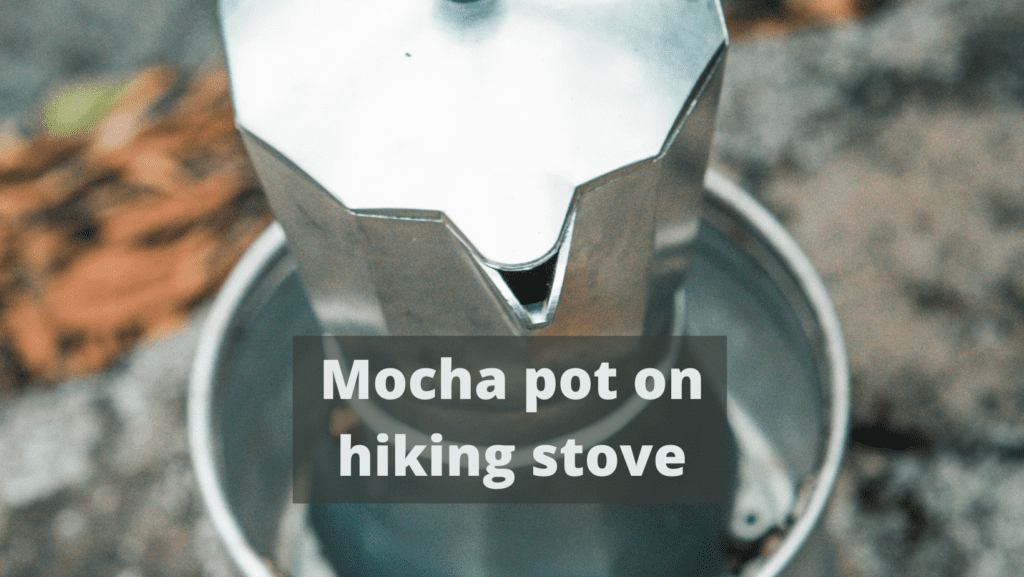
Stainless steel is durable and easy to clean, but it doesn’t conduct heat as well as other materials. Titanium is strong and conducts heat efficiently, but it’s also expensive. Ceramic is non-stick and heat-resistant, but it’s also fragile. Ultimately, the best material for your needs will depend on your budget and how you plan to use your pots and pans while camping.
Enamel Cookware
Enamel cookware is a popular choice for many home cooks, thanks to its durability and easy-to-clean surface. But what exactly is enamel? Contrary to popular belief, the enamel is not a type of glass; it’s actually a thin layer of steel that has been coated with a kiln-baked enamel finish.
This tough finish is resistant to scratches and stains, making it ideal for cooking and serving food. However, the enamel coating can chip over time, exposing the underlying steel to oxygen and moisture, which can cause rusting.
While chips and indentations may spoil the aesthetic of your cookware, they won’t impact its performance. So if you’re looking for attractive and long-lasting cookware, enamel might be the right choice for you.
Aluminum Cookware
Aluminum is a highly versatile material that has a wide range of uses, from cookware to airplane parts. It is well-known for being lightweight and conductive, which makes it ideal for many applications. In the kitchen, aluminum is prized for its ability to distribute heat evenly, making it ideal for cooking. However, there have been some health concerns raised about aluminum cookware in recent years.
While these concerns are largely unfounded, they have led to the popularity of nonstick coatings on aluminum cookware. The major downside of aluminum is that burned-on foods can be very difficult to remove.
This is why nonstick coatings are such a good idea, as they make cleanup much easier. Overall, aluminum is a great choice for cookware, but be sure to choose a pan with a nonstick coating to avoid any headaches.
Stainless Steel Cookware
Stainless steel is a popular choice for cookware because it is extremely durable, cleans quickly and efficiently, and it won’t scratch easily.
The downside is its inability to conduct heat evenly, leading to scorched food in the pattern of a stove’s intense flame.
If you are using stainless steel cookware on a camp stove, be sure to use a diffuser plate to help distribute the heat more evenly. With proper care, your stainless steel cookware will last for many years and provide you with delicious meals while you are camping.
Titanium Cookware
When it comes to choosing cookware for camping, weight is often a major consideration. Titanium cookware is an excellent option for those looking for ultralight options, as it is much lighter than stainless steel.
However, titanium is also significantly more expensive. In addition, titanium is not as durable as stainless steel and can be more difficult to clean. As a result, titanium cookware may not be the best choice for everyone. Those who are not as concerned about weight may do better with stainless steel cookware, which is more affordable and easier to care for.
Bimetal Combinations Cookware
Bimetal combinations for camping are a great way to get the best of both worlds when it comes to cookware. These pots feature an aluminum outer layer that is durable and provides good heat distribution.
The stainless steel inner layer helps to prevent sticking and makes cleanup a breeze. In addition, the pot grip is a must-have accessory that helps you securely grab the pot without burning your hands. The Teflon fry pan is also a great option for those who want the convenience of a lid and a folding handle. When it comes to camping, these bi-metal combinations are the perfect way to have the best of both worlds.
Storage Pack
Any experienced camper will tell you that organization is key when packing for a trip. Not only does it make it easier to find what you need, but it can also help to prevent damage to your gear.
[affiliatable id=’95288′]
Stuff sacks are an essential tool for keeping things organized and protecting delicate items. For example, when packing for a camping trip, you might put your pots and pans in one stuff sack, your utensils in another smaller one, and your spices in a very small see-through ditty bag.
This helps to prevent the inside of your pack and other items from becoming as black as the pots. In addition, stuff sacks are often made from durable materials that can protect your belongings from bumps and scratches. So whether you’re planning a backpacking trip or just want to be better organized at home, stuff sacks are a great option.
Protection Gloves
Gloves are an essential piece of gear if you’re planning on cooking over a fire. Not only do they help prevent burns, but they also protect your hands from the heat of the flames.
And while they might add a bit of bulk and weight to your pack, they’re definitely worth it for the added protection they provide. When choosing gloves for cooking, look for ones made of cotton or light leather.
These materials will help to deflect the heat and prevent burns. And make sure to choose a pair that fits snugly so that you can still move your fingers freely. With a good pair of gloves, you’ll be able to enjoy your time around the fire without worry.
Utensils
Special utensils are key to making camp food edible. A tiny whisk is essential for mixing dried milk, pancake mix, hot cocoa, etc. Without it, you’ll be serving lumpy drinks and food to your camp food critics. I also carry a folding knife that I use only for cooking.
The blade stays extremely sharp, locks in place for security, and is inexpensive and light. Add a GI-issue folding can opener for those just-in-case moments when a can of beans makes its way onto the menu.
With these few utensils, you’ll be able to make anything from a gourmet meal to a simple bowl of oatmeal. So don’t forget to pack them on your next camping trip!
Squeeze Tubes
Squeeze tubes are an essential part of any kitchen. They are perfect for storing and dispensing peanut butter, honey, jelly, and other smooth paste food.
Squeeze tubes are made of durable plastic and have a clip that secures one end. This makes it easy to open and close the tube, and prevents spillage. With the clip removed, the tube can be easily cleaned and refilled. Squeeze tubes are an essential part of any kitchen and are perfect for storing and dispensing your favorite peanut butter.
Small Spices Bottles
I always recommend that people buy a number of small bottles for carrying spices when they travel. The one-ounce Nalgene bottles with screw-on lids are perfect for this purpose.
They’re small enough to fit in your pocket or purse, but they’re large enough to hold a decent amount of spices. And the screw-on lids make them leak-proof. For liquids and oils, I also recommend getting a few one-ounce bottles with flip-top nozzles.
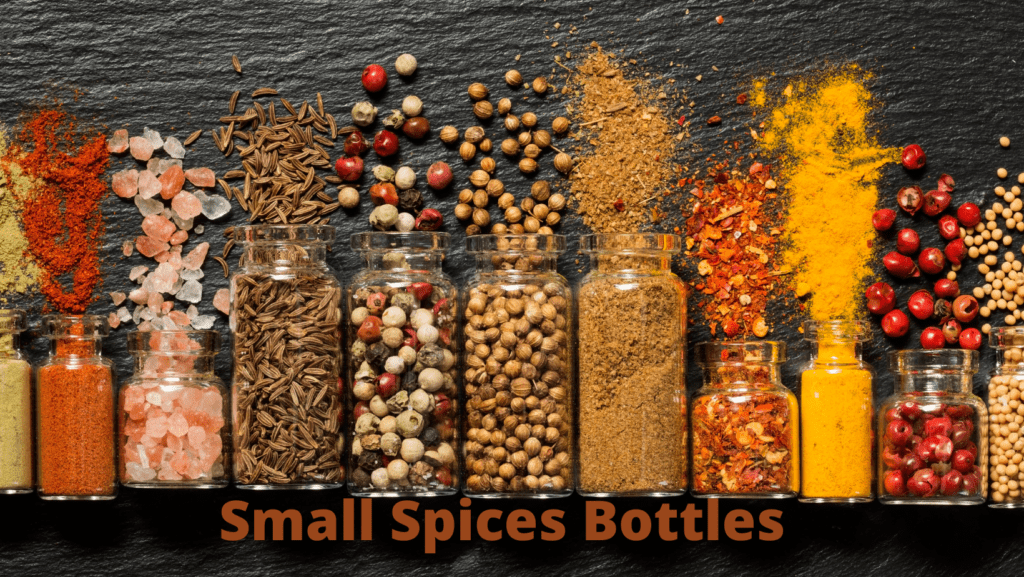
These are great for carrying things like olive oil or hot sauce. And they’re much easier to use than traditional bottle caps. So if you’re looking for an easy and convenient way to carry spices with you when you travel, give small bottles a try.
Conclusion
When planning a camping trip, it’s important to pack the right gear. One of the most important items to bring is a camp kitchen. This includes pots, pans, utensils, and spices. It’s also important to bring gloves and protection for your hands when cooking over a fire.
Another essential piece of gear is a good set of stuff sacks. These help to keep your belongings organized and protected. With the right gear, you’ll be able to enjoy a delicious meal no matter where you are. So don’t forget to pack a camp kitchen on your next trip! Thanks for reading! I hope this was helpful. 🙂
Camp Kitchen FAQ
What is the best way to pack a camp kitchen?
The best way to pack a camp kitchen is to choose items that are compact and lightweight. Pots, pans, and utensils should be made of materials that are easy to clean. It’s also important to bring along a good set of stuff sacks for organizing your belongings.
What are some essential items for a camp kitchen?
Some essential items for a camp kitchen include pots, pans, utensils, spices, and gloves. These items will help you prepare meals while camping. It’s also important to bring along a good set of stuff sacks for organizing your belongings.
What are some tips for cooking while camping?
Some tips for cooking while camping include using a camp stove for hot meals and bringing along easy-to-prepare food items. It’s also important to pack a camp kitchen with the right gear. This includes pots, pans, utensils, and spices.
Jason is the author of Laienhaft, a blog for all things outdoor and camping. If you’re looking for the best tent to take on your next camping trip, or need some advice on how to get started with recreational camping, Jason has you covered. He’s also an expert on survival skills – if you’re ever lost in the wilderness, he’s the guy you want to find!
-

 Beginners Guides1 month ago
Laienhaft Acquires aircooled-tv.com Domain to Add Focus on Aircooled Campervans
-

 Backpacker1 month ago
Laienhaft Acquires Infos-Campings.Com Domain – Our Joined Way Forward to Experience Outdoor, Camping, and Making Friends and Live the Experience
-

 Beginners Guides1 month ago
The Guide to the Best Camping License Plate Ideas for Cars and RVs
-

 Beginners Guides2 months ago
How To Build A Slide In Truck Camper
-

 License Plate1 month ago
Top 12 Unique & Funny Camping License Plate Ideas For Your RV, and Camping Van
-

 Beginners Guides1 week ago
How To Install A Camper Shell
-
 Beginners Guides2 weeks ago
How To Lubricate Pop Up Camper Lift System
-

 Beginners Guides1 month ago
Why Does My Throat Hurt After Camping? The Most Common Reasons and How to Fix Them


