Did you know that over 11 million households in the United States own an RV or camper? As winter approaches, it is important to properly prepare your camper for the cold season to protect it from harsh weather. While using antifreeze is a popular method for winterizing campers, there are alternative techniques that can be just as effective.
In this article, we will guide you through the process of winterizing your camper without the use of antifreeze. By following these steps, you can ensure that your camper remains in top condition throughout the winter months.
We will show you how to:
- Drain all water systems
- Clean and dry the interior
- Seal any leaks or cracks
- Cover exterior vents and openings
- Store in a covered and protected area
- Remove and store batteries
- Empty and clean the refrigerator
- Protect the tires and wheels
- Regularly check and maintain the camper throughout winter.
Let’s get started on protecting your investment and enjoying your camper for years to come, even during the winter season.
Key Takeaways
- Draining all water systems is essential to prevent frozen pipes.
- Sealing leaks and cracks is important to protect against winter elements.
- Storing the camper in a covered and protected area helps prevent moisture buildup and potential damage.
- Removing and storing batteries in a cool, dry place prevents freezing and damage.
Drain All Water Systems
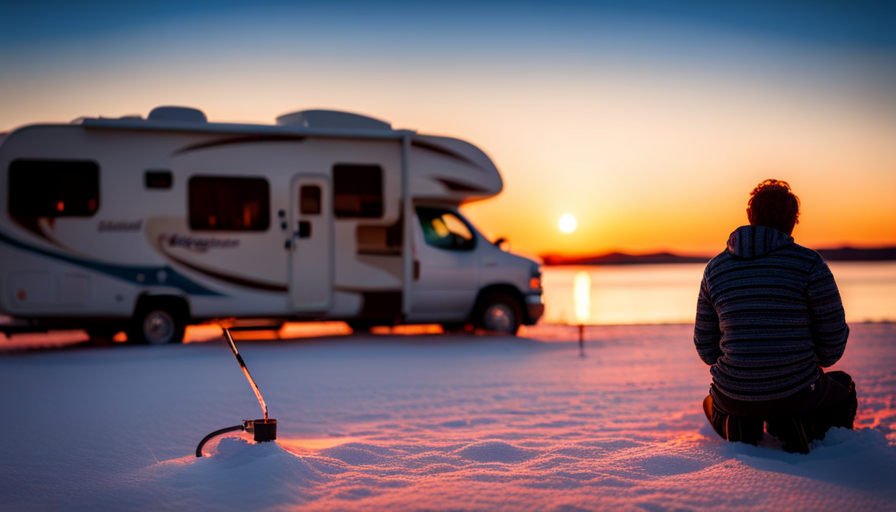
Now it’s time to drain all the water systems and say goodbye to those pesky frozen pipes – no antifreeze needed! When it comes to preparing your plumbing and protecting your pipes during the winter months, draining all the water is essential.
Start by turning off the main water supply and opening all faucets, including the hot and cold taps. This will help relieve any pressure in the system and allow the water to drain more easily. Don’t forget to flush the toilets and run the shower to remove any remaining water.
Next, locate the drain valves on your camper’s water heater and holding tanks. Attach a hose to these valves and direct the water to a suitable drainage area. Make sure to open all drain valves fully to ensure a complete and thorough draining. It’s also a good idea to remove any water filters and drain them separately.
Once all the water has been drained, you can move on to the next step of winterizing your camper: cleaning and drying the interior. By removing any excess moisture, you’ll be able to prevent the growth of mold or mildew during the winter months.
So let’s get started on making sure your camper is ready for the cold season ahead!
Clean and Dry the Interior
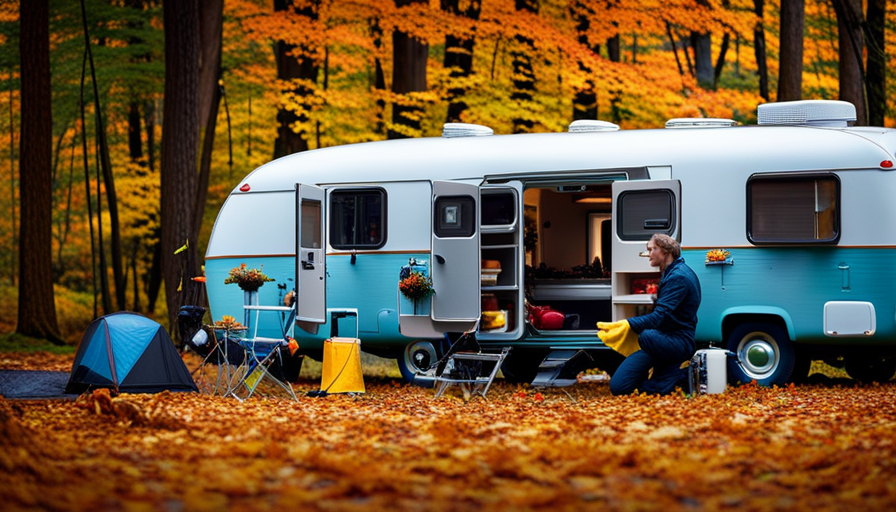
To ensure optimal protection from the cold weather, it’s essential to thoroughly clean and dry the inside of your camper. Cleaning the interior not only helps maintain its appearance but also prevents the growth of mold and mildew. Here are three cleaning tips to keep in mind:
-
Start by removing all items from the camper, including bedding, curtains, and cushions. Vacuum and wipe down all surfaces, paying extra attention to any areas that may have accumulated dirt or moisture.
-
Use a mild detergent and warm water solution to clean the walls, countertops, and cabinets. Be sure to rinse thoroughly to remove any residue. Additionally, wipe down the windows and mirrors with a glass cleaner to ensure a streak-free shine.
-
Don’t forget about the floors! Sweep away any debris and then mop using a suitable cleaner for your specific flooring material. Make sure to dry the floors completely to prevent any moisture from causing damage or mold growth.
Once you’ve thoroughly cleaned and dried the interior, it’s time to move on to the next step: sealing any leaks or cracks. This will further protect your camper from the winter elements and ensure a cozy and comfortable camping experience.
Seal Any Leaks or Cracks
Make sure you take a moment to address any tiny openings that may be present and could potentially let in a bit of chilly air, as it’s important to ensure a snug and cozy atmosphere for your camping experience.
To seal any leaks or cracks in your camper, there are a few sealing techniques you can employ. Start by inspecting the windows and doors for any gaps or cracks. Use weather stripping or silicone caulk to fill these areas and create a tight seal.
Additionally, check the roof vents and skylights for any signs of wear or damage. Apply a layer of sealant around these areas to prevent water damage and keep the cold air out.
Don’t forget to inspect the seams and joints on the exterior of your camper as well. These areas can often develop small cracks over time. Apply a flexible sealant, such as RV roof sealant or silicone caulk, to these areas to ensure a watertight seal.
By sealing these openings, you can prevent water damage and maintain a comfortable environment inside your camper during the winter months.
Now, let’s move on to the next step: covering exterior vents and openings.
Cover Exterior Vents and Openings
Ensure a snug and cozy atmosphere inside your camper by covering any exterior vents and openings. It’s crucial to insulate windows and doors to keep the cold air out and the warm air in. This step will not only help maintain a comfortable temperature inside but also prevent any drafts from entering.
Insulation can be achieved by using weatherstripping, which is a simple and effective solution for sealing gaps and cracks around windows and doors. It creates a tight seal, preventing any air leaks and keeping the cold air outside where it belongs.
When it comes to covering exterior vents and openings, it’s important to be thorough and pay attention to all areas that could potentially let in cold air. Start by inspecting the camper’s exterior and identify any vents or openings that may need to be covered. Use appropriate materials such as vent covers or insulation boards to seal off these areas. Additionally, check for any cracks or gaps around windows and doors and use weatherstripping to seal them properly.
By insulating windows and doors and using weatherstripping, you can create a warm and cozy environment inside your camper during the winter months. This will not only provide you with a comfortable space to relax in but also help conserve energy by preventing heat loss.
Once all exterior vents and openings are covered, you can proceed to the next step of storing your camper in a covered and protected area.
Store in a Covered and Protected Area
Find a cozy winter haven for your camper, nestling it away from the elements in a snug and sheltered spot. Storing your camper in a covered and protected area during the winter months is essential for weatherproofing it and ensuring its longevity.
Not only does it shield your camper from harsh weather conditions like snow, ice, and strong winds, but it also provides added protection against potential damage from falling branches or debris. Storing your camper in a covered area also offers several benefits.
Firstly, it helps to prevent moisture buildup, which can lead to mold, mildew, and rot. Secondly, it keeps your camper clean and free from dirt, dust, and bird droppings. Additionally, a covered area provides an extra layer of security, deterring potential thieves or vandals.
By storing your camper in a covered and protected area, you’re taking proactive steps to ensure its safety and well-being during the winter months. This will make it easier to transition into the next step of winterizing your camper: using insulation to keep the interior warm.
Use Insulation to Keep the Interior Warm
Nestled in your cozy camper, you’ll feel snug and warm as insulation wraps around the interior, creating a barrier against the chilly winter air. Insulating your camper is essential to ensure a comfortable winter camping experience.
There are various insulation techniques for camper exteriors that you can employ to keep the cold at bay. One effective method is to use foam insulation boards. These lightweight boards can be cut to fit the different parts of your camper, such as windows, doors, and vents. They provide excellent heat retention and prevent drafts from entering the interior.
Another option is to use reflective insulation, which consists of layers of foil and foam. This type of insulation reflects heat back into the camper, keeping it warm and cozy.
In addition to exterior insulation, there are also creative ways to keep the interior warm in a camper during winter. One idea is to use thermal curtains or blankets to cover windows and doors. These can be easily hung and provide an extra layer of insulation. Another option is to use thermal blankets or rugs on the floor to prevent cold air from seeping in.
By employing these insulation techniques and creative methods, you can ensure that your camper remains warm and comfortable during the winter months. With the interior all snug and toasty, it’s time to move on to the next step: removing and storing batteries.
Remove and Store Batteries
When it comes to preparing for winter, make sure you remove and store the batteries in your camper to prevent them from freezing and potentially causing damage. Did you know that freezing temperatures can reduce a battery’s capacity by up to 50%? To ensure your batteries stay in good condition during the winter months, proper battery maintenance is essential.
Start by disconnecting the batteries from the camper’s electrical system and removing them from the compartment. Clean the battery terminals and cables to remove any dirt or corrosion. This will help maintain good electrical connections and prolong the life of your batteries.
Once cleaned, store the batteries in a cool, dry place. It’s important to keep them away from flammable materials and ensure they’re not exposed to extreme temperatures.
Additionally, it’s a good idea to periodically check the battery voltage throughout the winter. This’ll help you identify any potential issues and allow you to take corrective measures if needed. If the voltage drops significantly, consider charging the batteries or bringing them indoors to prevent freezing.
By following these battery maintenance tips, you can ensure your camper’s batteries stay in optimal condition during winter storage.
Now, let’s move on to the next step: emptying and cleaning the refrigerator.
Empty and Clean the Refrigerator
Now that we’ve successfully removed and stored the batteries, it’s time to move on to the next important step in winterizing our camper without antifreeze. This step involves emptying and cleaning the refrigerator to ensure it remains in good condition during the winter months.
To begin, gather all the necessary cleaning supplies such as mild soap, warm water, and a sponge or cloth. Start by emptying the refrigerator of all its contents, making sure to discard any expired or perishable items.
Next, remove any removable shelves, racks, or drawers and wash them in the sink using the mild soap and warm water. Wipe down the interior walls and surfaces of the refrigerator using the same solution, being thorough in removing any spills or stains.
Once the refrigerator is clean and dry, it’s time to organize it for the winter. Place an opened box of baking soda or a refrigerator deodorizer inside to absorb any odors and prevent mold or mildew growth. Additionally, prop the refrigerator door open slightly to allow for proper ventilation and prevent any musty smells.
With the refrigerator emptied, cleaned, and organized, we can now move on to the next important step in winterizing our camper without antifreeze: protecting the tires and wheels.
Protect the Tires and Wheels
To keep your tires and wheels in optimal condition during the winter months, make sure to give them extra attention and care.
Proper tire storage is essential to prevent damage and ensure longevity. Start by cleaning the tires thoroughly and removing any debris or dirt that may have accumulated. It’s also a good idea to inflate the tires to the recommended pressure to avoid flat spots. If possible, elevate the camper to take the weight off the wheels and prevent them from bearing excessive load.
Wheel maintenance is equally important. Begin by cleaning the wheels using a mild detergent and water to remove any grime or brake dust. Inspect the wheels for any signs of damage such as cracks or bends. If necessary, repair or replace them before winterizing your camper. Applying a protective coating or wax to the wheels can also help prevent corrosion and rust.
After taking care of tire storage and wheel maintenance, it’s crucial to regularly check and maintain the camper throughout winter. This includes inspecting the tires and wheels for any signs of damage, as well as checking the overall condition of the camper to ensure it remains in good working order.
By following these steps, you can ensure that your camper is ready to hit the road when spring arrives.
Regularly Check and Maintain the Camper Throughout Winter
Regularly checking and maintaining the camper throughout winter ensures its longevity and helps prevent any potential issues. Winter maintenance tips for campers are essential to keep your camper in good shape during the cold weather. Preparing your camper for cold weather involves several key steps.
Firstly, it’s crucial to regularly inspect the exterior of the camper for any signs of damage, such as cracks or leaks. Addressing these issues promptly can prevent further damage and costly repairs. Additionally, check the roof and windows for any leaks or gaps that may allow cold air or moisture to enter the camper.
Next, ensure that all seals and weatherstripping are in good condition. Replace any worn-out seals to prevent drafts and moisture from entering the camper. This will help maintain a comfortable and dry interior.
Another important aspect of winter maintenance is checking the plumbing system. Drain all water from the pipes and tanks to prevent freezing and potential damage. Consider using RV antifreeze in the plumbing system to provide further protection.
Lastly, keep the camper clean and free from debris. This includes removing any snow or ice accumulation from the roof and awnings. Regularly inspect and clean the vents and exhausts to prevent blockages.
Following these winter maintenance tips will help ensure that your camper remains in good condition, ready for your next adventure when the warmer weather arrives.
Frequently Asked Questions
Can I use an alternative to antifreeze to winterize my camper?
Sure, there are alternative methods to antifreeze for winterizing your camper.
One option is using compressed air to blow out the water lines. This method can be effective but requires careful attention to avoid damaging the plumbing system.
Another option is using RV antifreeze made from propylene glycol instead of ethylene glycol. It’s non-toxic and safe for the environment, but it can be more expensive.
Whichever method you choose, make sure to follow manufacturer guidelines and take necessary precautions to protect your camper from freezing temperatures.
How often should I check and maintain my camper throughout the winter?
Alright folks, let’s talk about winter maintenance for your camper. It’s crucial to stay on top of it to avoid any unpleasant surprises when spring rolls around.
To ensure your camper stays in tip-top shape during the winter months, it’s recommended to check and maintain it at least once a month. This will help you catch any potential issues early on and address them promptly.
Make sure to follow a winterizing checklist to cover all the necessary bases.
Now, let’s dive into the specifics of winterizing your camper without antifreeze.
What should I do if I find a leak or crack during the winterization process?
If I find a leak or crack during the winterization process, my first step would be to assess the severity of the damage. For minor leaks, I would use sealants or caulking to repair them. If the damage is more extensive, I would consult a professional for repairs.
It’s crucial to address leaks promptly to prevent future damage, as water can cause structural issues and lead to costly repairs. Regular inspections and maintenance throughout the winter can help identify and repair leaks early on.
Is it necessary to remove and store the batteries during winter?
During winter storage, it’s not necessary to remove and store the batteries, but proper battery maintenance is crucial. To ensure optimal performance, start by fully charging the batteries and disconnecting them from the camper. Clean the battery terminals and apply a corrosion inhibitor.
Store the batteries in a cool, dry place, and periodically check their charge levels. This will help prolong their lifespan and ensure they’re ready to use when camping season begins again.
How should I clean and protect the tires and wheels of my camper for winter storage?
To properly clean and protect the tires and wheels of your camper for winter storage, we recommend following a few simple steps. First, thoroughly clean the tires using a mild soap and water solution. Be sure to remove any dirt or debris.
Next, apply a tire protectant to prevent cracking and fading. For wheel protection, consider using wheel covers or storing the camper on blocks to prevent flat spots.
Regularly check the tire pressure throughout the winter to ensure they stay properly inflated.
Conclusion
In conclusion, winterizing a camper without antifreeze requires thorough preparation to ensure its protection during the cold months. By draining all water systems and cleaning and drying the interior, sealing any leaks or cracks, and covering exterior vents and openings, we can shield our camper from potential damage. Storing it in a covered and protected area, removing and storing batteries, emptying and cleaning the refrigerator, and protecting the tires and wheels are crucial steps in maintaining its condition.
Just like a well-insulated cocoon shields a butterfly from the cold, these measures provide a visual representation of how we safeguard our camper. Remember to regularly check and maintain the camper throughout winter to ensure its longevity.

