If you’re on the hunt for the ultimate do-it-yourself journey, get ready to be astounded by the amazing project we’re about to undertake. We’re going to demonstrate how you can convert a bus into a camper in ways beyond your imagination! Prepare to channel your creativity and evolve a basic bus into a lavish and practical mobile home.
In this detailed and informative article, we’ll guide you through every step of the process. From researching and choosing the perfect bus for your needs, to planning the layout and design that will make your camper a cozy and efficient space. We’ll teach you how to remove seats, prepare the interior, and install insulation and ventilation to ensure your comfort on the road.
But that’s not all! We’ll also show you how to build a comfortable bed and storage space, create a cozy living area, and even add electrical systems and lighting for all your modern-day needs. And let’s not forget about the exterior – we’ll help you customize it and give it a paint job that will turn heads wherever you go.
So, gear up for the adventure of a lifetime as we dive into the world of bus conversion. Get ready to hit the road and enjoy the freedom of your very own DIY camper!
Key Takeaways
- Choosing the right bus based on budget, size, and mechanical condition
- Maximizing space utilization with multi-purpose furniture and storage solutions
- Installing kitchen appliances and plumbing for convenience in meal preparation
- Designing a cozy and inviting living area with the right furniture and décor
Research and Choose the Right Bus
Now, imagine yourself standing in front of a row of buses, carefully examining each one as you envision the possibilities of transforming it into your dream camper.
Choosing the right bus is the first step in this exciting journey. Budget considerations play a crucial role in this decision-making process. Determine how much you’re willing to invest in your camper conversion project, keeping in mind that additional expenses may arise along the way.
Once you have a clear budget in mind, start looking for buses within your price range.
Next, finding the right size and model is essential. Consider the number of people who’ll be traveling with you and the amount of space you’ll need for living, sleeping, and storage. Assess the dimensions and layout of the bus to ensure it meets your requirements. Additionally, take into account the bus’s mechanical condition, as repairs can be costly and time-consuming.
With a budget and bus model in mind, you can now transition into the subsequent section about planning the layout and design of your camper. This step is crucial in maximizing space and creating a comfortable living environment.
Plan the Layout and Design of Your Camper
First, envision the perfect layout and design for your soon-to-be transformed bus, ensuring every inch is optimized for comfort and functionality. When planning the interior design of your camper, it’s essential to choose the best materials that are both durable and suitable for the road.
Consider using lightweight and moisture-resistant materials such as marine-grade plywood for the walls and ceiling. For the flooring, opt for vinyl or laminate that’s easy to clean and maintain.
Maximizing space utilization in your camper layout is crucial to create a functional living space. Consider installing multi-purpose furniture, such as a sofa that can also serve as a bed, or a dining table that can be folded away when not in use. Utilize vertical space by installing shelves or cabinets to store items efficiently. Additionally, incorporate storage solutions under benches or beds to make the most of the available space.
Carefully planning the layout and design of your camper is essential for creating a comfortable and functional living space. By choosing the best materials and maximizing space utilization, you can create a camper that meets your needs and preferences.
Now, let’s move on to the next step of the process, which involves removing the seats and preparing the interior.
Remove Seats and Prepare the Interior
To get started on your camper transformation, it’s time to roll up your sleeves and tackle the task of removing the seats and prepping the interior for its exciting new purpose.
Removing seats efficiently is crucial to create space for your camper’s layout. Begin by unscrewing the bolts that secure the seats to the floor. Use a wrench or socket set to ensure a smooth and quick removal process.
Once the seats are out, inspect the floor for any damage or rust that needs to be addressed before moving forward.
Choosing the right materials for the interior is essential for creating a comfortable and functional living space. Opt for lightweight and durable materials that can withstand the rigors of the road. Plywood is a popular choice for constructing walls, cabinets, and furniture due to its strength and versatility. Consider using foam or memory foam for the seating and sleeping areas to ensure maximum comfort during your travels.
Now that you have removed the seats and selected the appropriate materials, it’s time to move on to the next step of your camper conversion journey: installing insulation and ventilation.
Install Insulation and Ventilation
Once you’ve stripped away the unnecessary elements of the interior, it’s time to make your camper a cozy haven by installing insulation and ventilation. Proper insulation is essential for maintaining a comfortable temperature inside your converted bus. There are several insulation materials you can choose from, such as foam boards, spray foam, or fiberglass. Foam boards offer good insulation and are easy to install, while spray foam provides excellent coverage and fills all gaps. Fiberglass is another popular option, as it’s effective in reducing heat transfer.
To ensure adequate ventilation, you should consider installing a ventilation system in your camper. Here are three options to consider:
-
Roof Vent: Installing a roof vent allows for air circulation and helps remove heat and humidity. Choose a vent with a fan to increase airflow.
-
Windows with Screens: Adding windows with screens not only brings in natural light but also allows fresh air to enter the camper. Opt for windows that can be opened and closed easily.
-
Ventilation Fans: Consider installing ventilation fans in strategic locations to ensure proper airflow throughout the camper. These fans can be mounted on the walls or ceiling.
With insulation and ventilation in place, your bus camper will provide a comfortable and pleasant living space. Now, let’s move on to the next section and learn how to build a bed and storage space for a good night’s rest and efficient use of space.
Build a Bed and Storage Space
Now comes the exciting part – creating a cozy bed and clever storage solutions to make your camper a truly inviting and organized space!
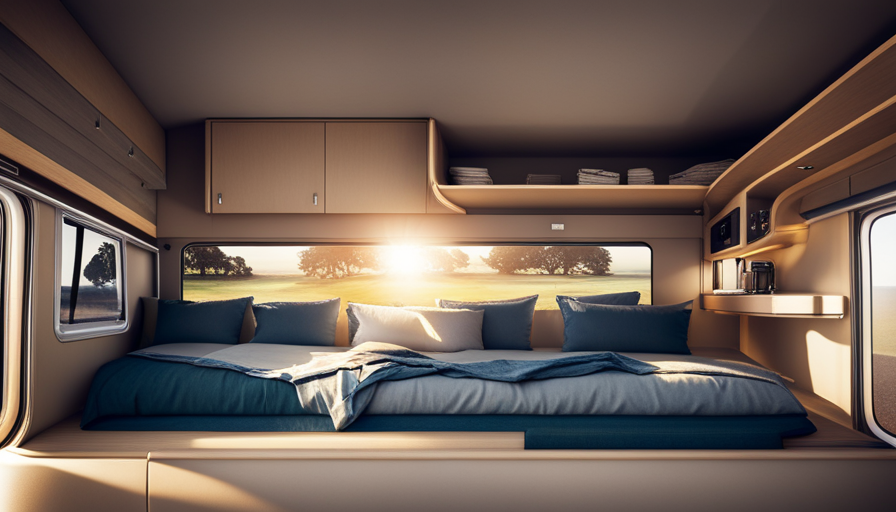
When building a custom bed frame for your bus camper, it’s important to consider both comfort and functionality. Start by measuring the space where the bed will be located and determine the size of the mattress you want to use. Construct a sturdy frame using plywood and 2×4 boards, making sure to secure it firmly to the bus structure.
To maximize storage space, incorporate drawers or compartments underneath the bed frame. These can be used to store clothes, bedding, or any other items you’ll need during your travels. Additionally, consider installing overhead storage compartments or shelves above the bed for easy access to smaller items.
Once the bed frame is complete, add a comfortable mattress and bedding to complete the cozy feel of your camper. With a well-designed bed and ample storage space, your bus camper will offer both comfort and practicality.
As you transition into the subsequent section about installing kitchen appliances and plumbing, you’ll have a solid foundation to continue transforming your bus into a fully functional home on wheels.
Install Kitchen Appliances and Plumbing
Installing kitchen appliances and plumbing in your bus camper will not only enhance its functionality but also create a convenient and efficient space for preparing meals on the go. When it comes to installing plumbing in a bus camper, it’s important to consider the size and layout of your vehicle.
First, you’ll need to choose a suitable water tank that fits within the available space. Opt for a tank with a sufficient capacity for your needs, and ensure it’s securely mounted to prevent any leaks or damage while driving.
Next, connect the tank to a water pump and a faucet, providing a reliable water source for cooking and cleaning. Additionally, installing a sink with a drain is crucial for maintaining cleanliness and sanitation in your camper.
In terms of kitchen appliances, it’s essential to prioritize functionality and space-saving features. Look for compact appliances that can easily fit into your camper, such as a mini-fridge, a portable stove, or a microwave oven. Consider energy-efficient options that can run on battery power or propane to minimize your reliance on external power sources.
Don’t forget about storage space for your cooking utensils, pots, and pans. Utilize overhead cabinets or under-counter drawers to maximize storage efficiency.
By carefully selecting and installing kitchen appliances and plumbing in your bus camper, you’ll create a well-equipped and practical kitchen area for your adventures on the road.
Transitioning into the subsequent section about creating a comfortable living area, let’s now explore how to design a cozy and inviting space to relax and rest after a long day of traveling.
Create a Comfortable Living Area
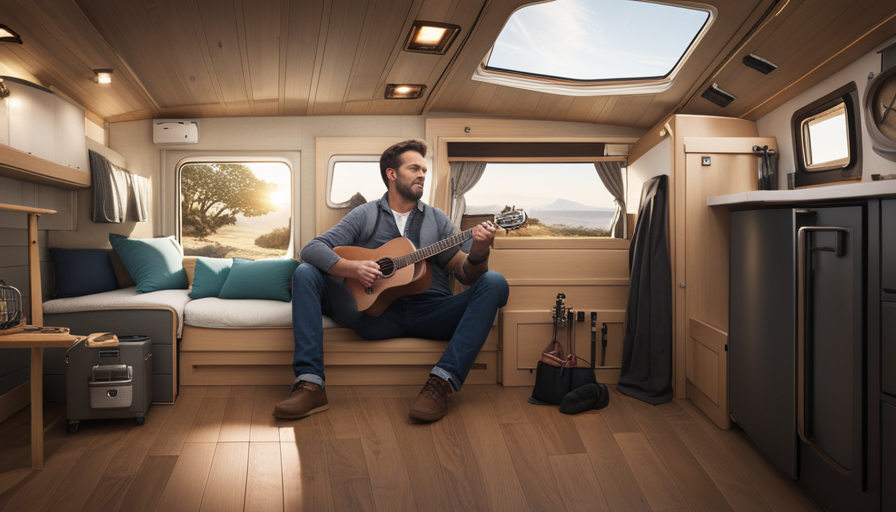
Crafting a cozy and inviting space to unwind and rejuvenate is essential when designing the living area of your bus conversion. Creating a cozy atmosphere is achieved by carefully selecting the right furniture and décor. To maximize space utilization, consider using multi-functional furniture pieces, such as a sofa that can also be converted into a bed.
Additionally, installing wall-mounted shelves and cabinets can provide extra storage without taking up valuable floor space.
To add depth and personality to your living area, consider incorporating a nested bullet point list. For the first sub-list, focus on enhancing the comfort factor. This can include adding plush cushions, blankets, and curtains to create a warm and inviting ambiance.
For the second sub-list, highlight the importance of functionality. Include items like foldable tables, storage ottomans, and versatile seating options that can be easily rearranged to accommodate different activities.
Maximizing space utilization is crucial in a bus conversion. Consider utilizing vertical space by installing overhead storage compartments or hanging organizers. Additionally, using modular furniture that can be easily rearranged or folded away when not in use can provide flexibility and maximize available space.
In the next section about adding electrical systems and lighting, we’ll discuss how to create a well-lit and functional living area that meets all your needs.
Add Electrical Systems and Lighting
Transforming your living area with the right electrical systems and lighting will create a warm and inviting oasis that’ll make you never want to leave. When converting a bus into a camper, one of the most important aspects to consider is the electrical wiring. Properly installing an electrical system will ensure that all of your appliances and devices can function seamlessly.
Start by mapping out where you want your outlets and light switches to be located. Then, run the necessary wiring through the walls and ceiling, making sure to secure it properly. It’s recommended to hire a professional electrician for this part of the conversion process to ensure safety and compliance with electrical codes.
To power your electrical system, consider incorporating solar power into your camper. Solar panels can be mounted on the roof of the bus and connected to a battery bank. This’ll allow you to harness the energy of the sun to power your lights, appliances, and other electrical devices. It’s important to size your solar system appropriately based on your energy needs and the available space on your bus roof.
By adding electrical systems and lighting, you’re taking your bus camper to the next level of comfort and convenience. Once your electrical system is set up, you can move on to customizing the exterior and paint job, which’ll give your camper a unique and personalized look.
Customize the Exterior and Paint Job
After successfully adding electrical systems and lighting to your bus-turned-camper, it’s time to move on to the next step: customizing the exterior and giving it a fresh paint job. The exterior modifications aren’t just about aesthetics but also about ensuring durability and protection from the elements.
First, consider the material of your bus’s exterior. Whether it’s metal or fiberglass, proper preparation is crucial. Start by cleaning the surface and removing any rust or old paint. Next, repair any dents or scratches using body filler and sand it down to create a smooth surface.
Now, let’s talk about painting techniques. Begin by applying a primer that’s suitable for your bus’s material. This’ll help the paint adhere better and provide an even base. Choose high-quality automotive paint in your desired color and apply it in thin, even coats. Allow each coat to dry before applying the next.
To add an extra touch of personalization, you can consider using stencils or decals for designs or logos. Finally, finish off with a clear coat to protect the paint and give it a glossy finish.
With the exterior modifications and paint job complete, your bus is now ready to hit the road and embark on your DIY camper adventure! So buckle up, get ready to explore, and make memories in your newly transformed home on wheels.
Hit the Road and Enjoy Your DIY Camper Adventure!
Now that your DIY camper’s complete, it’s time to hit the road and embark on your adventure. Enjoy the freedom of the open road and the flexibility of your personalized mobile home. Did you know that over 40 million Americans go RV camping each year? It’s a popular and exciting way to explore the great outdoors.
Before you set off, let’s talk about some DIY furniture ideas to make your camper more comfortable and functional. Consider building a fold-out dining table that can double as a workspace or a storage bench that provides additional seating and room for your camping gear. By customizing your furniture to fit your needs, you can maximize the space in your camper.
In addition to DIY furniture, it’s important to have essential camping gear on board. Make sure to pack a reliable camping stove for cooking meals, a comfortable sleeping bag or mattress for a good night’s sleep, and a portable toilet for convenience. Don’t forget to bring cooking utensils, pots and pans, and plenty of storage containers for food and supplies.
As you hit the road, remember to plan your route and research campgrounds and RV parks along the way. Look for places with amenities like electricity and water hookups, as well as scenic locations that offer breathtaking views. With your DIY camper and essential camping gear, you’re ready for an unforgettable adventure on the open road.
Frequently Asked Questions
How much does it cost to convert a bus into a camper?
Converting a bus into a camper can vary in cost depending on various factors. The conversion process involves transforming the bus’s interior to accommodate living essentials such as a bed, kitchen, bathroom, and storage.
Necessary supplies may include insulation, flooring, electrical wiring, plumbing, and furniture. Costs can range from a few thousand to tens of thousands of dollars, depending on the size of the bus, quality of materials, and level of customization desired.
Can I legally drive a converted bus on public roads?
Yes, we can legally drive a converted bus on public roads as long as it meets certain legal requirements. To ensure compliance, we need to obtain the proper permits and licenses for the conversion.
Additionally, it’s crucial to have appropriate insurance coverage for our converted bus. This’ll protect us financially in case of any accidents or damages.
Adhering to these legal and insurance requirements will allow us to enjoy our converted bus on public roads safely and legally.
What are the maintenance requirements for a converted bus camper?
When it comes to maintaining a converted bus camper, there are a few essential tips to keep in mind.
Regular inspections of the engine, brakes, and tires are crucial to ensure safe travels.
Additionally, maintaining the electrical system, plumbing, and propane equipment is essential for a comfortable living experience on the road.
To make your maintenance tasks easier, it’s advisable to have a set of essential tools, including wrenches, pliers, and a multimeter.
How do I find campsites or places to park my converted bus camper?
Finding campsites and parking options for a converted bus camper can be a daunting task, but with the right resources, it becomes much easier. Start by researching online directories and apps that specialize in listing campgrounds and RV parks. These platforms provide valuable information such as amenities, availability, and user reviews.
Additionally, consider joining online communities and forums dedicated to camping and RVing, where you can find recommendations from experienced campers. Remember to plan ahead and book your desired campsites well in advance, especially during peak seasons.
Are there any safety regulations or requirements for a converted bus camper?
Safety regulations and insurance requirements are crucial aspects to consider when converting a bus into a camper. Complying with safety regulations ensures the well-being of passengers and other road users. This may involve installing proper seat belts, emergency exits, and fire extinguishers.
Additionally, insurance requirements may vary depending on your location and intended use of the camper. Adequate insurance coverage is necessary to protect your investment and provide liability protection.
Conclusion
In conclusion, turning a bus into a camper is a challenging but rewarding project that allows you to create your own personalized home on wheels. With proper research and planning, you can transform a bus into a comfortable living space that suits your needs.
One interesting statistic to note is that, according to a survey conducted by the RV Industry Association, there are over 11 million RV-owning households in the United States. This highlights the growing popularity of camper conversions and the freedom and flexibility they offer to adventure seekers.
So, if you’re ready to hit the road and embark on your DIY camper adventure, follow the steps outlined in this article and get started on your own amazing transformation!

