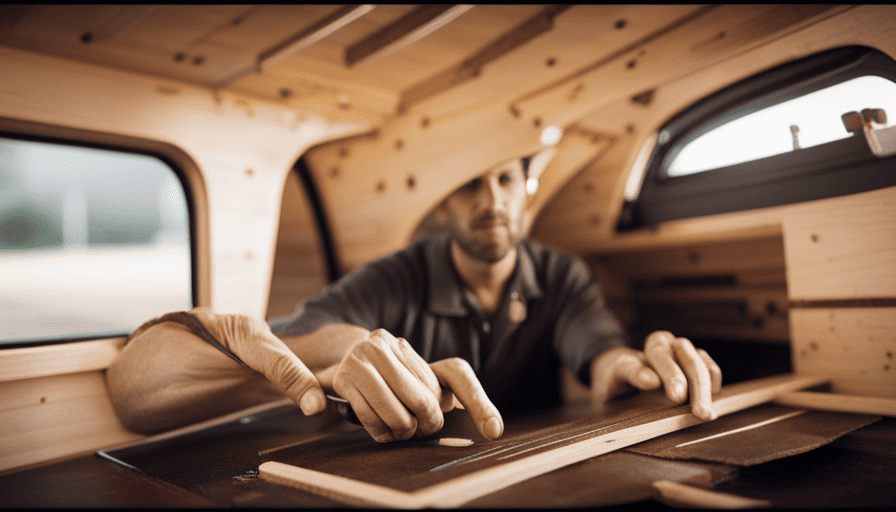
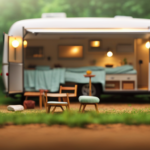
Standing in front of the empty trailer, its metal frame glistening in the sunlight, I felt a rush of excitement. This was my blank canvas, ready to be transformed into a mobile home, a sanctuary for my travels.
Building a camper on a trailer is an art, a symphony of engineering and creativity that allows us to break free from the constraints of traditional living. It’s a chance to create a personalized space that embodies our desires and aspirations.
In this article, I will guide you through the meticulous process of crafting your own camper, step by step. From determining your budget and design plan to adding the finishing touches, I will share the knowledge and expertise I have acquired on my own journey.
So, grab your tools and join me as we embark on a transformative adventure, where dreams take shape and the open road becomes our playground.
Key Takeaways
- Determine budget and design plan before starting the build.
- Gather necessary materials and tools, including circular saw, power drill, jigsaw, tape measure, level, framing square, and sander.
- Install electrical and plumbing systems, map out locations of components, run wires properly, connect to power source.
- Thoroughly test all systems and components before hitting the road.
Determine Your Budget and Design Plan
Before you start building your camper, it’s crucial to determine your budget and design plan. Budgeting tips are essential to avoid overspending and ensure that you can complete your project within your financial means. Start by researching the cost of materials, tools, and any professional assistance you may need. Consider setting aside a contingency fund for unexpected expenses. It’s also important to establish a realistic timeline for your project, as this can affect your budget.
To get design inspiration, browse through camper magazines, online forums, and social media groups dedicated to camper conversions. Take note of features you like and consider how they can be incorporated into your design. Sketch out your ideas and create a detailed floor plan. This will help you visualize the layout and ensure that everything fits properly.
Once you have your budget and design plan in place, you can move on to the next step: choosing the right trailer for your camper. This is a crucial decision as it will determine the size and weight capacity of your camper. Consider factors such as the type of trailer (flatbed, utility, or enclosed), its condition, and towing requirements. By carefully selecting the right trailer, you’ll be one step closer to building your dream camper.
Choose the Right Trailer for Your Camper
When selecting the perfect trailer for your camper, it’s essential to find one that fits like a glove and meets your specific needs. There are different types of trailers to choose from, each with its own advantages and limitations.
The most common trailer types for camper conversions include utility trailers, cargo trailers, and flatbed trailers. Utility trailers are versatile and can be modified to suit your camper design. Cargo trailers are typically enclosed and provide better protection against the elements. Flatbed trailers offer an open design, allowing for more flexibility in creating your camper layout.
Once you have chosen the trailer type, it’s time to consider modifications. This involves assessing the trailer’s structure and determining if any adjustments need to be made to accommodate your camper plans. Some common modifications include reinforcing the frame, adding insulation, installing windows and doors, and creating storage compartments. It’s important to carefully plan these modifications to ensure they are done safely and effectively.
With the right trailer and modifications in place, you can move on to planning the layout and features of your camper. This includes deciding on the sleeping area, kitchenette, bathroom, and storage options. By carefully considering your needs and preferences, you can create a camper that is functional and comfortable for your adventures.
Plan the Layout and Features of Your Camper
Once you’ve selected the perfect trailer and made the necessary modifications, envisioning the layout and features of your dream camper becomes an exciting and creative endeavor. Designing the interior of your camper requires careful consideration of space optimization and functionality.
Here are some design tips to help you create an efficient and comfortable living space:
-
Utilize multipurpose furniture: Choose items that can serve multiple functions, such as a sofa that can also be converted into a bed, or a dining table that can fold down when not in use.
-
Maximize storage: Incorporate clever storage solutions like overhead cabinets, under-bed compartments, and wall-mounted organizers to make the most of limited space.
-
Opt for lightweight materials: Use lightweight materials for the interior construction, such as plywood or composite panels, to minimize the overall weight of your camper.
-
Consider modular components: Install modular components like sliding doors, foldable tables, and removable partitions to allow for easy customization and adaptability.
By carefully planning the layout and incorporating these design tips, you can optimize the space in your camper and create a comfortable and functional living area. Once the design is finalized, it’s time to gather the necessary materials and tools to bring your vision to life.
Gather the Necessary Materials and Tools
Now that I’ve envisioned the layout and features of my dream camper, it’s time to gather all the materials and tools I’ll need to bring my vision to life. Choosing the right tools is crucial for ensuring a smooth and efficient build process.
Some essential tools for building a camper on a trailer include a circular saw, a power drill, a jigsaw, a tape measure, a level, a framing square, and a sander. These tools will help me accurately measure, cut, and assemble the various components of my camper.
Finding affordable materials is also important to stay within budget. I plan to search for deals at local hardware stores, online marketplaces, and salvage yards. Some key materials I’ll need include plywood for the walls and floors, insulation for temperature control, aluminum or fiberglass for the exterior, and various hardware such as screws, brackets, and hinges.
With the tools and materials gathered, I can now move on to the next step of the process, which is to build the frame and structure of my camper. This involves constructing a sturdy base, framing the walls, and installing the roof. By following these steps, I’ll be one step closer to creating my own customized camper.
Build the Frame and Structure of Your Camper
Begin by constructing a sturdy foundation and framing the walls of your custom creation, ensuring a solid structure for your dream mobile abode.
To achieve this, follow these steps:
-
Determine the design of your camper: Before you start building, decide on the layout and features you want in your camper. Consider the number of beds, kitchen space, storage options, and any other amenities you desire.
-
Choose the right trailer: Selecting the appropriate trailer is crucial for the stability and functionality of your camper. Consider factors such as weight capacity, size, and towing capabilities to ensure a safe and smooth journey.
-
Build the frame: Begin by building the frame of your camper using sturdy materials like steel or aluminum. Ensure that it’s strong enough to support the weight of the camper and withstand the rigors of travel.
-
Frame the walls: Once the foundation is complete, frame the walls of your camper using wooden or metal studs. This’ll provide structure and support for the interior and exterior components.
With the frame and structure of your camper in place, you can now move on to installing the electrical and plumbing systems necessary for a functional living space on wheels.
Install Electrical and Plumbing Systems
Get ready to bring your dream mobile abode to life by installing the essential electrical and plumbing systems for a fully functional living space on wheels.
The first step in this process is wiring installation. Start by mapping out the locations of all your electrical components, such as lights, outlets, and appliances. Then, run the necessary wires through the walls and ceilings, making sure to secure them properly and avoid any potential hazards. Don’t forget to connect your electrical system to a power source, such as a battery or generator.
Next, it’s time to tackle the plumbing fixtures. Begin by installing a water tank and connecting it to a water pump. This will allow you to have a steady supply of fresh water for all your needs. Then, run the necessary pipes to your sink, shower, and toilet. Make sure to properly seal all connections to prevent leaks. Additionally, consider installing a grey water tank to collect and dispose of waste water safely.
With the electrical and plumbing systems in place, you are one step closer to a fully functional camper. In the next section, we will discuss how to insulate and finish the interior of your camper, transforming it into a cozy and comfortable living space.
Insulate and Finish the Interior of Your Camper
To create a comfortable living space, make sure you insulate and finish the interior of your mobile abode. How can you ensure that your camper stays warm in the winter and cool in the summer? Proper insulation is key. Here are some camper insulation techniques to consider:
-
Install foam board insulation: Cut the foam board to fit the walls and ceiling of your camper. This will provide a barrier against temperature extremes.
-
Seal all gaps and cracks: Use caulk or spray foam insulation to seal any gaps or cracks in the walls, windows, and doors. This will prevent drafts and heat loss.
-
Use reflective insulation: Reflective insulation, such as foil-faced bubble wrap, can be applied to the walls and ceiling to reflect heat and keep your camper cool in the summer.
-
Install thermal curtains: Thermal curtains have a layer of insulating material to help regulate the temperature inside your camper.
-
Consider a portable heater or air conditioner: To further control the temperature, you can invest in a portable heater for the winter and an air conditioner for the summer.
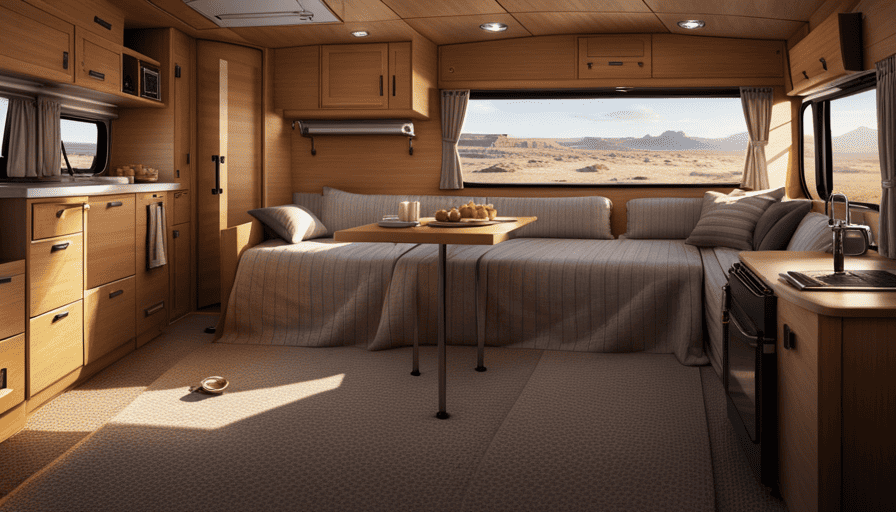
When it comes to interior design ideas for campers, the possibilities are endless. You can choose a cozy rustic theme with wood accents and warm colors, or go for a modern and minimalist look with sleek furniture and clean lines. Don’t forget to add personal touches like artwork, throw pillows, and plants to make your camper feel like home.
With the interior finished, it’s time to move on to the next step of adding furniture, appliances, and decorative elements to complete your camper transformation.
Add Furniture, Appliances, and Decorative Elements
After insulating and finishing the interior of your camper, it’s time to add the furniture, appliances, and decorative elements that will make your camper feel like home. When it comes to camper decor ideas, it’s important to prioritize space-saving options to maximize the limited space available.
One popular choice for campers is to incorporate multifunctional furniture that serves multiple purposes. For example, a dining table that can be folded down when not in use or converted into a bed for additional sleeping space. Another space-saving option is to install wall-mounted storage solutions, such as shelves or hanging baskets, to keep your belongings organized and out of the way.
When selecting appliances for your camper, consider their size and energy efficiency. Compact appliances, such as mini fridges and portable induction cooktops, are ideal for small spaces. Additionally, incorporating decorative elements, such as curtains, throw pillows, and wall art, can add personal touches and make your camper feel cozy and inviting.
In the table below, I have provided a few examples of space-saving furniture options and decorative elements that you can consider for your camper:
| Space-Saving Furniture Options | Decorative Elements |
|---|---|
| Murphy bed | Throw pillows |
| Folding dining table | Curtains |
| Wall-mounted shelves | Wall art |
With the furniture, appliances, and decorative elements in place, your camper is starting to take shape. However, before you hit the road, it’s important to test everything and make any necessary adjustments.
Test and Make Any Necessary Adjustments
Make sure you thoroughly test and make any necessary adjustments to ensure your camper is road-ready and functioning properly. Before hitting the road, it’s crucial to test all the systems and components to avoid any surprises during your camping adventure.
Here are three essential testing methods and troubleshooting tips to help you get started:
-
Electrical System Test: Check all electrical connections and test each component individually, such as lights, outlets, and appliances. Use a multimeter to measure voltage and ensure proper functioning. Replace any faulty fuses or wires.
-
Plumbing System Test: Fill the freshwater tank and check for leaks or water pressure issues. Run water through all faucets, showers, and toilets to ensure proper flow. Inspect all connections and seals, and tighten or replace as needed.
-
Suspension and Brakes Test: Drive the camper on a safe road and test the suspension system for any unusual noises or vibrations. Check the brakes by applying them gently and ensuring they engage smoothly without any pulling or grinding sounds.
Once you have thoroughly tested and made any necessary adjustments, you’ll be ready to hit the road and enjoy your custom camper! Remember to perform regular maintenance checks and address any issues promptly to ensure a safe and enjoyable camping experience.
Hit the Road and Enjoy Your Custom Camper!
After testing and making any necessary adjustments to your camper on a trailer, it’s time to hit the road and enjoy your custom creation! As I embark on my own road trip adventure, I realize the importance of having the right essentials and following some tips for camping in a camper trailer.
To ensure a smooth and enjoyable journey, it’s crucial to pack road trip essentials such as a first aid kit, emergency supplies, and a toolset for any unexpected repairs. Additionally, having a reliable GPS system and maps can help navigate unfamiliar territories.
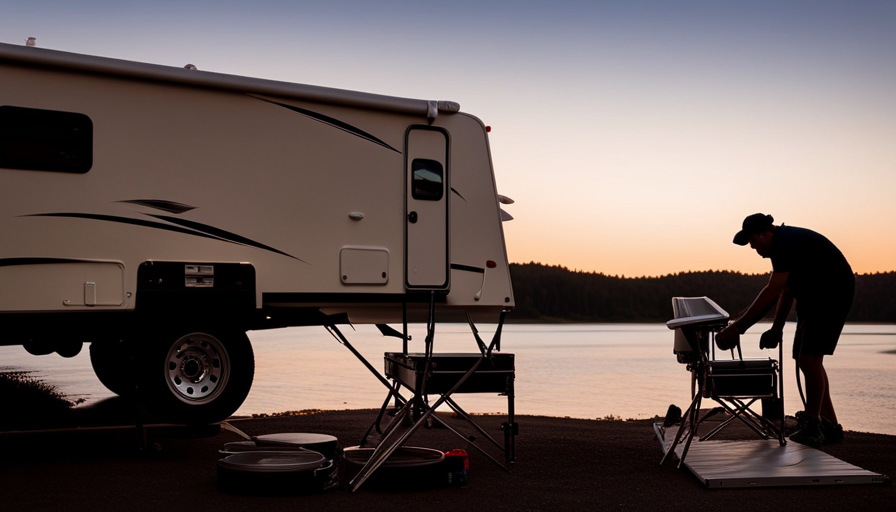
When it comes to camping in a camper trailer, organization is key. Utilizing storage compartments effectively and securing loose items will prevent any accidents or damage during travel. It’s also important to level the trailer properly and secure it with stabilizing jacks to ensure stability and comfort while parked.
Furthermore, practicing good hygiene and cleanliness is essential. Regularly emptying the waste tanks, keeping the water tanks filled, and maintaining a clean living space will contribute to a pleasant camping experience.
Lastly, don’t forget to relax and enjoy the journey! Take advantage of the freedom and flexibility that a camper trailer offers, and embrace the beauty of the open road. Happy camping!
| Road Trip Essentials | Tips for Camping in a Camper Trailer |
|---|---|
| First aid kit | Efficiently utilize storage compartments |
| Emergency supplies | Secure loose items during travel |
| Toolset | Level and stabilize the trailer |
| GPS system and maps | Maintain cleanliness and hygiene |
| Relax and enjoy the journey |
Frequently Asked Questions
How do I legally register and insure my camper trailer?
To legally register and insure your camper trailer, you need to fulfill certain requirements.
Registering involves completing the necessary paperwork, providing proof of ownership, and obtaining a title and registration from your local DMV.
When it comes to insurance coverage, you’ll want to protect your investment with comprehensive coverage that includes liability, collision, and comprehensive policies.
Remember, meeting legal requirements and having adequate insurance safeguards your camper trailer and provides peace of mind on your adventures.
Can I build a camper on any type of trailer, or are there specific requirements?
When it comes to building a camper on a trailer, there are specific requirements to consider. First, you need to choose the right trailer that’s suitable for your camper design and size. It should have a sturdy frame and the appropriate weight capacity.
Additionally, building on a budget requires careful planning and sourcing affordable materials. By considering these factors, you can successfully build a camper on a trailer that meets your needs and budget.
What are the safety considerations when building a camper on a trailer?
When it comes to building a camper on a trailer, safety measures should be the top priority.
Ensuring structural integrity is crucial, starting with a sturdy trailer frame and proper weight distribution.
Building techniques should include reinforced walls and roof to withstand road vibrations and weather conditions.
Other considerations include electrical wiring and plumbing systems that meet safety codes, as well as installing secure windows and doors.
Attention to these safety measures is essential for a successful camper build.
How do I ensure that my camper is structurally sound and able to withstand travel?
To ensure structural integrity and travel durability, there are several key factors to consider. First, choose sturdy materials, such as steel or aluminum, for the camper’s frame and walls.
Additionally, reinforce critical areas like corners and joints to withstand road vibrations.
Prioritize a solid foundation by properly attaching the camper to the trailer, using strong bolts or welding.
Finally, regularly inspect and maintain the camper’s structure. Ensure any damage is promptly repaired to guarantee safe and reliable travel.
Are there any regulations or permits I need to be aware of when using my custom camper on the road?
When it comes to using a custom camper on the road, it’s important to be aware of the regulations and permits that may be required.
Different jurisdictions may have specific requirements regarding the use of custom campers, such as size restrictions, weight limits, and safety standards. It’s crucial to research and comply with these regulations to ensure legal and safe usage of your camper on the road.
Additionally, obtaining the necessary permits will help prevent any potential issues or fines during your travels.
Conclusion
After weeks of hard work, careful planning, and countless hours of construction, my custom camper on a trailer is finally complete.
The anticipation builds as I prepare to hit the road and embark on new adventures. With its sturdy frame, insulated interior, and carefully chosen features, this camper is ready to take on any terrain.
The possibilities are endless as I imagine the places I’ll explore and the memories I’ll create. It’s time to buckle up, turn the key, and let the journey begin.

