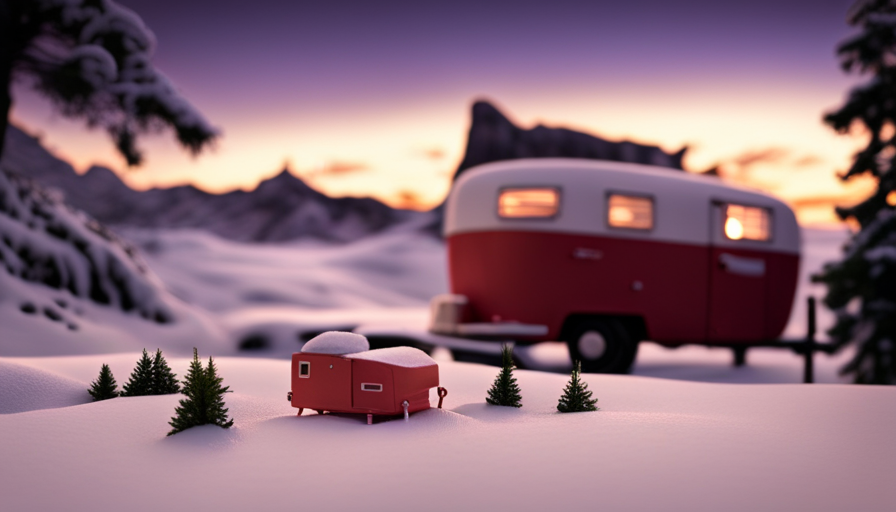
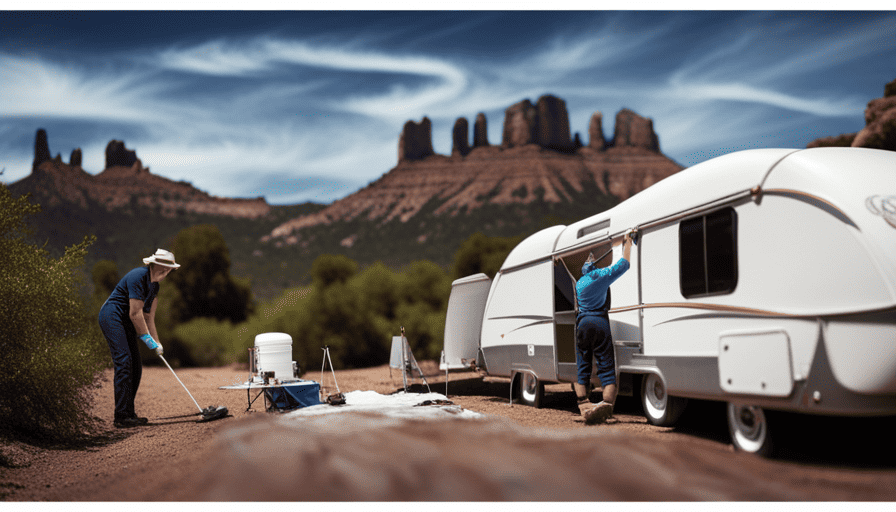
As winter approaches, it is important to protect our beloved pop-up campers from the harsh weather conditions. With temperatures dropping and snow on the way, it is essential to take the necessary steps to get your camper ready for the upcoming season, making sure it is equipped for what is to come.
In this article, we will guide you through the process of winterizing your pop-up camper, providing you with detailed instructions and expert tips to keep your camper safe and secure during the winter months.
From assessing your camper’s needs to properly storing it for the season, we will cover every aspect of winterization. You’ll learn how to drain and flush the water system, protect the plumbing from freezing, and winterize the propane system. We’ll also show you how to insulate and seal the camper’s exterior, protect outdoor furniture and equipment, clean and treat the canvas and upholstery, and check and maintain the battery.
With our comprehensive guide, you can rest easy knowing that your pop-up camper will be well-prepared for the winter season, ready to hit the road again when the warmer days arrive.
So let’s dive in and ensure your camper stays in top shape during the chilly months ahead.
Key Takeaways
- Inspect the camper’s insulation effectiveness by checking for gaps or cracks in the walls, windows, and doors.
- Seal any gaps or cracks with weatherstripping or caulk to retain heat.
- Use thermal curtains or window coverings for additional insulation.
- Drain and flush the water system to prepare for colder temperatures.
Assessing Your Camper’s Needs for Winterization
Now it’s time to figure out what our trusty pop-up camper needs to brave the winter months.
Evaluating the insulation effectiveness is crucial to ensuring a warm and cozy interior during cold weather. Start by inspecting the walls, windows, and doors for any gaps or cracks where cold air can sneak in. Use weatherstripping or caulk to seal these areas and keep the heat inside.
Additionally, consider investing in thermal curtains or window coverings to further insulate the camper.
Preventing condensation buildup is another important aspect of winterizing. Condensation occurs when warm air inside the camper meets cold surfaces, leading to moisture accumulation. To combat this, make sure the camper is properly ventilated. Open windows or install vents to allow for air circulation. You can also use dehumidifiers or moisture absorbers to reduce humidity levels inside the camper.
Now that we have evaluated the insulation effectiveness and addressed condensation concerns, it’s time to move on to draining and flushing the water system.
Draining and Flushing the Water System
First, you’ll want to empty and clean out the entire water system of your camper to prepare it for the colder months. It’s important to flush the system properly to prevent any damage from freezing temperatures. Here are three essential steps to follow when draining and flushing your camper’s water system:
-
Start by turning off the water supply and opening all faucets to release any pressure in the system.
-
Next, locate the freshwater holding tank drain valve and open it to drain out all the water. Make sure to open all the faucets, including the shower and outdoor connections, to ensure complete drainage.
-
After draining the system, it’s crucial to flush it thoroughly to remove any remaining water. You can use a flushing technique, which involves connecting a hose to the city water inlet and running water through the system until it comes out clear.
To protect the plumbing system from freezing, it’s essential to take additional steps. These may include using winterizing products such as antifreeze, insulating exposed pipes, and installing heat tape. By following these steps, you can ensure that your camper’s water system is properly prepared for the colder months ahead.
Protecting the Plumbing System from Freezing
To ensure your camper’s plumbing system remains unharmed by freezing temperatures, it’s crucial that you take proactive steps to safeguard it. Preventing ice damage is essential in maintaining the functionality of your pop-up camper. One effective method is to use antifreeze to protect the plumbing system.
First, make sure to drain all the water from the pipes, tanks, and faucets. Any remaining water can freeze and cause significant damage. Once everything is drained, you can use antifreeze to further protect the system. Start by connecting a hose to the city water inlet and placing the other end into a container of antifreeze. Turn on the water pump, and the antifreeze will circulate throughout the plumbing system, displacing any remaining water.
Remember to open all the faucets, including the shower and toilet, to ensure the antifreeze reaches every part of the plumbing system. Additionally, flush the toilet and run water through the shower to ensure the antifreeze reaches these areas as well.
By taking these steps and using antifreeze, you can effectively prevent ice damage to your pop-up camper’s plumbing system.
Now, let’s move on to the next section about winterizing the propane system.
Winterizing the Propane System
Safeguarding your propane system during cold weather involves ensuring the system remains protected from freezing temperatures. Properly winterizing the propane system is crucial to prevent propane leaks and ensure the safe operation of your pop-up camper.
Firstly, it’s important to check the propane regulator for any signs of damage or wear. This component regulates the flow of propane from the tank to the appliances, and any issues with it can lead to leaks or inefficient operation. If any damage is detected, it should be promptly repaired or replaced by a professional.
Next, it’s essential to insulate and seal the camper’s exterior to further protect the propane system. This can be done by applying weatherstripping to doors and windows, sealing any gaps or cracks with caulk, and using insulation material to cover exposed pipes and vents. By creating a barrier against the cold weather, you can prevent freezing temperatures from affecting the propane system and potentially causing damage.
Taking these steps to winterize the propane system ensures the safety and functionality of your pop-up camper during the cold winter months.
Now, let’s move on to the next section about insulating and sealing the camper’s exterior to provide additional protection from the elements.
Insulating and Sealing the Camper’s Exterior
Additionally, insulating and sealing the exterior of your camper is crucial for protecting it from the cold weather. Studies show that proper insulation can reduce heat loss by up to 50%. To effectively insulate your pop-up camper, there are various techniques and weatherproofing methods you can employ.
First, start by inspecting the exterior of your camper for any gaps or cracks. These can be sealed using weatherproof caulk or sealant. Pay close attention to areas around windows, doors, and any other openings. Apply the caulk or sealant generously, ensuring a tight seal to prevent drafts and heat loss.
Next, consider adding insulation to the walls and roof of your camper. There are several insulation options available, including foam board insulation, reflective insulation, and thermal blankets. Choose the option that best suits your needs and budget. Install the insulation according to the manufacturer’s instructions, making sure to cover all areas thoroughly.
Lastly, don’t forget to insulate the underbelly of your camper. This area is often overlooked but can be a significant source of heat loss. Use insulation blankets or foam board insulation to cover the underside of your camper, providing an additional layer of protection.
Insulating and weatherproofing your camper’s exterior is vital for keeping it warm during the winter months. By following these insulating techniques and weatherproofing methods, you can ensure a cozy and comfortable camping experience.
Next, we’ll discuss sealing windows and doors to prevent drafts.
Sealing Windows and Doors to Prevent Drafts
Make sure you seal the windows and doors tightly to keep out drafts and maintain a cozy atmosphere inside your camper. Proper window insulation and weather stripping are essential for preventing cold air from seeping in and warm air from escaping.
Here are five important steps to follow when sealing your windows and doors:
- Inspect all windows and doors for any gaps or cracks that could allow drafts. Use a caulking gun to fill in any noticeable openings.
- Install weather stripping around the edges of windows and doors to create a tight seal. This will help to keep out cold air and prevent heat loss.
- Consider using window insulation kits, which consist of clear plastic film that you can apply over the windows. This creates an additional barrier against the cold and helps to improve insulation.
- Check the condition of your window screens. If they’re damaged or torn, replace them to ensure a tight fit and prevent drafts.
- Don’t forget to seal the door as well. Install a door sweep at the bottom of the door to block any gaps and prevent cold air from entering.
By properly sealing your windows and doors, you can significantly reduce drafts and improve the overall insulation of your pop-up camper. Now that your camper’s interior is cozy and draft-free, let’s move on to the next step: storing and protecting outdoor furniture and equipment.
Storing and Protecting Outdoor Furniture and Equipment
Luckily, keeping your outdoor furniture and equipment in pristine condition during the colder months is a breeze! Outdoor furniture storage is essential to prevent damage from snow, ice, and freezing temperatures.
To protect your furniture, start by thoroughly cleaning it to remove any dirt or debris. Next, consider investing in covers specifically designed for outdoor furniture. These covers are made from durable materials that can withstand harsh weather conditions. Make sure to choose covers that are waterproof and provide UV protection to prevent fading and cracking.
Additionally, it’s a good idea to store your furniture in a dry and sheltered location, such as a garage or shed. If you don’t have access to indoor storage, stack the furniture and cover it with a tarp.
When it comes to outdoor equipment, such as grills or lawn mowers, empty any fuel and store them in a secure and dry area.
Finally, make sure to clean and treat the canvas and upholstery of your camper to protect it from moisture and mold.
Cleaning and Treating the Canvas and Upholstery
To keep your outdoor furniture and equipment in top shape during the colder months, it’s important to properly clean and treat the canvas and upholstery. This will help protect them from moisture, mold, and mildew.
Here are some steps to follow for canvas maintenance and upholstery care:
-
Start by removing any loose dirt or debris from the canvas and upholstery using a soft brush or vacuum cleaner.
-
Next, mix a solution of mild soap and water and gently scrub the canvas and upholstery with a soft brush or sponge. Avoid using harsh chemicals or abrasive cleaners as they can damage the fabric.
-
Rinse the canvas and upholstery thoroughly with clean water and allow them to air dry completely before storing.
-
Once dry, apply a fabric protector or waterproofing spray to the canvas and upholstery. This will help repel water and prevent stains.
-
Finally, cover the furniture and equipment with a breathable, waterproof cover to provide additional protection during storage.
By following these steps, you can ensure that your canvas and upholstery stay clean and well-maintained throughout the winter months.
After cleaning and treating the canvas and upholstery, it’s important to move on to the next step of checking and maintaining the battery.
Checking and Maintaining the Battery
Don’t forget, you should check and maintain the battery to ensure its optimal performance during the colder months. Proper battery maintenance is crucial for prolonging battery life and avoiding any unpleasant surprises when you’re ready to use your pop-up camper again.
To start, it’s important to visually inspect the battery for any signs of damage or corrosion. Clean off any dirt or debris using a mixture of baking soda and water, and gently scrub the battery terminals with a wire brush to remove any corrosion. Inspect the battery cables for any fraying or damage, and replace them if necessary.
Next, check the battery’s water level. If your battery has removable caps, carefully remove them and check that the water level is above the plates. If needed, add distilled water to bring the level up to the appropriate mark.
To ensure optimal performance during the winter months, fully charge the battery before storing your pop-up camper. This can be done using a battery charger or by running the camper’s engine for a sufficient amount of time.
By properly maintaining your battery, you will prolong its life and ensure that it’s ready for use when the camping season begins again.
Now, let’s move on to the next section about properly storing the pop-up camper for the winter season.
Properly Storing the Pop-Up Camper for the Winter Season
Properly storing your pop-up camper during the winter ensures its longevity and prepares it for the next camping season. One important aspect of winterizing is storing camping gear in a safe and organized manner.
Begin by thoroughly cleaning all camping equipment, such as tents, sleeping bags, and cooking utensils. Remove any dirt or debris, and make sure everything is completely dry to prevent mold and mildew growth. Store these items in sealed containers to protect them from moisture and pests.
Next, it’s crucial to prepare for winter trips. Start by inspecting the exterior of the camper for any signs of damage or wear. Repair any cracks or leaks to prevent further damage during winter weather. Also, check the tires for proper inflation and consider using tire covers to protect them from UV rays and cold temperatures. It’s also a good idea to cover the camper with a breathable fabric or tarp to protect it from the elements.
When storing the camper, choose a location that is dry and secure. Make sure to disconnect the battery and store it in a cool, dry place. It’s also important to empty and flush the water system to prevent freezing and damage.
Finally, lock all doors and windows, and consider using wheel locks or a hitch lock for added security. By following these steps, you can properly store your pop-up camper and be ready for winter trips when the next camping season arrives.
Frequently Asked Questions
How often should I clean and treat the canvas and upholstery of my pop-up camper during the winter season?
During the winter season, we recommend cleaning and treating the canvas and upholstery of your pop-up camper every 4-6 weeks. This regular maintenance helps maintain the durability of the canvas and ensures it stays in top condition.
To clean, simply use a mild soap and water solution, gently scrubbing any stains or dirt. For added protection, apply a fabric protectant spray to repel water and prevent mold growth.
Can I leave my outdoor furniture and equipment inside the camper during winter storage?
Yes, you can leave your outdoor furniture and equipment inside the camper during winter storage. However, it’s important to take certain steps to ensure that they’re properly protected.
Firstly, clean and dry the furniture and equipment thoroughly to prevent any mold or mildew growth.
Secondly, cover them with waterproof tarps or plastic sheets to shield them from moisture and dust.
Lastly, store them in a secure and dry location within the camper to prevent any damage.
What should I do if I notice a draft coming from the windows or doors of my pop-up camper?
Did you know that up to 25% of heat loss in a pop-up camper can be attributed to drafts from windows and doors?
If you notice a draft in your pop-up camper, there are a few steps you can take to fix it. First, check for any gaps or cracks around the windows and doors. You can use weatherstripping or caulk to seal these areas.
Additionally, consider adding insulation options like thermal curtains or window film to further reduce drafts.
How can I properly maintain the battery of my pop-up camper during the winter season?
To properly maintain the battery of our pop-up camper during the winter season, we can follow some winterizing techniques and winter storage tips. First, disconnect the battery and clean the terminals using a wire brush. Then, fully charge the battery and remove it from the camper. Store it in a cool, dry place, preferably on a battery maintainer. This will prevent the battery from freezing and extend its lifespan.
Regularly check the battery’s charge level throughout the winter.
Is it necessary to drain and flush the water system of my pop-up camper if I plan on using it during the winter season?
It’s essential to drain and flush the water system of your pop-up camper if you plan on using it during the winter season. Flushing the water system is a crucial step in the winterizing procedures. By doing so, you remove any remaining water and prevent potential freezing and damage to the system.
It’s important to follow the manufacturer’s instructions for proper draining and flushing techniques to ensure the system is fully prepared for winter conditions.
Can Waterproofing the Canvas of a Pop Up Camper Help with Winterization?
When preparing your pop up camper for winter, a waterproofing canvas camper tutorial can be a game-changer. By properly waterproofing the canvas of your camper, you can ensure that it stays protected from the elements during the colder months, helping with overall winterization efforts.
Conclusion
In conclusion, winterizing a pop-up camper is crucial to protect it from the harsh winter conditions. By following the steps mentioned, we can ensure that our camper remains in top shape for the next camping season.
From draining and flushing the water system to insulating and sealing the exterior, every aspect of the camper needs to be taken care of. Don’t forget to properly store outdoor furniture and equipment and clean the canvas and upholstery. Lastly, maintaining the battery is essential.
With these precautions, our camper will be ready to hit the road again in no time. Winterizing isn’t just important, it’s absolutely vital for the longevity of our camper.

