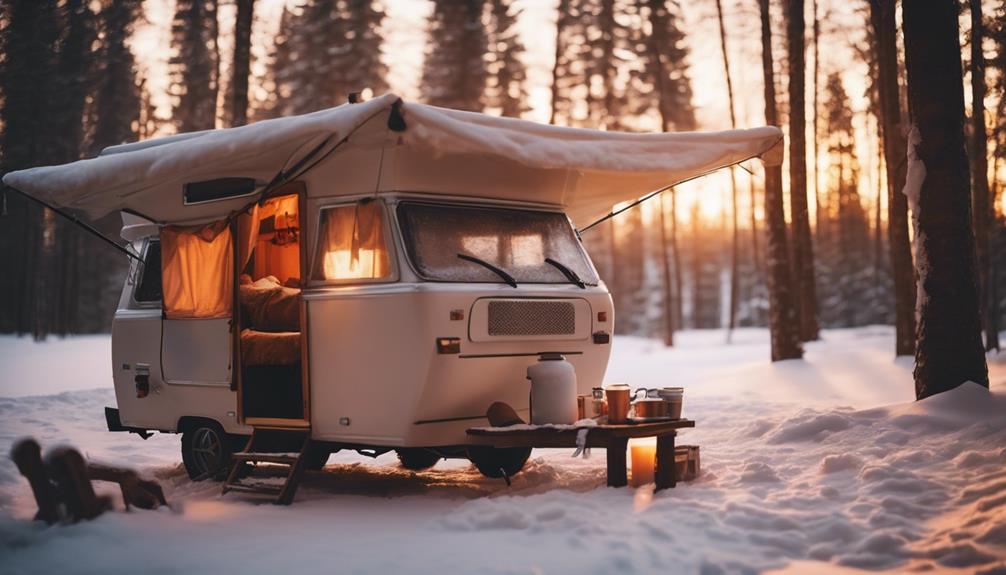
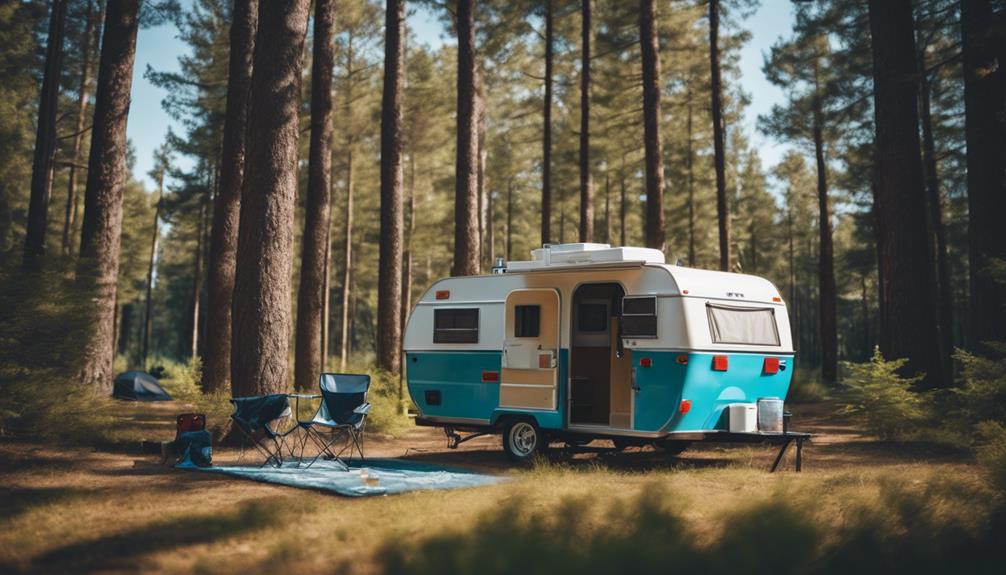
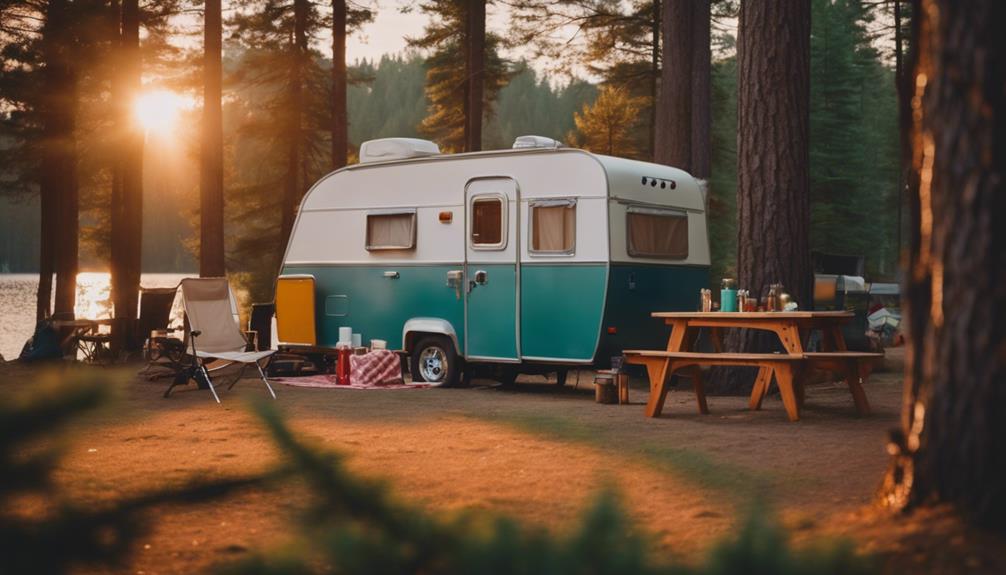
To winterize your pop-up camper, start by draining the fresh water tank and hot water heater. Use an air compressor to clear out the plumbing, then pump RV antifreeze through until it appears at all fixtures. Turn off all appliances and secure the LP tank valve. Clean the interior thoroughly, removing food and moisture, and storing linens in airtight containers. Inspect the exterior for damage and confirm seals are tight. Finally, choose a safe storage spot, ideally indoors, to protect your camper. If you want a detailed guide, there's more information on confirming your camper's longevity and protection.
Key Takeaways
- Drain fresh water tanks and hot water heaters thoroughly to prevent freezing damage.
- Use an air compressor to expel remaining water from the plumbing system.
- Pump RV antifreeze through the plumbing until it appears at all fixtures.
- Clean and ventilate appliances, ensuring the refrigerator door remains open.
Importance of Winterization
Winterizing your pop-up camper is vital to prevent costly repairs and secure its longevity. When temperatures drop, the water system in your camper can freeze, leading to burst pipes and extensive damage. By properly winterizing, you protect your investment from these harsh conditions. Using antifreeze in your water system is a fundamental step in this process, as it helps safeguard against freezing.
Regular maintenance during the winter months is important. If you skip winterization, you may face expensive repairs and extensive damage in the spring. In addition, failing to winterize can invite mold and mildew, creating an unhealthy environment for your next camping adventure.
Thinking long-term, winterizing your camper not only saves you money on repairs but also guarantees it remains in good condition for years to come. You can save between $90 and $210 in initial costs, with future DIY expenses dropping considerably.
Water System Preparation
To protect your pop-up camper's water system from freezing damage, start by draining all water from the fresh water tank and hot water heater. Next, use an air compressor to connect to the city water inlet and expel any remaining water from the plumbing system. This guarantees thorough drainage.
Bypass the hot water heater using the internal valve to prevent antifreeze waste. Then, pump antifreeze through the plumbing system until it appears at all faucets, sinks, and toilets. Don't forget to pour antifreeze into the P traps of sinks and showers to protect them from freezing. Also, confirm all waste tanks are emptied and treated with antifreeze.
Here's a quick reference table to help you with the steps:
| Step | Action | Notes |
|---|---|---|
| 1. Drain | Fresh water tank & heater | Prevents freezing |
| 2. Use air compressor | Expel remaining water | Guarantee thorough drainage |
| 3. Bypass heater | Internal valve | Avoid antifreeze waste |
| 4. Pump antifreeze | Plumbing system | Check all faucets |
| 5. Sanitize | Fresh water tank in spring | Eliminate bacteria/odors |
With these steps, you're set to winterize your camper's water system effectively!
LP System and Appliance Care

After securing the water system, it's important to focus on the LP system and appliances to guarantee they're properly winterized and protected from potential damage. Follow these steps for effective care:
- Turn Off and Secure: Make certain all appliances are completely turned off. Securely close the LP tank service valve to prevent leaks during storage.
- Clean and Protect: Clean the LP regulator and cover it to keep out moisture and debris. Disarm the leak detector and plug the service valve outlet to confirm safety.
- Inspect and Test: Examine the LP cylinders for any damage and confirm all connections to the regulator assembly are secure. Conduct a leak test on the fittings to verify everything is safe.
Don't forget to clean the refrigerator thoroughly and leave the door open for air circulation.
Also, confirm all range appliances are cleaned.
Finally, blow out the burner area in the water heater and vacuum around the combustion chamber inside the furnace to eliminate any buildup.
Taking these precautions will help keep your LP system and appliances in great shape for your next adventure!
Electrical Systems Maintenance
When winterizing your pop-up camper, you'll need to focus on maintaining the electrical systems.
Start by properly caring for the batteries and ensuring your generator is in top shape.
Don't forget to inspect the entire electrical system to keep everything safe and functional for next season.
Battery Care Procedures
Proper battery care is vital for keeping your pop-up camper's electrical system in top shape during the winter months. Following a few key procedures can help guarantee your battery remains functional and lasts longer.
- Fully Charge: Before disconnecting the battery for storage, make certain it's fully charged. This helps maintain its capacity throughout the off-season.
- Disconnect and Protect: Disconnect the battery and tape off the wire ends to prevent accidental short circuits and corrosion during storage.
- Climate-Controlled Storage: Store the battery in a climate-controlled area, protecting it from extreme temperatures that can reduce its lifespan.
While in storage, remember to recharge the battery every couple of months to keep it performing well. Consider using a trickle charger or a smart battery maintainer to keep it topped off without overcharging.
Regular maintenance is essential to avoid issues when you're ready to hit the road again. By following these battery care procedures, you'll guarantee your pop-up camper is ready for your next adventure.
Generator Maintenance Steps
To keep your generator running smoothly through the winter, follow these essential maintenance steps before storing it away.
Start by fully charging the generator's battery to maintain its lifespan and performance.
Next, add fuel stabilizer to the gas supply and run the generator for 30 minutes. This guarantees even distribution and prevents gas breakdown.
Now, it's time to change the oil and replace all filters. This keeps your generator in peak working condition for the next use.
Don't forget to inspect the shoreline cord for any damage; a damaged cord can lead to safety hazards.
While you're at it, verify the polarity of the 120V AC system to guarantee safe operation when you need it next.
Electrical System Inspections
Start your winter preparations by thoroughly inspecting the electrical system of your pop-up camper to verify everything is in top shape for the next adventure. A well-maintained electrical system is vital for your safety and the camper's overall performance.
Here are three key areas to focus on:
- Battery Maintenance: Fully charge your camper's battery before winter storage. Disconnect it and tape off the wire ends to prevent corrosion and accidental discharges.
- Shoreline Cord Inspection: Clean and inspect the shoreline cord for any damage or dirt. A damaged cord can compromise electrical connectivity and safety, so confirm it's in good condition.
- Ground Fault Interrupter (GFI) Testing: Test the GFI to confirm it's operational. This is an essential safety feature that protects against electrical shock, so don't skip this step!
Lastly, if you're using a generator, run it for 30 minutes after adding fuel stabilizer. Don't forget to perform an oil change and replace all filters to keep it reliable during off-season storage.
Pop-Up Camper Specific Steps
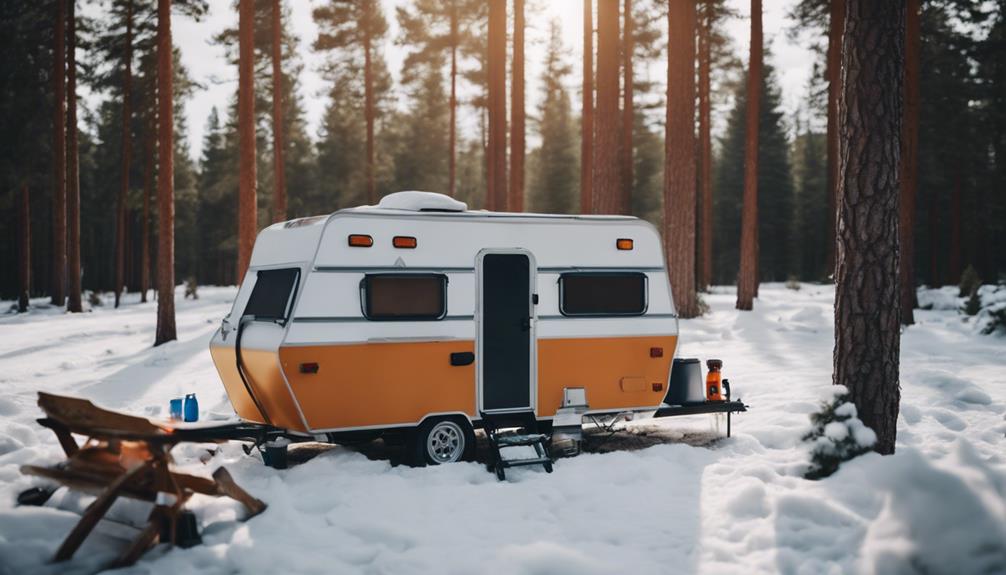
Draining all water from the fresh water tanks and hot water heater is essential to prevent freezing and damage during storage. Start your winterization process by guaranteeing all the water is drained completely.
Next, use an air compressor to blow out the plumbing system; connect it to the city water inlet and clear any remaining water from the pipes. Bypass the hot water heater using the internal valve, then pump RV antifreeze through the plumbing system until it flows from all faucets and the toilet. This helps protect the pipes from freezing temperatures.
Don't forget to adequately treat the Porta Potty's holding tank with antifreeze to guarantee it remains functional when spring arrives.
After you've addressed the plumbing, turn your attention to the appliances. Clean them thoroughly and leave the refrigerator door open to promote air circulation, which helps prevent unpleasant odors during the off-season.
Exterior Maintenance Tips
It's crucial to inspect the roof seams of your pop-up camper for any signs of wear or damage to prevent leaks this winter. Reseal any areas that need attention to keep moisture out and maintain your camper's integrity.
Here are three key exterior maintenance tips to keep your camper in top shape:
- Clean and Dry Awnings: Thoroughly clean your awnings and confirm they're dry before storing them. This prevents mold and mildew growth while rolling them up correctly avoids damage.
- Check Tires: Inspect your tires for proper inflation and overall condition. Flat tires can develop flat spots if stored for too long. Consider using tire covers for additional protection against the elements.
- Seal Vents and Openings: Make sure all vents and openings are sealed properly. This helps prevent moisture accumulation and keeps pests out during storage, avoiding costly repairs down the line.
Interior Cleaning and Protection

To protect your pop-up camper during the winter, start by giving the interior a thorough deep clean. This includes removing any food items that could attract pests and ensuring all surfaces are spotless.
After that, focus on moisture and pest prevention techniques to keep your camper in top shape until spring.
Deep Clean Interior Surfaces
Start by thoroughly cleaning all interior surfaces of your pop-up camper, including walls, tables, and floors, to eliminate dirt and prevent mold growth during storage. A deep clean not only enhances your camper's appearance but also helps remove moisture that could lead to mildew and pests.
Here's how to get started:
- Wash linens and towels: Confirm all camper-specific items are fresh and free from moisture before packing them away.
- Remove food items: Clear out all food items and perishables to avoid attracting pests and causing odors.
- Use airtight containers: Store remaining items in airtight containers with cedar chips or dryer sheets to deter pests and absorb moisture.
After you've completed these steps, consider utilizing moisture absorbers, like silica gel packets, in various areas of the camper.
This preventative measure will help maintain a dry environment throughout winter storage. By taking the time to deep clean and prep your pop-up camper, you'll confirm it's ready for your next adventure without the worry of mold or unwanted guests.
Moisture and Pest Prevention
Preventing moisture and pests in your pop-up camper requires a strategic approach to cleaning and storing your belongings.
Start by thoroughly cleaning all surfaces inside the camper. Remove any food residue or spills that can attract pests and create unpleasant odors during storage. Once cleaned, store linens, cushions, and other fabric items in moisture-proof bags to guard against mildew and moisture damage.
To further combat humidity, use moisture-absorbing packets or desiccants in various areas of the camper. These will help reduce moisture levels and deter mold and mildew formation. Make certain to seal all windows and vents tightly, as this creates barriers against both moisture accumulation and pest entry during the off-season.
Lastly, consider including lightly-scented dryer sheets in your storage areas. They'll not only provide a fresh scent but also repel pests.
Storage Location Considerations
Choosing the right storage location for your pop-up camper is fundamental, as it directly impacts its protection from theft, vandalism, and harsh winter conditions. Here are three key considerations to keep in mind:
- Secure Storage Location: Opt for a rented lot with security features to minimize risks.
- Indoor Storage Options: Whenever possible, choose indoor storage to shield your camper from the winter elements. This can prolong its lifespan and reduce maintenance costs.
- Outdoor Storage: If you must store it outdoors, make certain it's in a well-drained area and free from overhanging branches. This helps prevent water accumulation and potential damage.
Additionally, it's important to check local regulations regarding RV storage to avoid fines or conflicts with neighbors.
While your camper is in storage, perform periodic checks, especially if it's outdoors, to monitor for signs of water intrusion or pest infestations.
Remember to properly winterize your camper before storing it, as this step is crucial in preventing damage during the cold months.
Additional Winter Storage Tips
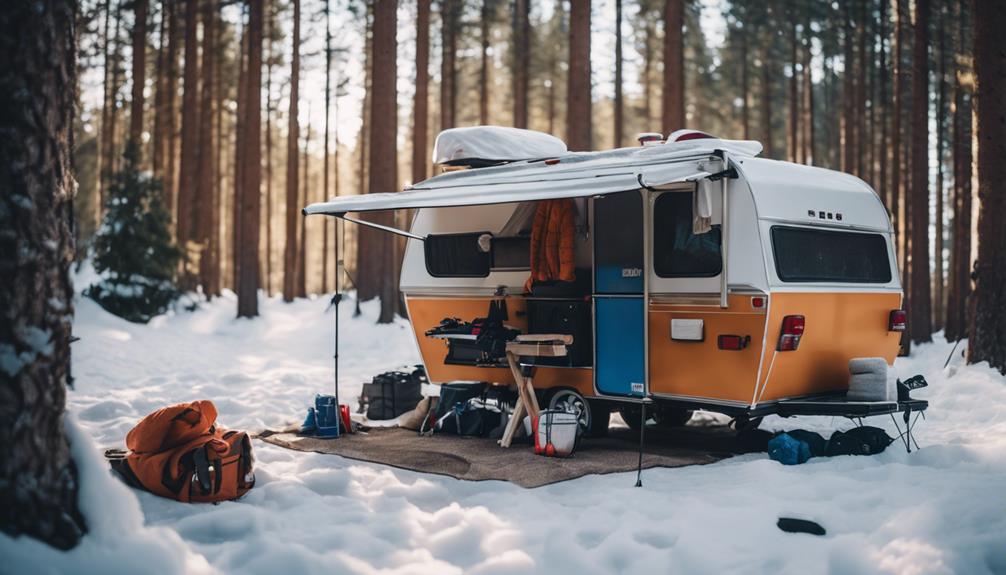
To keep your pop-up camper in top condition during winter storage, seal any openings in the underside to block animals from nesting inside. Storing your camper in a secure location, like a storage facility, can protect it from harsh weather and theft.
Using moisture-absorbing packets inside the camper minimizes humidity and helps prevent mold. Don't forget to check tire pressure regularly—tires can lose air during long periods of storage.
Consider using a breathable cover to protect from UV rays while allowing for proper air circulation, which can prevent condensation buildup.
Here's a quick reference table for your winter storage tips:
| Task | Purpose |
|---|---|
| Seal openings | Block animals from nesting |
| Use moisture-absorbing packets | Minimize humidity and prevent mold |
| Check tire pressure | Maintain tire integrity |
| Use breathable cover | Protect from UV rays and allow air circulation |
Frequently Asked Questions
How to Prep a Camper for Winter Storage?
To prep your camper for winter storage, drain all water systems, clean the interior, disconnect the battery, seal openings, and cover it. This'll protect your camper from freezing temps and pests during the off-season.
Should You Cover a Pop-Up Camper in the Winter?
Think of your pop-up camper like a cozy blanket on a cold night; covering it in winter is essential. It protects against harsh elements, ensuring your camper remains in great shape for future adventures.
How Do You Flush Antifreeze Out of an Rv?
To flush antifreeze out of your RV, drain all water tanks, connect a water source, and open all faucets until the water runs clear. Then, refill the fresh water tank and check the drains for proper flow.
How to Store a Pop-Up Camper Outside in Winter?
Oh sure, just leave your pop-up camper outside in winter like it's a snowman! Instead, drain the water, cover vents, lower the tongue, block wheels, and seal holes to keep it safe and snug.
Conclusion
Winterizing your pop-up camper is like wrapping a gift—proper preparation guarantees that your investment stays safe and ready for the next adventure.
By taking the time to care for your water system, LP appliances, and electrical systems, you're setting the stage for joyful journeys ahead.
Don't forget to clean the interior and protect the exterior.
When spring arrives, you'll unwrap your camper, excited to hit the road again, knowing you did everything right.

