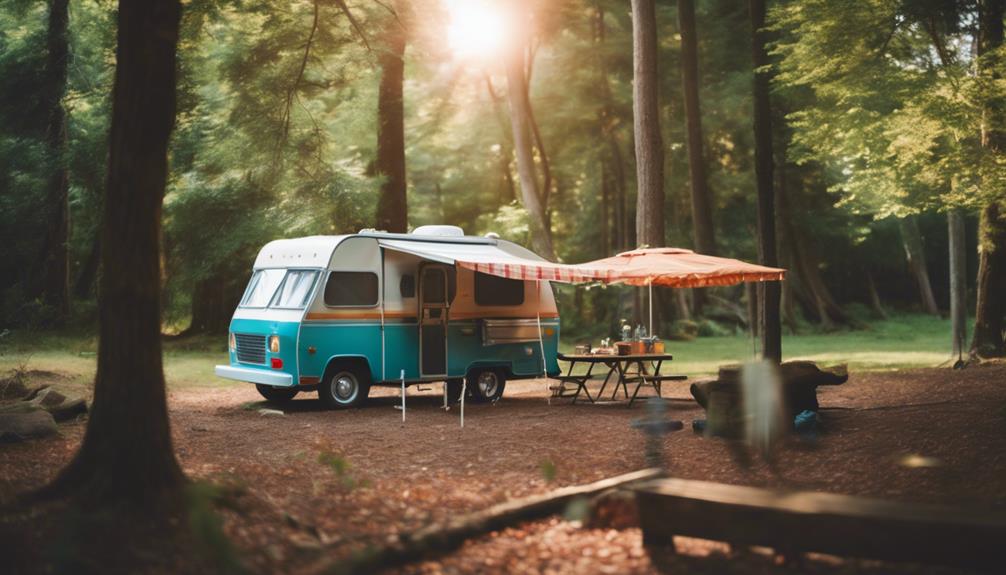
To set up your pop-up camper awning, start by partially lowering the camper roof for easy access. Gather your guide ropes and rafter poles, then unzip the awning bag while stabilizing it. Install the guide ropes first for added stability. Position the legs at an angle, securing them with temporary stakes. Next, set up the middle rafter pole for the right height, ensuring the corners are taut to avoid sagging. Remember to check all connections for stability before use. For more tips on awning maintenance and safety, keep exploring what you can do next!
Key Takeaways
- Lower the camper roof partially to enhance access and safety during awning setup.
- Install guide ropes first to ensure stability and prevent tripping hazards.
- Secure the middle rafter pole first for accurate height adjustment and support.
- Tilt one corner of the awning during rain to avoid water pooling.
Overview of the Awning
The Coleman Fleetwood bag awning is a dependable addition to your pop-up camper, designed for easy setup and enhanced outdoor comfort. Understanding the setup process for this awning is vital for maximizing its benefits.
You'll find that it features rafter poles, which provide horizontal support and greatly contribute to its stability when fully deployed. To guarantee it stands strong, you'll need to install guide ropes, particularly in windy conditions.
As you prepare to use the awning, keep these maintenance tips in mind. Always tilt the awning slightly to prevent pooling water, which can lead to damage over time. It's also important to stow the awning away during heavy winds. This simple precaution helps maintain its integrity and prolongs its lifespan.
Regular checks and cleaning will further enhance its durability. By following these guidelines, you'll enjoy not only the convenience of your Coleman Fleetwood bag awning but also a comfortable and secure outdoor experience.
With a little care and attention, you can make the most of this vital camping accessory.
Preparation Steps
Before you start setting up your awning, have you lowered the roof of your pop-up camper partially to make the process easier? This step is essential for a smooth setup. Next, make certain you gather all the necessary parts, like guide ropes and rafter poles. Check their condition to avoid any issues later.
When you're ready, unzip the awning bag carefully. Stabilize the area with your left hand as you access the rafter poles without difficulty. It's also smart to install the guide ropes before deploying the awning to guarantee stability and prevent hazards during setup.
Lastly, use temporary ground stakes to secure the awning initially. This will help you adjust the tension and install the rafter poles for full support without any hassle.
| Step | Action |
|---|---|
| 1. Lower Roof | Partially lower the camper roof |
| 2. Gather Parts | Confirm all necessary parts are available |
| 3. Unzip Awning Bag | Stabilize with your left hand |
| 4. Install Guide Ropes | Set up for stability |
| 5. Use Temporary Stakes | Secure the awning while adjusting |
With these preparation steps, you'll set the stage for a successful awning setup!
Awning Setup Process

To set up your awning, start by lowering the camper's roof for easier access.
Once you've unzipped the awning bag, you'll need to secure the lead rail and position the legs at an angle.
This initial setup is essential for finalizing the awning's stability, so make sure everything is properly aligned and secured.
Preparation Steps Required
Start by lowering the roof partially, as this makes it easier to access the awning and set it up efficiently. Before you engage, make sure you've got all the necessary parts, like guide ropes and rafter poles, within reach. You don't want to be scrambling around looking for them later.
Next, unzip the awning bag with your left hand to stabilize it while you grab the rafter poles. Once you've got them out, install the guide ropes before deploying the awning. This step adds extra stability, which is vital during setup.
Now, pull out the lead rail and position the legs of the awning at an angle for initial support. This helps keep everything steady while you work. As you get things in place, just think, 'I'll see how it goes; I'm just going to follow these steps.'
With everything positioned correctly, you're all set to secure the awning with ground stakes. These preparation steps will guarantee a smoother and more efficient setup process, leaving you ready to enjoy your outdoor space in no time.
Finalizing Awning Stability
Once you've positioned the awning, it's vital to install the middle rafter pole to achieve your desired height and guarantee everything is securely in place. This pole acts as the backbone of the awning, ensuring it remains stable throughout your camping experience.
Next, add the remaining rafter poles to provide complete horizontal support. These additional poles help maintain the awning's structure, preventing it from collapsing under pressure.
After that, use guide ropes to enhance stability. Position them away from high-traffic areas to avoid tripping hazards, ensuring a safe environment for everyone.
Once the poles and ropes are set up, adjust the tension on the corners of the awning. This step is imperative for securely fastening the awning so it can withstand various weather conditions.
Utilize the adjuster handle mechanism to properly tension the awning, preventing sagging and water pooling during rain.
Completing the Installation
As you continue with the installation, make certain the roof of the camper is partially lowered for easier setup of the awning.
Unzip the awning bag with your left hand stabilizing it as you access the rafter poles. Pull the lead rail out and position the legs at an angle. For initial stability, install temporary ground stakes.
Next, install the middle rafter pole first to adjust the height accurately. Once that's in place, proceed to install the remaining rafter poles, confirming they're securely positioned for complete support. This will help your awning withstand wind and give it a sturdy structure.
Don't forget to utilize guide ropes to add extra stability to the setup. Make sure these ropes are positioned away from high-traffic areas to prevent any tripping hazards.
Once everything is secured, double-check all connections to verify the awning is stable and ready for use.
Completing these steps will guarantee your awning is properly installed, giving you a comfortable, shaded area to relax under during your camping trip. Enjoy your time outdoors!
Maintenance Guidelines

Maintaining your pop-up camper awning is essential for guaranteeing its longevity and performance. By following a few simple guidelines, you can keep it in top shape for your adventures.
| Maintenance Task | Frequency | Importance |
|---|---|---|
| Tilt one corner during rain | Every time it rains | Prevents water pooling |
| Stow away in windy conditions | Always during wind | Avoids damage from heavy winds |
| Check awning tension | Before each use | Maintains stability and prevents sagging |
| Inspect guide ropes | Regularly | Guarantees effective support |
| Clean awning fabric | Seasonally | Extends lifespan and maintains appearance |
Make sure to tilt one corner of the awning to allow for proper runoff during rain. Always stow the awning away in windy conditions to prevent damage. Regularly check and adjust the tension on the awning corners for stability. Inspect and replace any worn or damaged guide ropes to maintain support during setup. Finally, clean the awning fabric periodically to remove dirt and debris, which can enhance its appearance and longevity. Following these maintenance tips guarantees your awning remains functional and attractive for many trips to come.
Safety Considerations
Before setting up your pop-up camper awning, always lower the roof partially to prevent accidents and make installation easier. This simple step reduces the risk of damaging the awning or injuring yourself during the setup process.
Next, install guide ropes before deploying the awning. This enhances stability and prevents the awning from collapsing unexpectedly while you're working. It's also essential to use temporary ground stakes to secure the awning legs during initial setup. This keeps everything stable until you can fully tension the awning.
Be cautious about where you position the guide ropes. Keeping them out of high-traffic areas helps reduce the risk of tripping and potential injuries for you and your guests.
Lastly, always monitor the weather conditions. Heavy winds can cause serious damage to your awning, so it's wise to stow it away if the forecast looks unfavorable.
Frequently Asked Questions
How Do You Set up a Pop up Camper Bed?
To set up your pop-up camper bed, unzip the cover, extend the platform, and insert support poles. Adjust the mattress, secure it with straps, and make certain everything's locked in place before adding bedding on top.
How to Open an RV Awning With No Strap?
To open an RV awning without a strap, make certain it's securely attached. Use a pole to push the roller tube up, or manually crank it counterclockwise to extend the awning while checking for obstacles.
How Do You Operate an RV Awning?
Imagine you're camping at a picturesque lake. To operate your RV awning, park on level ground, unzip the bag, set up the rafter poles, and secure with stakes and guide ropes for stability. Enjoy your shade!
How to Manually Roll up a Camper Awning?
To manually roll up your camper awning, remove guide ropes and secure side poles. Unzip the awning bag, pull the fabric taut, and guide it evenly onto the roller tube. Finally, stow everything properly.
Is Raising the Camper Awning Part of the Quick Setup Process?
Yes, raising the camper awning is an essential part of the quick setup process for a popup camper. When you raise popup camper setup, the awning provides shade and outdoor living space, making your camping experience more enjoyable. It’s important to follow the proper steps to ensure the awning is raised safely and securely.
Conclusion
As you stand beneath your newly set-up awning, imagine it as a protective canopy in a vibrant forest, sheltering you from the sun's harsh rays.
Just like a sturdy tree, your awning offers comfort and security during your adventures.
By following these simple steps, you've crafted your own oasis, where laughter and memories can flourish.
So, embrace the journey ahead, and let your awning be the guardian of your outdoor experiences, inviting joy and relaxation beneath its embrace.


