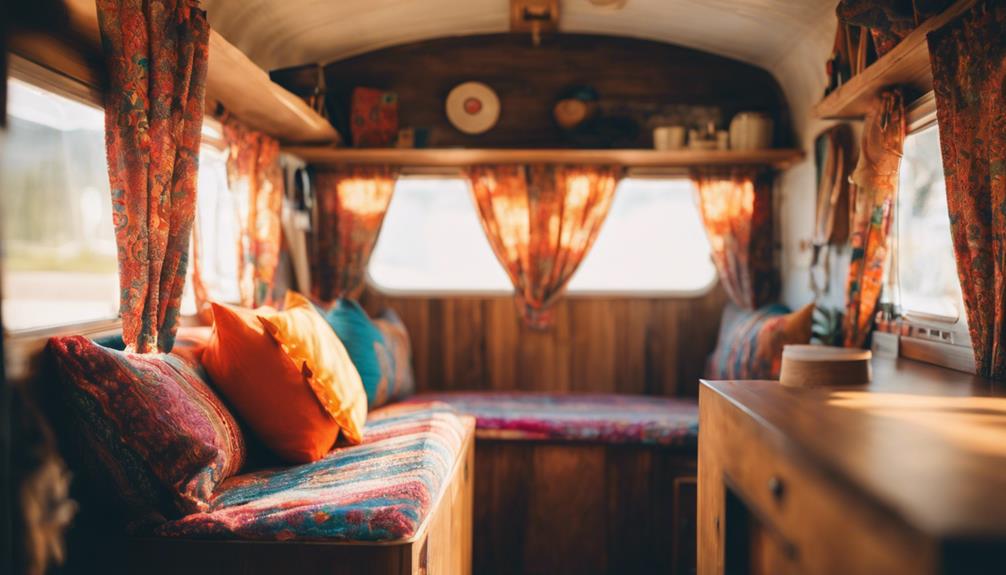
Hanging curtains in a pop-up camper can really elevate your space. Start by choosing durable, lightweight fabric like heavy-duty cotton or polyester. You'll need two shower curtains and a slider strip from old ones for easy attachment. Measure your windows and cut the fabric to size, hemming the edges for a polished finish. Attach the slider strip carefully to the top of your panels, ensuring smooth operation. Finally, install the curtains using tracks or rods, testing their movement. With these steps, you'll create a cozy atmosphere that reflects your style. There's plenty more to explore on this DIY project! To add a finishing touch to your pop-up camper, consider attaching a roof rack to the top. This will provide extra storage space for outdoor gear, bikes, or even a kayak for your adventures. With the curtains and roof rack in place, your pop-up camper will feel like a home away from home, ready for any outdoor excursion.
Key Takeaways
- Measure window dimensions accurately to ensure a perfect fit for your new curtain panels.
- Use a slider strip from old curtains for easy attachment to existing hardware.
- Select durable, lightweight fabrics that withstand outdoor conditions and enhance privacy.
- Securely sew raw edges and finish with a zigzag stitch to prevent fraying.
Materials for Your Curtains
To create your camper curtains, you'll need two shower curtains, some vital sewing supplies, and a slider strip from your old curtains.
Shower curtains are often budget-friendly and can be found at stores like Target or even thrift shops. When you're measuring the length for your new curtains, use your old camper curtains as a template. This will help guarantee your new panels fit perfectly in your space.
For your sewing supplies, gather thread, scissors, and a sewing machine. These items will be vital for finishing the edges of your curtain panels, giving them a polished look. Don't forget the slider strip from your old curtains; it's critical for attaching the new panels to your camper's window hardware, making sure everything functions smoothly.
If you're looking for added privacy and heat insulation, consider incorporating blackout liners into your design. They'll not only enhance the aesthetics of your camper curtains but also improve comfort inside your space.
With these materials in hand, you're well on your way to crafting stylish and functional curtains for your pop-up camper.
Preparing the Curtain Panels
When preparing your curtain panels, start by selecting suitable fabric that fits your camper's style and needs.
Next, cut and hem the fabric to the right length, ensuring a clean finish to avoid fraying.
This preparation sets the stage for a polished look in your pop-up camper.
Selecting Suitable Fabric
Choosing the right fabric is essential for creating durable and functional curtain panels in your pop-up camper. You'll want to select durable fabrics that are easy to clean, like heavy-duty cotton or polyester, which can withstand the unique environment of camping.
Start by measuring your window dimensions accurately to guarantee your curtain panels fit perfectly, keeping in mind any adjustments needed for the bunk ends.
Next, consider incorporating blackout liners or lined fabrics. These options enhance privacy and insulation while preventing transparency at night.
Once you've chosen your fabrics, cut them to size if necessary—if you're using shower curtains, for instance, cut each one in half to create two panels. Be sure to sew the raw edges to prevent fraying, which will maintain the integrity of your curtains over time.
Cutting and Hemming Panels
Start by cutting each shower curtain in half to create two panels, using the old camper curtains as a guide for the right length. This way, you guarantee the new curtain panels fit perfectly in your camper.
Once you've cut the panels, measure them again to confirm they're suitable for the camper bunk ends. Adjust the length as needed before you move on to sewing.
When it comes to hemming, it's crucial to use a zigzag stitch or a double-fold technique on the raw edges. This prevents fraying and greatly enhances the durability of your curtain panels.
For a polished finish, hem the bottom with a larger seam allowance, guaranteeing the panels maintain an appropriate length for functionality.
After cutting and hemming, inspect each panel carefully to verify they meet the required specifications for hanging. Make sure they won't obstruct any camper features, like windows or vents.
With everything cut and hemmed to perfection, you're ready to hang your new curtains and elevate the look of your pop-up camper!
Attaching the Slider Strip

Now that you've prepped your curtain panels, it's time to focus on attaching the slider strip.
First, you'll locate the strip and use proper sewing techniques to secure it to your new curtains.
After that, make final adjustments and trim any excess material for a clean finish.
Locating the Slider Strip
To attach the slider strip effectively, first find it on your old camper curtains, as it's vital for securing the new panels. Carefully cut away the slider strip from the old curtains, guaranteeing you have a usable piece for your new curtain installation. This step is essential because the functionality of your new curtain panels relies on this component.
Once you've removed the slider strip, position it on top of the new curtain panels. Make sure to align it correctly to make certain it works well when you hang the curtains. As you prepare to sew, remember not to secure the curtain ties just yet; this will allow for greater flexibility during use.
After sewing the slider strip onto the new curtains, take a moment to trim any excess material. This will help you achieve a clean look, making your curtains not only functional but also aesthetically pleasing.
Sewing Techniques for Attachment
After securing the slider strip to the new curtain panels, you'll want to focus on effective sewing techniques for a strong attachment. Begin by aligning the slider strip on top of the new curtains, confirming it's positioned correctly for proper functionality.
Using a sewing machine, carefully sew the strip onto the curtain panels while avoiding the curtain ties. This allows easy adjustment later on.
As you sew, pay attention to the edges of the curtain panels. It's important to finish these edges properly to prevent fraying, which can compromise the durability of your new curtains over time. Use a zigzag stitch or a serger to secure the edges effectively. This not only enhances the look of your curtains but also extends their lifespan.
After attaching the slider strip, trim any excess material to keep your new curtains looking neat and clean. This step is vital for maintaining a polished appearance in your pop-up camper.
Final Adjustments and Trimming
Begin by carefully cutting away the slider strip from the old camper curtains, guaranteeing you don't damage it for reattachment. Once you have the strip, position it on top of your new curtain panels. Align the strip correctly to guarantee smooth operation when hanging the curtains later.
Next, sew the slider strip onto the new curtains, leaving the curtain ties unsecured. This allows for easy manipulation when you're ready to hang them. After securing the strip, take a moment to trim any excess material. This step is vital to prevent bulkiness and to achieve a clean, finished look.
Once you've attached the slider strip and trimmed away any extra fabric, check the alignment and functionality of your curtains. Test their movement to confirm they slide easily within the camper's window frames. Proper alignment is key to guaranteeing your curtains not only look great but also function as intended.
With these final adjustments, you'll be ready to enjoy your newly decorated space, providing both privacy and style to your pop-up camper.
Installing the Curtains
Measuring your pop-up camper's window dimensions is crucial for guaranteeing the new curtains fit perfectly before installation. Start by using a measuring tape to determine the width and length of each window. This will help you create curtain panels that align well with your camper's design.
Next, use snap tape or a slider strip for easy attachment of your curtain panels to the existing hardware. This method allows for straightforward removal and cleaning without hassle. Carefully align the curtain panels with the tracks or rods in your camper, making sure they glide smoothly when opened and closed.
Once everything is in place, secure the curtains by attaching them to the slider strip or snap tape. Be cautious to avoid any extra fabric that could hinder functionality.
After securing, test the operation by opening and closing the curtains multiple times. This step is crucial to guarantee they hang correctly and provide the desired privacy and light control you seek in your space.
Enhancing Your Camper's Aesthetics
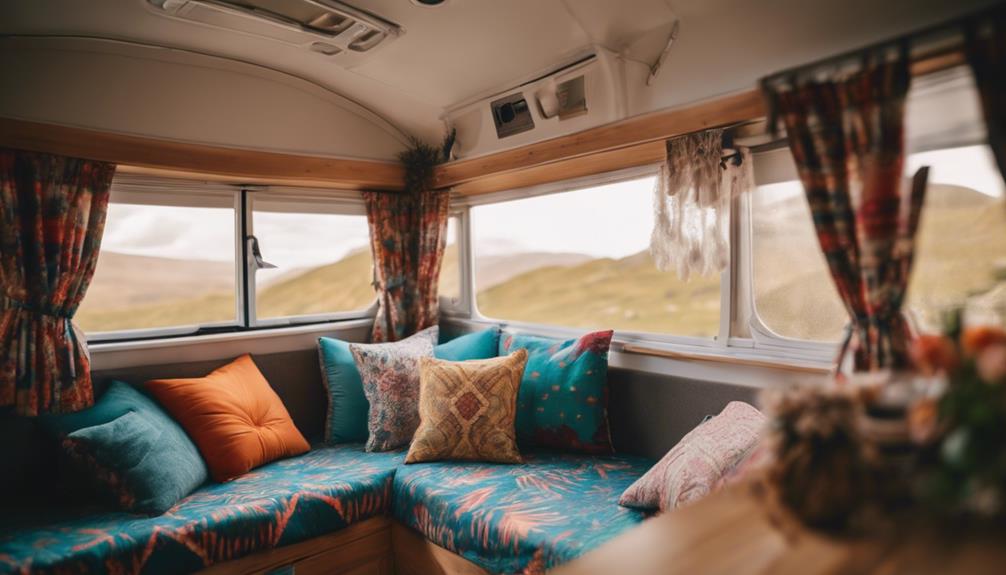
Updating your curtains not only enhances functionality but also allows you to infuse your camper's interior with a fresh, vibrant style. Choosing lively, patterned drapery fabric for your camper curtains can dramatically transform a dated space into a cozy retreat. With DIY curtain projects, you can create a personalized design that reflects your unique taste, making your camper feel like home.
Consider incorporating blackout liners in your curtains; they not only enhance privacy but also improve insulation, helping to maintain a comfortable temperature inside. Opt for heavy-duty fabrics to guarantee your curtains withstand the wear and tear of camper life, ensuring they last for many adventures ahead.
Additionally, updating your camper's curtains can potentially increase its resale value. A well-decorated interior is often more appealing to prospective buyers, making your investment in stylish camper curtains worthwhile.
By focusing on aesthetics, functionality, and durability, you can create an inviting atmosphere that enhances your camping experience and leaves a lasting impression on anyone who steps inside.
Community Experiences and Feedback
Community members have shared their positive experiences with hanging curtains in pop-up campers, highlighting the project's simplicity and rewarding results. Many users find that following the tutorial leads to successful outcomes, making it an accessible DIY project for all skill levels. The feedback from the community underscores a sense of camaraderie among DIY enthusiasts, with countless individuals inspired to initiate their own camper renovations after seeing others' transformations.
Participants in forums like Pop Up Portal often express excitement about their new curtains, noting how they enhance both the decor and functionality of their campers. The aesthetic improvements are significant, creating a cozy and inviting atmosphere that elevates the overall camping experience. Users frequently exchange tips and encouragement, fostering a supportive environment where everyone can share their DIY journey.
Moreover, while discussing their curtain projects, many emphasize the importance of thoughtful fabric selection and durability. This feedback suggests that when chosen wisely, curtains not only beautify the space but also provide long-term satisfaction.
Selecting the Right Fabric
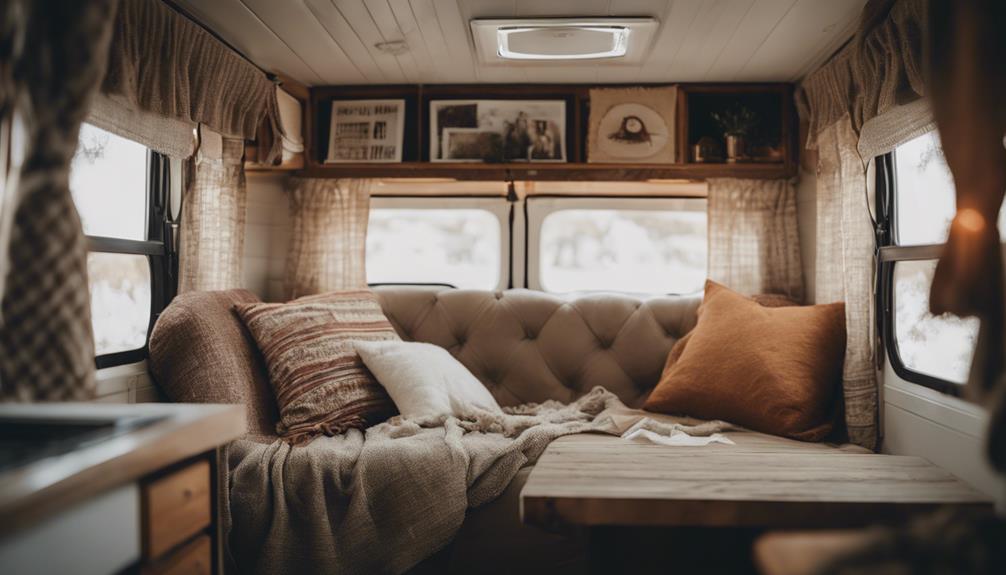
When choosing fabric for your camper curtains, focus on durability and easy maintenance to guarantee they can handle the demands of camping life. The right fabric not only enhances your camper's aesthetics but also stands up to various outdoor conditions.
Here are some key factors to take into account:
- Durability: Select materials that can withstand wear and tear from frequent use and exposure to the elements.
- Lightweight: Opt for lightweight fabrics to facilitate easy operation of your curtain system without adding unnecessary weight.
- Water-resistant: Look for water-resistant or moisture-repellent finishes to protect your curtains from spills and humidity inside the camper.
- Blackout lining: Think about adding blackout lining for added privacy and insulation, helping to regulate the temperature within the camper.
Don't forget to choose colors and patterns that reflect your style while being practical—darker shades can effectively hide stains from your outdoor adventures.
Cost-Effective Options for Curtains
Finding cost-effective options for camper curtains can help you stay within budget while still creating a stylish and functional space. Here are some viable alternatives that won't strain your wallet:
| Option | Description | Cost-Effectiveness |
|---|---|---|
| Shower Curtains | Easily available at stores or thrift shops, they come in various designs and lengths. | Affordable and practical for quick installation. |
| Heavy-Duty Fabrics | Fabrics like Richloom cotton or Solar Outdoor Linen offer durability and good privacy. | Long-lasting and reliable for camper use. |
| Upcycled Fabric | Salvage old fabric or curtains to create unique, custom looks. | Eco-friendly and personalizes your space. |
Don't forget to check for sales or use coupons at fabric stores to snag blackout liners that provide extra insulation and privacy for your camper. Looking for second-hand options can also lead to great finds while keeping costs down. With these cost-effective options, you can achieve the perfect blend of style and functionality in your pop-up camper!
Long-Term Maintenance Tips
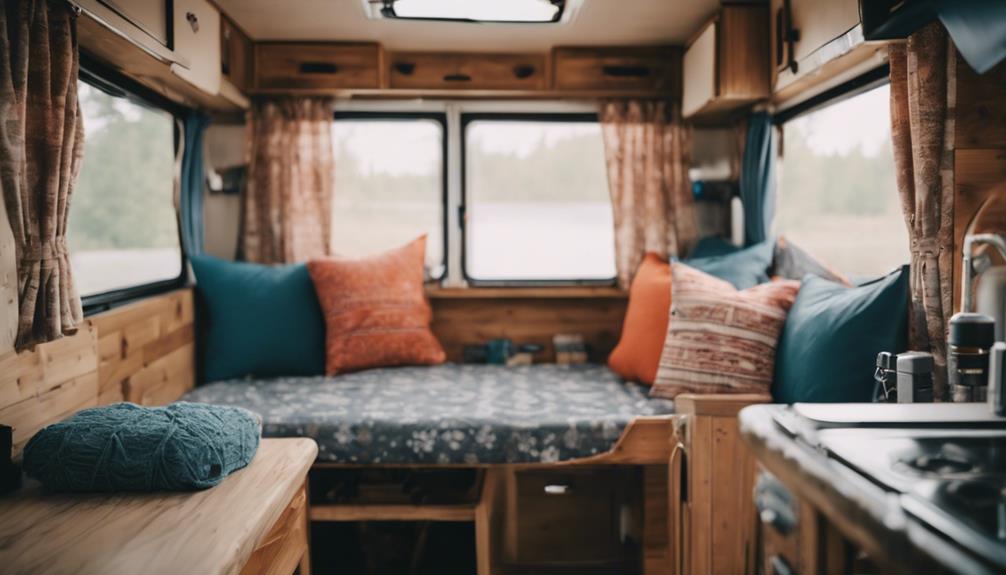
Maintaining your camper curtains is essential for keeping them looking fresh and functional over time. By following some simple maintenance tips, you can guarantee your curtains remain in great shape season after season.
Here are four key practices to adopt:
- Cleaning: Regularly spot clean your curtains using mild detergent and a soft cloth. This helps maintain their appearance and extends their lifespan.
- Inspect: At least once a season, inspect the fabric for any signs of wear or fraying. If you notice any damage, make repairs promptly to prevent further issues.
- Store: During off-seasons, store your curtains in a cool, dry place. This prevents mold and mildew growth, especially if they were exposed to moisture while camping.
- Securely: Periodically check and tighten attachment methods like snap tape or slider strips. This guarantees your curtains stay securely in place while traveling.
Frequently Asked Questions
How to Hang a Curtain in a Pop-Up Tent?
To hang a curtain in a pop-up tent, measure the window first. Then, use a slider strip or Velcro to attach the curtain, ensuring it glides smoothly for easy opening and closing when needed.
Can You Hang Curtains in a Camper?
Imagine soft fabric swaying gently in the breeze, transforming your space. Yes, you can hang curtains in a camper! They'll enhance your privacy and style, making every trip feel cozy and inviting. Just measure carefully!
What Fabric to Use for Pop up Camper Curtains?
When choosing fabric for pop-up camper curtains, opt for durable materials like heavy-duty cotton or solar outdoor linen. Lined fabrics provide privacy and insulation, while blackout liners enhance light control and comfort during your trips.
Can You Replace Curtains in a Pop up Camper?
Yes, you can replace curtains in a pop-up camper. Using premade panels or repurposed fabrics, you can create a custom fit. Salvaging existing hardware makes installation simple and cost-effective while enhancing your camper's look.
Conclusion
By hanging curtains in your pop-up camper, you're not just adding privacy; you're transforming your space into a cozy, stylish getaway that rivals a five-star hotel!
With the right materials and a bit of creativity, you can create an inviting atmosphere that makes every camping trip feel like a luxury retreat.
So, grab your fabric and get started—your camper's new look is just a few steps away from being absolutely breathtaking!

