Ever curious about where the sewage from your camper goes? I’m here to illuminate this somewhat unglamorous subject for you.
You see, emptying camper sewage is an essential part of RV ownership, and it’s not as complicated as it may seem. In this article, I’ll walk you through the step-by-step process of properly emptying your camper’s sewage system.
First and foremost, it’s crucial to understand how your camper’s sewage system works. Once you grasp the basics, you can gather the necessary equipment and find a suitable dump station to get the job done. Preparing your camper for emptying is also important, as it ensures a smooth and mess-free process.
Next, we’ll dive into the nitty-gritty of emptying the black water tank and the gray water tank. Don’t worry; I’ll guide you through each step, so you can confidently dispose of the waste without any mishaps.
Lastly, I’ll share tips for odor control and maintenance, as well as how to properly clean and sanitize your equipment after emptying the sewage.
So, let’s get started on this unglamorous yet essential task of emptying camper sewage.
Key Takeaways
- Regularly empty and clean the black water and gray water tanks for maintenance.
- Find and plan stops at suitable dump stations along your travel route.
- Follow proper steps for emptying the black water tank, including wearing protective clothing and rinsing the tank thoroughly.
- Dispose of waste in designated areas or dump stations and use tank cleaners and sanitizing products to maintain a healthy environment.
Understanding Your Camper’s Sewage System
So you’ve just purchased your brand new camper and you’re excited to hit the road – but before you do, let’s take a moment to understand how your camper’s sewage system works. Proper camper sewage maintenance is crucial to ensure a hassle-free and sanitary camping experience. Understanding how the system works and being able to troubleshoot common sewage problems will save you time and money in the long run.
Most campers have a built-in sewage system consisting of three main components: the black water tank, the gray water tank, and the sewage hose. The black water tank is responsible for holding and storing waste from the toilet, while the gray water tank holds wastewater from sinks and showers. The sewage hose is used to connect the tanks to a designated dumping station.
To properly maintain your camper sewage system, it’s important to regularly empty and clean both the black and gray water tanks. This can be done by locating a dumping station at a campground or RV park. Troubleshooting common sewage problems, such as clogs or odors, may require inspecting the tanks and hoses for any blockages or leaks.
Now that you understand how your camper’s sewage system works and the importance of proper maintenance, let’s move on to the next step: gathering the necessary equipment.
Gather the Necessary Equipment
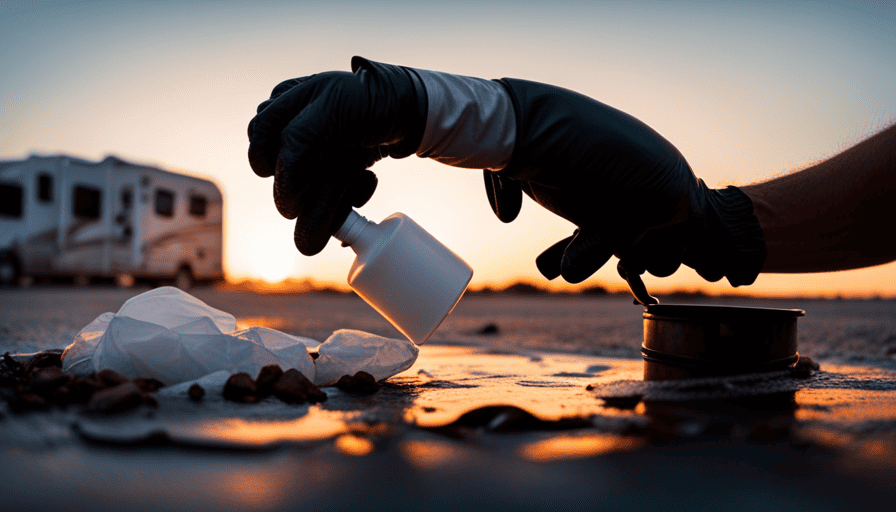
First, you’ll need to grab your gloves, hose, and a bucket for this task. When emptying your camper’s sewage, it’s important to protect yourself by choosing the right gloves. Look for gloves that are thick and waterproof to prevent any contact with the sewage. Disposable gloves are a good option because you can easily discard them afterward.
Once you have your gloves on, it’s time to gather your other equipment. Grab a hose that’s specifically designed for dumping sewage. This hose should be long enough to reach from your camper’s sewage outlet to the dump station. Make sure the hose is clean and in good condition before using it.
Another important item to have on hand is a bucket. This will come in handy for rinsing out the hose and any other equipment that may come into contact with the sewage. You can also use the bucket to collect any excess water that may spill during the dumping process.
To clean yourself up after handling the sewage, consider using disposable wipes. These wipes are convenient and can be thrown away after use. They’ll help you maintain good hygiene throughout the process.
With your gloves, hose, bucket, and wipes ready, you’re now prepared to move on to the next step: finding a suitable dump station.
Find a Suitable Dump Station
Once you locate a proper dump station, the relief of safely disposing of waste will wash over you. Finding a dump station can sometimes be a challenge, but with a little preparation, you can avoid common mistakes and make the process smoother. Here are five tips to help you find a suitable dump station:
-
Research in advance: Before you hit the road, research dump stations along your route. Use online directories or apps specifically designed for RVers to find the closest options.
-
Check for restrictions: Some dump stations may have restrictions on the types of waste they accept or specific operating hours. Make sure to check these details beforehand to avoid any surprises.
-
Plan your stops: Incorporate dump stations into your travel itinerary. This will help you plan your stops accordingly and ensure you don’t run out of space in your camper’s holding tanks.
-
Ask fellow RVers: Connect with other RVers through online forums or social media groups. They can provide valuable insights and recommendations for dump stations they’ve used in the past.
-
Be prepared with necessary supplies: Before heading to a dump station, ensure you have all the necessary supplies, such as gloves, hose, and disinfectant, to safely empty your camper sewage.
Once you’ve found a suitable dump station, it’s time to prepare your camper for emptying.
Prepare Your Camper for Emptying
Before you head to the dump station, make sure your RV is properly prepared for the waste disposal process. Taking precautions during emptying and avoiding common mistakes can help ensure a smoother and cleaner experience.
Firstly, make sure all valves and caps are tightly closed to prevent any leakage during transportation. Double-check that the black water tank is securely sealed before moving your camper. It’s also advisable to wear gloves and protective clothing to minimize contact with any potential contaminants.
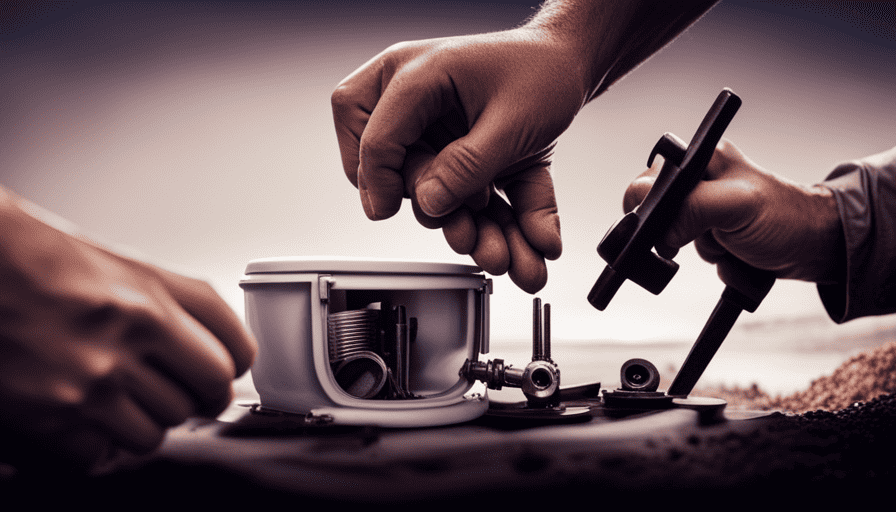
Next, make sure you have all the necessary tools and supplies on hand. This includes a sewer hose, a hose support, and a clear elbow adapter to monitor the flow and prevent any blockages. It’s essential to have a dedicated hose solely for waste disposal to avoid cross-contamination.
When you arrive at the dump station, position your camper in a way that allows for easy access to the sewage inlet. Take your time and follow the dump station’s guidelines for emptying the tanks. Remember to empty the black water tank first, as it contains the more concentrated waste.
Preparing your camper for emptying involves taking precautions and avoiding common mistakes. Once your RV is properly prepared, you can proceed to the next step of emptying the black water tank.
Emptying the Black Water Tank
To properly dispose of waste from your RV, you’ll need to address the contents of the black water tank. Emptying the black water tank can be a daunting task, but with the right techniques and safety precautions, it can be done efficiently and cleanly.
Here are some emptying techniques to help you get the job done:
-
Use a sewer hose: Connect a sewer hose to the RV’s waste outlet and the dump station. This hose will allow the waste to flow out of the tank and into the designated area.
-
Open the valve slowly: When you’re ready to empty the tank, open the valve slowly to prevent any splashing or backflow. This will help keep you and your surroundings clean.
-
Rinse the tank: After emptying the tank, rinse it thoroughly with clean water. This will help remove any remaining waste and keep the tank fresh.
-
Use gloves and protective gear: Always wear gloves and protective gear when handling waste. This will help prevent any contamination and keep you safe.
-
Dispose of waste properly: Make sure to dispose of the waste in designated areas or dump stations. This will help protect the environment and prevent any health hazards.
By following these emptying techniques and safety precautions, you can ensure a clean and efficient process. Now, let’s move on to the next step of flushing and cleaning the tank.
Flushing and Cleaning the Tank
After successfully emptying the black water tank, it’s important to move on to the next crucial step: flushing and cleaning the tank. Flushing techniques are essential for maintaining a healthy and odor-free camper sewage system.
To start, I recommend using a dedicated RV sewer hose rinser. This handy tool attaches to the end of your hose and sprays high-pressure water into the tank, effectively rinsing away any remaining waste. Be sure to focus the spray on the tank walls and the sensors to ensure a thorough cleaning.
Once the tank is rinsed, it’s time to add a tank cleaner. There are various tank cleaners available on the market, specifically designed to break down waste and eliminate odors. Follow the instructions on the cleaner carefully, as different products may have different application methods.
After adding the cleaner, fill the tank with water to the recommended level and allow it to sit for the specified amount of time. This will allow the cleaner to work its magic and break down any remaining solids.
Regular tank maintenance is crucial to keep your camper sewage system in top shape. Flushing and cleaning the tank should be done after every black water tank emptying. By following these steps, you’ll ensure a clean and odor-free tank for your next adventure.
Moving on to emptying the gray water tank, let’s continue the process of maintaining a healthy and efficient camper sewage system.
Emptying the Gray Water Tank
While ensuring the cleanliness of your RV, it’s essential to address the maintenance of the gray water tank. The gray water tank holds the waste water from your sinks, showers, and sometimes laundry machines. Properly emptying this tank is crucial for maintaining a hygienic and odor-free environment in your camper.
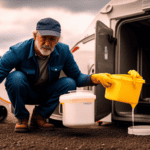
To empty the gray water tank, there are a few safe disposal methods you can follow. The first option is to find a designated RV dump station. These stations are equipped with facilities specifically designed for gray water disposal. Simply connect a hose from your gray water tank to the dump station and open the valve to release the contents.
Another option is to use a portable gray water tank, which allows you to store the waste water and transport it to a dump station. This is especially useful if you’re camping in a remote area without access to a dump station.
Properly disposing of waste is essential for maintaining a clean and sanitary environment in your camper. In the next section, I’ll discuss how to properly dispose of the solid waste from your RV.
Properly Disposing of Waste
After emptying the gray water tank, it’s crucial to know how to properly dispose of the waste. There are several waste disposal methods available, each with its own environmental impact. Here are three options to consider:
-
Sewer Connection: Some campsites have sewer connections specifically designed for dumping waste. This is the most convenient method as it eliminates the need to transport the waste elsewhere. However, it’s important to follow the campground’s guidelines and regulations to avoid any damage to the environment.
-
Dump Station: Many campgrounds have designated dump stations where you can dispose of your waste. These stations typically have facilities for both gray water and black water. Remember to use biodegradable and environmentally friendly products to minimize the impact on the surroundings.
-
Portable Waste Tank: If you’re camping in a remote location without access to sewer connections or dump stations, using a portable waste tank is your best bet. Simply attach the tank to your camper and transport it to an appropriate waste disposal facility.
Properly disposing of waste is not only necessary for hygiene but also for protecting the environment. Once you’ve finished emptying the sewage, it’s time to move on to the next important step: cleaning and sanitizing your equipment.
Cleaning and Sanitizing Your Equipment
To ensure the longevity of your camping gear and maintain a germ-free environment, it’s essential that you properly clean and sanitize all your equipment.
When it comes to cleaning and sanitizing your camping equipment, there are a few key steps to follow. First, gather the necessary sanitizing products, such as disinfectant wipes or a mild bleach solution. Be sure to read and follow the instructions on the packaging to ensure proper use. Before cleaning, it’s important to take safety precautions, such as wearing gloves and working in a well-ventilated area.
Start by wiping down all surfaces of your equipment with the sanitizing product, paying extra attention to areas that come into direct contact with waste, such as the toilet seat and handle. For items that can be submerged, like portable toilets or waste tanks, use a mixture of water and bleach to thoroughly clean the inside. Rinse everything thoroughly with clean water after sanitizing to remove any residue.
By properly cleaning and sanitizing your camping equipment, you can prevent the spread of germs and maintain a clean and healthy camping environment. This sets the stage for the next section, where we’ll discuss tips for odor control and maintenance without writing another step.
Tips for Odor Control and Maintenance
Now that we have discussed the importance of cleaning and sanitizing your camper equipment, let’s move on to the next step in maintaining a fresh and odor-free environment: odor control and maintenance.
When it comes to keeping your camper smelling pleasant, there are a few key tips to keep in mind. Firstly, regular maintenance is crucial. This includes emptying and cleaning the sewage tanks, as well as regularly inspecting and replacing any damaged or worn-out parts. By staying on top of maintenance tasks, you can prevent any potential issues that may contribute to unpleasant odors.
Additionally, there are a few tricks you can employ to control odors inside your camper. Using odor-absorbing products, such as deodorizers or baking soda, can help neutralize any unwanted smells. It’s also a good idea to keep windows and vents open whenever possible to allow for proper airflow.
To help you stay organized and keep track of your maintenance tasks, here is a handy table outlining the key steps and recommended frequencies for odor control and maintenance:
| Maintenance Task | Frequency |
|---|---|
| Emptying sewage tanks | After every trip |
| Inspecting parts | Monthly |
| Cleaning tanks | Every 3 months |
| Using deodorizers | As needed |
By following these tips and staying on top of regular maintenance, you can ensure a fresh and pleasant environment inside your camper.
Frequently Asked Questions
How often should the camper’s sewage system be emptied?
The camper’s sewage system should be emptied regularly to maintain proper functioning. To properly dispose of camper sewage, it’s important to follow a few steps.
Firstly, ensure that the sewage tank valves are closed before removing the cap.
Next, connect a hose to the sewage outlet and place the other end into a designated dumping station.
Then, open the valves and allow the sewage to drain completely.
Finally, rinse the tank with clean water and close the valves securely.
Can I empty the camper’s sewage system at home?
Yes, you can empty the camper’s sewage system at home. However, it’s important to follow best practices for emptying camper sewage.
Firstly, locate the RV dump station or a designated area in your yard where you can safely empty the tanks. Use protective gloves and a sewer hose to connect the camper’s sewage outlet to the dump station or designated area.
Release the sewage slowly and thoroughly rinse the tanks with clean water afterwards. Dispose of the waste properly according to local regulations.
What are the consequences of not properly emptying the black water tank?
Not properly emptying the black water tank in a camper can have serious consequences and health risks.
If the tank is not emptied regularly and maintained properly, it can lead to the build-up of bacteria, odors, and potential leaks. This can result in an unsanitary living environment and pose health risks to those using the camper.
Regular maintenance and proper emptying of the black water tank are crucial to avoid these consequences.
Is it necessary to wear protective clothing while emptying the sewage system?
Yes, it’s necessary to wear protective clothing while emptying the sewage system. Not wearing proper protective clothing can expose you to various health risks. Sewage contains harmful bacteria and pathogens that can cause infections and diseases. Wearing protective clothing such as gloves, goggles, and a mask can help prevent direct contact with the sewage and minimize the risk of contamination. It’s crucial to prioritize your safety and take necessary precautions when dealing with sewage.
How can I prevent odors from coming from the camper’s sewage system?
To prevent those dreaded odors from infiltrating your camper’s sacred space, it’s crucial to prioritize sewage system maintenance. By adopting a proactive approach, you can keep the stench at bay.
Regularly flush your system with specialized chemicals that neutralize foul smells. Additionally, ensure proper ventilation and use odor-blocking additives in your tank.
Remember, a little TLC goes a long way in preserving your nostrils’ sanity and maintaining a fresh-smelling camper haven.
Are Dumping Camper Waste and Emptying Camper Sewage the Same Process?
When it comes to camping, many people wonder if dumping camper waste and emptying camper sewage are the same process. Dumping camper waste refers to disposing of all waste materials, including liquid and solid waste. Emptying camper sewage, on the other hand, specifically refers to emptying the holding tank that collects the wastewater from the toilet.
Conclusion
In conclusion, emptying your camper sewage may not be the most glamorous task, but with the right equipment and knowledge, it can be done efficiently and effectively. By understanding the different components of your camper’s sewage system and following the proper steps for emptying both the black water and gray water tanks, you can ensure a clean and sanitary experience.
Remember to dispose of waste responsibly and take the time to clean and sanitize your equipment for future use. With these tips for odor control and maintenance, you’ll be ready for your next camping adventure in no time. So go ahead, conquer that sewage task and enjoy the freedom of the open road!

