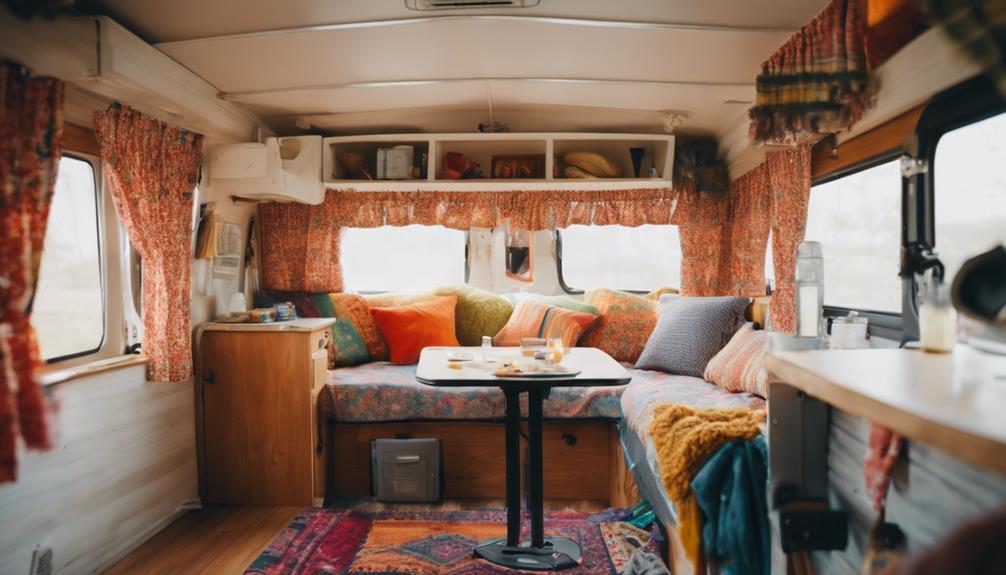
Changing the curtains in your pop-up camper is a quick way to refresh your interior. Start by evaluating your old curtains for damage and deciding if you want to replace or repair them. Next, choose durable fabric—heavy-duty canvas or colorful cotton works well. Measure your windows accurately, allowing extra fabric for hems. Sew your new curtains with care, ensuring a neat finish. Finally, install them using rods or clips for easy access. This project can typically be done in about two weeks and can transform your camper. To uncover useful tips for a smooth process, stick around for more insights! Hanging curtains in a camper can also help to regulate the temperature and provide privacy for you and your family. Consider adding blackout fabric as a liner to block out sunlight and keep the inside of your camper cooler. Additionally, choosing curtains with thermal insulation can help to keep the heat in during cooler months. These simple changes can make a big difference in the comfort and functionality of your pop-up camper.
Key Takeaways
- Assess old curtains for damage and decide whether to salvage or replace them before starting the project.
- Choose durable fabrics, like heavy-duty canvas or cotton, and consider blackout options for insulation and privacy.
- Measure window dimensions accurately, adding an inch for hems, to ensure a perfect fit for new curtains.
- Follow sewing techniques, leaving openings for turning fabric right side out, and finish with a neat press of seams.
Overview of the Makeover
The makeover of your pop-up camper focuses on enhancing both its look and functionality, with new curtains playing a key role in creating a welcoming atmosphere.
When you begin this DIY renovation, replacing your old curtains can dramatically transform your camper interior. Instead of spending around $500 on original curtains for a 1992 Starcraft, you can explore budget-friendly options like premade curtain panels or even repurpose materials like tablecloths and shower curtains.
Choosing heavy-duty fabric for your new curtains not only adds durability but also guarantees heat insulation and privacy, essential for a cozy camping experience. Plus, easy cleaning and maintenance mean you can enjoy your pop-up camper without worrying about upkeep.
As you tackle this project, remember that the task is manageable and can typically be completed in about two weeks.
Don't forget that updating your curtains can also inspire you to reflect on other enhancements, like replacing your RV cushion, to further refresh your space. Your efforts in this DIY renovation can lead to positive feedback from fellow campers, encouraging them to take on their own projects.
Assessing Old Curtains
Before replacing your curtains, take a close look at the old ones to determine if they're worth salvaging or if it's time for a complete upgrade.
Start by labeling the old curtains and valances alphabetically, which simplifies identification during the replacement process. Snap a few photographs of the existing curtains before removal; these will serve as a helpful reference for reinstallation and design choices.
Next, evaluate the condition of the old curtains. If they show signs of damage from washing or just look outdated, it may be time to invest in new curtains. Consider the cost-effectiveness of replacement; for instance, new curtains for a 1992 Starcraft camper can run around $500. You'll want to weigh this against your budget.
If you find the old curtains are still in decent shape, think about salvaging some parts, like tabs, to save on costs. This can provide a good foundation while you plan for new fabric options that enhance your camper's aesthetics.
Selecting New Fabrics
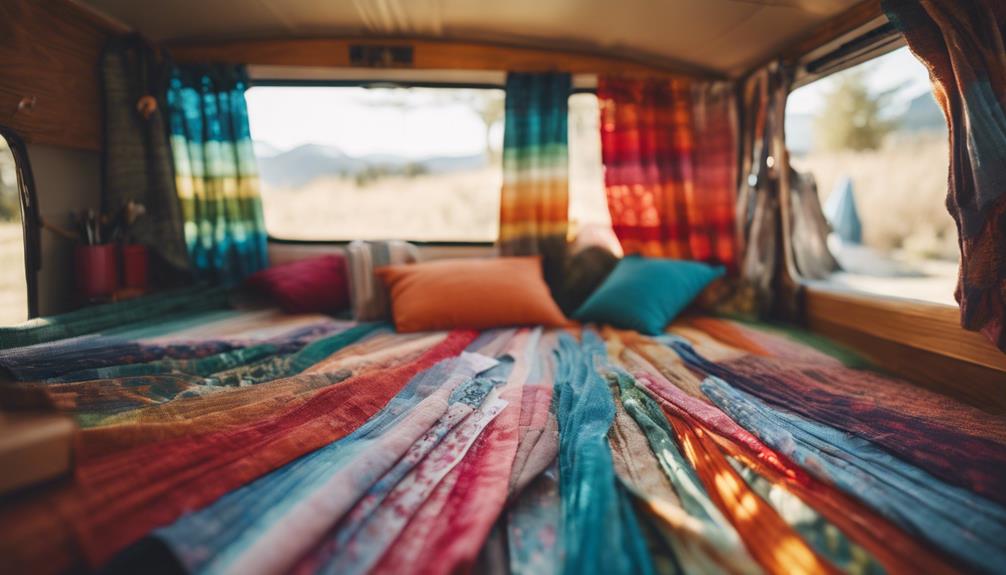
Choosing the right fabric for your pop-up camper curtains can enhance both comfort and style during your adventures. Start by selecting durable materials like heavy-duty canvas or cotton that can withstand wear and tear from outdoor activities. These fabrics guarantee your curtains last through many camping trips.
Consider using blackout fabric or liners to boost privacy and insulation. This choice helps block out light and retain heat on colder nights, making your camper cozier.
When it comes to aesthetics, pick colors and patterns that reflect your personal style while complementing your camper's interior design. Opt for options like accent colors or coordinated prints for added visual appeal.
For a cost-effective solution, think about sourcing fabric from flat sheets at stores like Walmart or repurposing old materials. This approach can greatly reduce your overall renovation costs.
Before making a purchase, always measure your window dimensions accurately. Don't forget to add an extra inch to each side for hem allowance to guarantee a proper fit for your new curtain panels.
With these tips, you can refresh your interior and create a welcoming atmosphere in your pop-up camper.
Construction and Assembly
Now that you've chosen your fabrics, it's time to focus on construction and assembly.
You'll start by measuring and cutting your fabric accurately, then move on to sewing and finishing the panels for a polished look.
Let's break down the steps to guarantee your new curtains fit perfectly and stand the test of time.
Fabric Measurement Techniques
Accurately measuring your windows and existing curtains is vital for crafting well-fitting and stylish new panels in your pop-up camper. Start by using fabric measurement techniques to measure the window dimensions, including both height and width.
Take the dimensions of your old curtains and add one inch to each side to guarantee a proper fit for your new fabric.
Grab a measuring tape and determine the length of your curtain panels, factoring in any desired drop below the window sill for that aesthetic appeal. This attention to detail guarantees your curtains not only fit well but also enhance the overall look of your camper's interior.
Once you've got your measurements, cut pieces of both the curtain fabric and blackout fabric accordingly, making sure both layers are accurately sized for alignment. This step is vital for creating a polished look.
Remember to leave an opening when sewing the fabric pieces together, as this allows you to turn them right side out later, achieving that clean finish you want.
Sewing and Finishing Steps
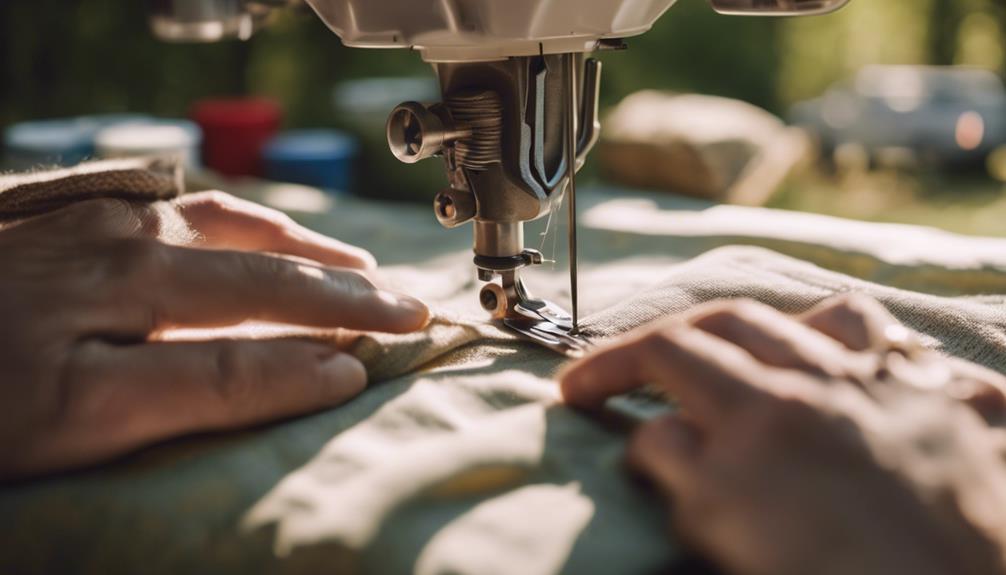
Start by sewing the fabric pieces together with a 1/2 inch seam allowance, making sure you leave an opening to turn the fabric right side out after stitching. This will create a clean finish for your new curtains.
| Step | Action | Tools Needed |
|---|---|---|
| 1. Measure | Measure window dimensions | Measuring tape |
| 2. Cut fabric | Cut new fabric and blackout fabric | Fabric scissors |
| 3. Sew | Sew fabric pieces with a sewing machine | Sewing machine |
| 4. Turn and press | Turn the fabric, press seams | Iron |
| 5. Install curtains | Use curtain rods or clips | Curtain rods/clips |
After turning the fabric right side out, push out the corners gently and stitch the opening closed, then press the seams to achieve a polished look. For installation, use curtain rods or clips, making sure you measure window dimensions accurately for proper sizing. Don't forget to label the new curtain tabs using the same alphabetical system as the old curtains for organized and efficient reinstallation. This will facilitate a smooth shift to your refreshed camper interior.
Installation Techniques
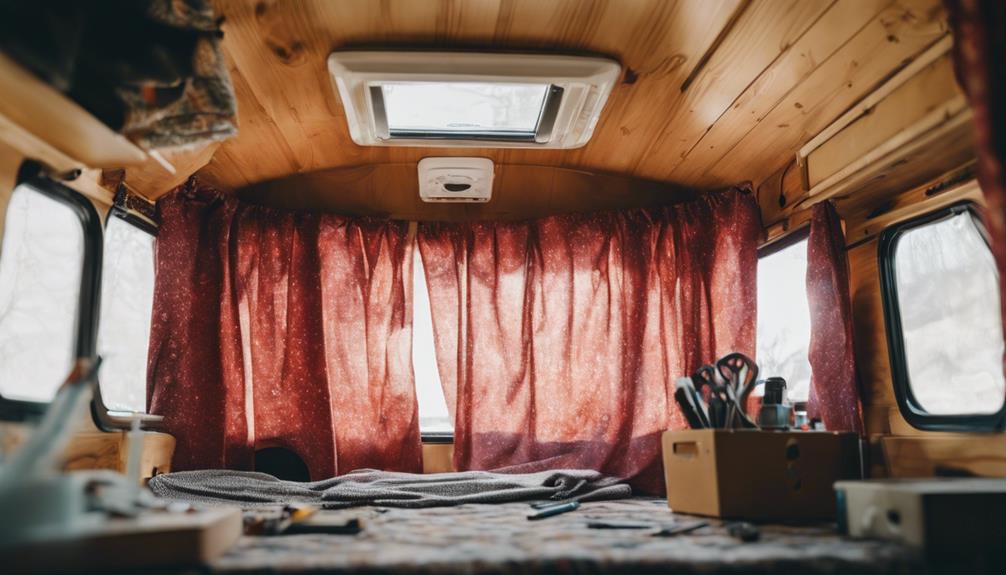
To guarantee a smooth installation process, accurately measure your window dimensions before cutting the new fabric for the curtain panels. This guarantees a proper fit and prevents any last-minute adjustments.
When you're ready to sew, use a 1/2 inch seam allowance to secure the curtain fabric and blackout lining together, maintaining durability.
Next, attach glide tape to the top of your curtain panels using a zipper foot on your sewing machine. This technique allows for efficient sewing and makes installation on curtain tracks a breeze.
If you have old curtains with tabs, consider repurposing them by sewing them onto your new panels. To keep everything organized, use an alphabetical labeling system during this step, making reinstallation straightforward.
After turning the panels right side out, press the seams for a polished look. Finally, sew a finishing stitch 1/4 inch from the edge of the curtain panels to add that professional touch.
With these installation techniques, you'll have your new curtains up in no time, revitalizing the interior of your pop-up camper beautifully.
Overcoming Common Challenges
While replacing curtains in your pop-up camper can be rewarding, you may encounter several challenges that require practical solutions. One significant hurdle is glide tape installation. Using a zipper foot for sewing can help you achieve a more efficient application. Additionally, if you choose heavy fabric, consider the impact on functionality; selecting materials that allow for easy removal and storage is essential for seasonal use.
Here's a quick reference to help you navigate common challenges:
| Challenge | Solution |
|---|---|
| Glide tape installation | Use a zipper foot for efficiency |
| Heavy fabric affects function | Choose lighter materials |
| Loops detaching from hooks | Sew stronger tabs for durability |
| Time management issues | Set dedicated time frames for tasks |
Engaging with community forums and social media can also provide valuable tips and insights from experienced camper owners facing similar challenges. Keep these solutions in mind, and you'll streamline your curtain replacement process, enhancing your camper's interior while minimizing frustration.
Maintenance Tips

To keep your pop-up camper in great shape, you'll want to establish a regular cleaning schedule.
Inspect for damage often, as catching issues early can save you headaches down the road.
Regular Cleaning Schedule
Establishing a regular cleaning schedule helps maintain your pop-up camper's functionality and appearance, ensuring a pleasant camping experience. Start by wiping down surfaces and vacuuming the interior at least once a month to prevent dirt buildup and damage. This simple step keeps your camper looking great and functioning well.
Don't forget to clean curtains and window treatments periodically. A mild soap solution works wonders to keep them fresh and free from odors. It's a small effort that makes a big difference in the overall atmosphere of your camper.
Every few months, take the time to inspect electrical systems and connections. This regular checkup helps maintain safety and functionality, allowing you to address any issues before they escalate.
When you're not using your camper, store cushions and fabrics in a dry, protected area to prevent mold growth and fabric deterioration. Finally, apply UV protectant sprays on your fabrics annually. This extra layer of protection safeguards against fading caused by sun exposure during your camping trips.
Inspect for Damage
Inspecting your curtains for damage is crucial to guarantee they remain functional and enhance the overall look of your pop-up camper. Start by checking for any water damage, as moisture can lead to mildew or stains that compromise the fabric's integrity. If you spot any signs, you may need to replace the curtains to maintain a fresh interior.
Next, inspect the condition of your curtain tabs and hooks. Look for any wear and tear that might prevent them from supporting the weight of the curtains securely. Fading or discoloration due to sun exposure is another important factor—if your curtains look old and worn, it's time to reflect on a new set.
Don't forget to examine the stitching on the curtains. Fraying or loose threads can lead to further damage if left unaddressed, so tackle those issues promptly.
Finally, assess the curtain hardware, including rods and clips. Confirm everything is functioning properly and can securely hold your new curtains to avoid any mishaps.
Proper Storage Techniques
Proper storage techniques can make all the difference in preserving your camper's curtains and upholstery during off-seasons. Start by storing your cushions and fabrics properly to prevent mildew and damage. Consider using breathable storage bags to allow air circulation, which helps keep moisture at bay.
It's essential to regularly clean surfaces and upholstery to prevent dirt buildup. Regular cleaning maintains the fabric integrity and extends the lifespan of your camper's interior elements. Before storing, apply UV protectant sprays on your fabrics to shield them from fading due to sun exposure during camping trips.
Additionally, keep an eye out for any wear and tear on materials. Addressing these issues promptly can prevent further damage and prolong the life of your camper's furnishings.
Frequently Asked Questions
Can You Replace Curtains in a Pop up Camper?
Yes, you can replace curtains in a pop-up camper. It's a great way to refresh your space. You can choose premade options or DIY using durable fabrics to suit your style and needs.
What Fabric to Use for Pop up Camper Curtains?
When choosing fabric for pop-up camper curtains, balance durability with style. Heavy-duty canvas offers resilience, while blackout materials guarantee privacy. Explore cost-effective options like premade panels or repurposing old tablecloths for a fresh, functional look.
Can You Hang Curtains in a Camper?
Yes, you can hang curtains in a camper. They enhance privacy and light control. Consider using premade panels or heavy-duty fabrics, and install them simply with glide tape and hooks for easy use.
Conclusion
By revitalizing your pop-up camper's curtains, you not only enhance its aesthetic appeal but also improve your overall camping experience.
Did you know that studies show a well-decorated space can boost your mood by up to 30%?
With just a little effort, you can transform your camper into a cozy retreat.
So, gather your materials and get started—your next adventure deserves a stylish upgrade!
Enjoy the journey and the beautiful new vibe you'll create.

