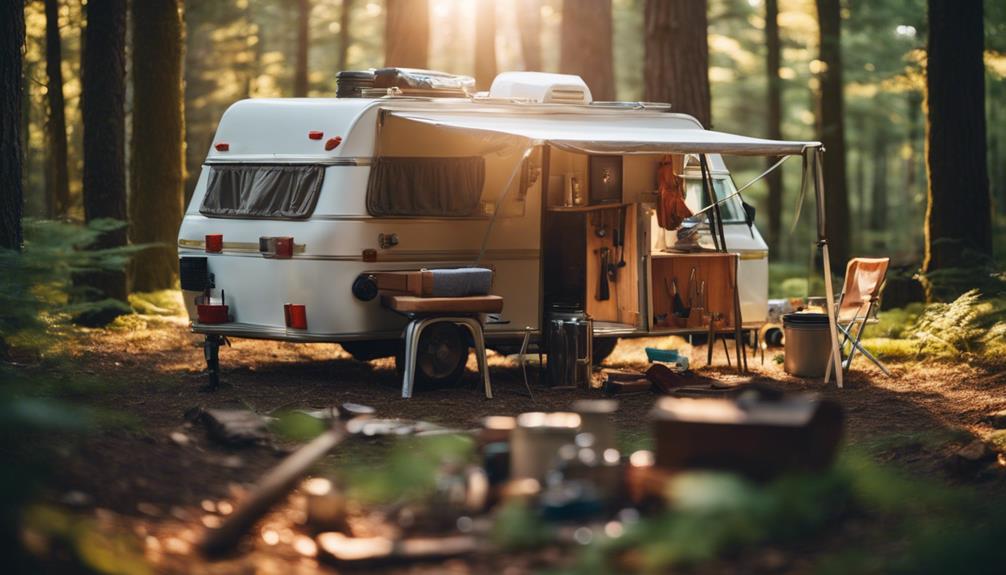
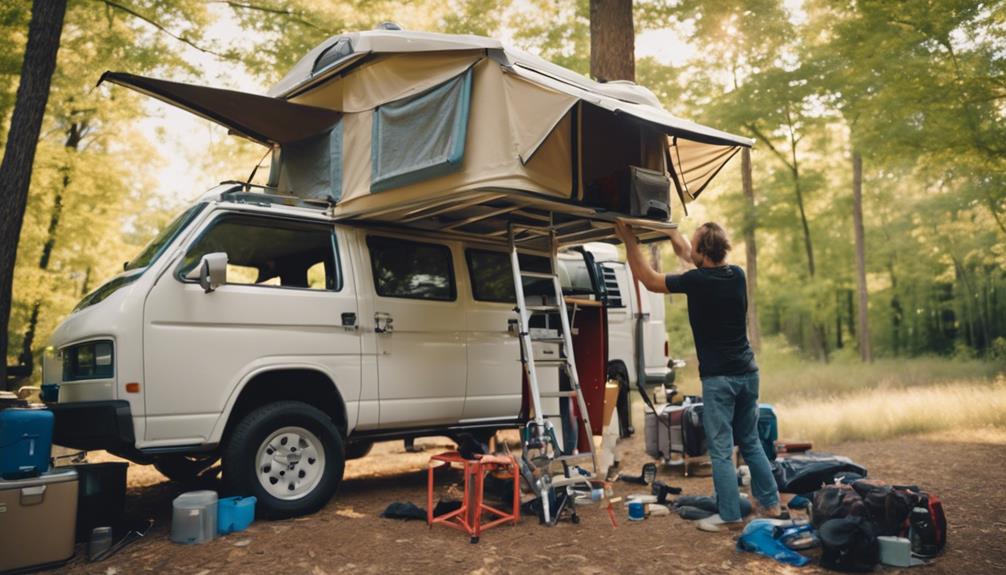
Building a pop-up camper is a rewarding DIY project that combines savings and creativity. Start by evaluating your vehicle's towing capacity and plan your design based on your camping needs. Gather essential tools like a drill and saw, along with materials like plywood and aluminum framing. Construct a sturdy frame, and install side walls, ensuring stability and weather resistance. Don't forget to optimize your interior layout for space and functionality. Keep your budget in mind, typically around $500 to $3,000. By following these steps, you'll gain more insights into enhancing your project for those unforgettable adventures.
Key Takeaways
- Assess vehicle compatibility and towing capacity before designing your pop-up camper for safe handling and travel.
- Use lightweight materials and efficient layouts to optimize space and ensure towing efficiency during adventures.
- Follow precise construction steps for the frame, side walls, and exterior finishing to enhance durability and weather resistance.
- Incorporate safety features like smoke detectors, fire extinguishers, and regular maintenance checks to ensure safe travels.
Overview of Pop-Up Campers
A pop-up camper's design makes it an ideal choice for those who want a lightweight, easily transportable option for outdoor adventures without breaking the bank.
These foldable trailers expand for use and collapse for towing, making them a convenient solution for budget travelers and outdoor enthusiasts alike. Unlike traditional RVs, pop-up campers are much more affordable, often costing between $500 and $3000 for a DIY build, depending on your materials and design choices.
One of the most appealing aspects of a pop-up camper is the extensive customization options available. You can tailor your camper to fit your specific needs and preferences, whether that means adding extra storage, modifying the sleeping arrangements, or incorporating unique features like solar panels.
This level of personalization not only enhances your camping experience but also allows you to create a space that feels like home on the road.
Additionally, pop-up campers are accessible for various vehicle types, providing you with greater travel flexibility. With the right planning and creativity, you can design a pop-up camper that perfectly suits your adventurous spirit.
Designing Your Pop-Up Trailer
When designing your pop-up trailer, start by evaluating your vehicle's compatibility to guarantee safe towing.
Next, plan your trailer's dimensions for headroom and sleeping space, striking a balance between comfort and compactness.
Vehicle Compatibility Assessment
Evaluating your vehicle's compatibility is vital before you plunge into designing your pop-up camper. Start by examining your vehicle's towing capacity; it should safely handle the weight of your camper when fully loaded, which typically ranges from 500 to 3,000 pounds. This step guarantees that you won't encounter any dangerous situations on the road.
Next, determine the maximum height and width restrictions of your vehicle. Staying within local road regulations is important to avoid any towing difficulties.
Consider your vehicle's wheelbase and turning radius as well; these factors will impact the stability and ease of maneuverability of your trailer during travel.
Also, think about how you plan to use your pop-up camper—whether for family trips or off-road adventures. This will inform your design requirements, including weight distribution and structural integrity.
Desired Dimensions Planning
Planning the desired dimensions for your pop-up trailer is key to guaranteeing it meets your needs and fits your vehicle's capabilities. Start by considering a standard bed size of 4 x 8 feet, which keeps your design compact and manageable. Think about your headroom; aiming for a height between 6 to 7 feet will give you enough space to stand and move comfortably within the camper.
Next, evaluate your sleeping space requirements. A width of 4 feet can provide a cozy sleeping area for two adults, making it vital to plan accordingly. While you're shaping your popup trailer, don't forget to factor in insulation materials. Aim for at least 1 inch of thickness to guarantee effective thermal regulation, keeping you comfortable in varying weather conditions.
As you finalize these dimensions, keep in mind that balance is essential for towing stability. You'll want to verify that your trailer's layout accommodates any accessories or furnishings you plan to include. By carefully planning these aspects, you'll create a pop-up trailer that's not only functional but also tailored to your adventures.
Weight Distribution Considerations
Properly distributing weight in your pop-up trailer is essential for safe towing and a smooth driving experience. When building your tent trailer, position heavier items, like appliances and water tanks, over the trailer's axle. This helps maintain stability while towing and reduces the risk of swaying. Aim for a tongue weight of 10-15% of the total trailer weight to guarantee ideal control.
As you design your pop-up camper, think about the layout of sleeping areas, kitchenettes, and storage compartments. Strategically placing these elements will help balance weight evenly across the trailer. Avoid excessive weight on one side, as this can negatively impact handling and increase the risk of accidents.
During your trips, regularly assess and adjust your load. This not only helps with weight distribution but also improves fuel efficiency and reduces wear on your towing vehicle. By being mindful of these factors, you can create a safer and more enjoyable experience while using your pop-up camper.
Essential Tools and Materials
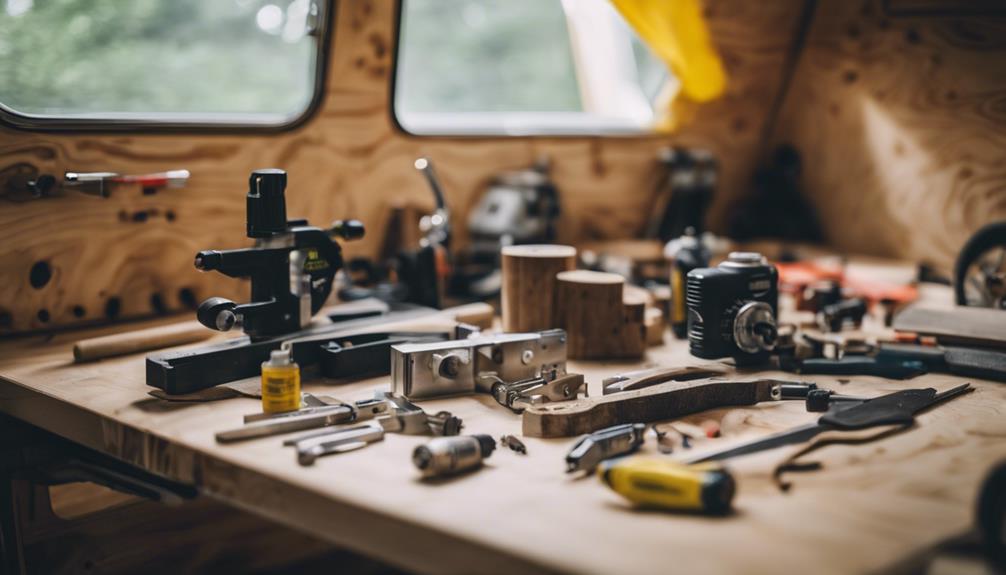
To build a pop-up camper, you'll need a range of essential tools and materials that guarantee a sturdy and functional design.
Start with tools like a drill for assembly, a saw for cutting materials, a screwdriver for fastening components, a measuring tape for precise dimensions, and a level to verify everything's stable. Safety gear—gloves, goggles, and masks—is vital when using power tools and handling potentially hazardous materials.
For materials, you'll require plywood for the frame and walls, aluminum framing for durability, canvas for the pop-up canopy, and insulation to maintain temperature control. You can find many of these items at Home Depot, where you'll discover easy-to-install options that fit various budgets.
Your estimated budget can range from $500 to $3000, depending on your camper design and the quality of materials you choose.
Consider sourcing materials through local hardware stores, online retailers, and even recycling centers to find budget-friendly options.
Frame Construction Steps
Begin by selecting a sturdy foundation, such as a Harbour Freight utility trailer frame, to assure your pop-up camper's frame is both reliable and durable. Next, consider omitting the folding option during construction to enhance stability. This will allow you to create a more robust frame design.
To build your frame, use a combination of materials, including wood products, with typical dimensions set at 4 x 8 feet for the trailer bed. Be sure to follow standard construction instructions while making modifications tailored to your specific design needs and preferences. Precision is key when assembling the frame to ascertain it can support the weight and functionality of your camper.
Here's a simple overview of the frame construction steps:
| Step Number | Action | Notes |
|---|---|---|
| 1 | Select Trailer Frame | Use a Harbour Freight utility frame |
| 2 | Choose Materials | Wood products and metal components |
| 3 | Measure Dimensions | Standard size is 4 x 8 feet |
| 4 | Assemble Frame | Ensure precision for stability |
| 5 | Review Structure | Confirm it supports the camper's weight |
Following these steps will set a solid foundation for your pop-up camper project.
Installing Side Walls and Doors
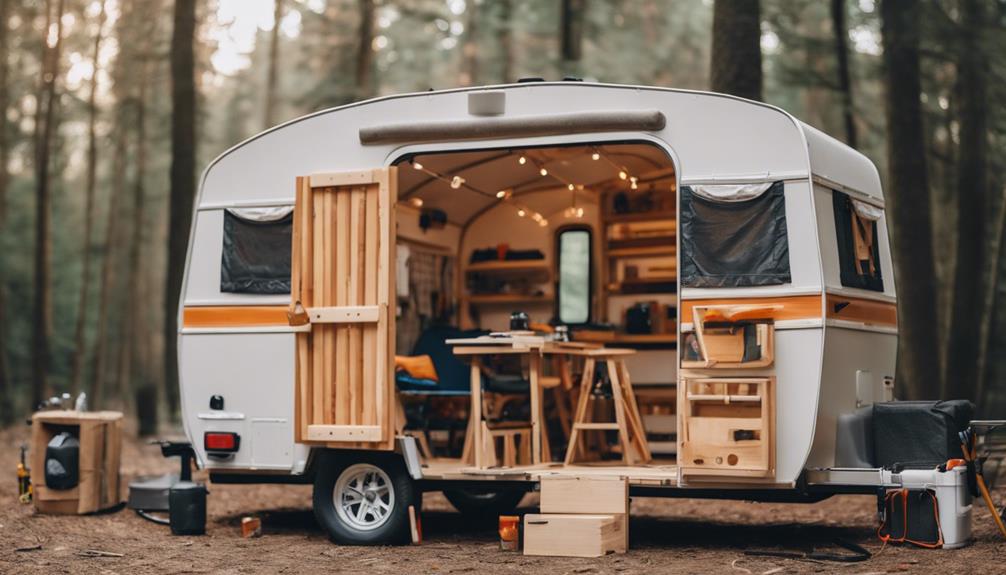
With a sturdy frame in place, you can now focus on installing the side walls and doors to complete your pop-up camper's structure. Start by cutting your 1/2-inch pressure-treated plywood to the appropriate height, guaranteeing it aligns perfectly with the pop-up door. Securely fasten the side walls to the trailer frame, which is essential for stability during use.
As you work, consider adding some practical features:
- Lighting holes for concealed wiring, enhancing aesthetics and functionality.
- Weather-resistant sealant around edges to prevent moisture intrusion.
- A salvaged door sourced from eBay or a local dealer to stay within budget.
- Reinforced corners for added durability and strength.
Once everything is in place, double-check the alignment and make certain the doors operate smoothly. This meticulous approach guarantees your pop-up camper isn't only functional but also ready to withstand the elements.
Exterior Finishing Techniques
Applying sheet aluminum to your pop-up camper's exterior not only enhances its appearance but also boosts durability and weather resistance. When selecting materials, consider visiting Home Depot, where you'll find various aluminum options ideal for DIY projects. The installation process for sheet aluminum is straightforward, making it a quick upgrade that protects your camper from the elements.
During construction, think about incorporating lighting holes in the side walls. This allows you to conceal wiring, guaranteeing a clean and polished look once you finish. By planning for these features early on, you can enhance both functionality and style.
Additionally, using marine-grade plywood for your camper's structural components will greatly increase its longevity. When combined with a protective aluminum exterior, this choice provides a solid foundation that withstands wear and tear over time. Remember to seal any joints and edges to further enhance weather resistance.
As you complete the exterior finishing, take your time to guarantee everything is aligned and securely fastened. A well-finished exterior not only looks great but also contributes to the overall performance of your pop-up camper, preparing it for many adventures ahead.
Ensuring Stability and Safety
A well-finished exterior not only looks great but also sets the stage for guaranteeing stability and safety in your pop-up camper. To achieve that, focus on these essential elements:
- Install car scissor jacks at both the front and rear to provide extra support during setup and prevent wobbling.
- Design a sturdy frame without the folding option to boost stability and durability, especially when traveling or using the camper.
- Conduct weight tests to guarantee even weight distribution, which is vital for safe towing and minimizing swaying on the road.
- Reinforce hinges and latches with high-quality hardware, ensuring the structural integrity of the pop-up mechanism and maintaining safety during operation.
Interior Furnishings and Layout
Creating an efficient layout in your pop-up camper guarantees you make the most of the limited space available for sleeping, cooking, and storage. Start by prioritizing these key areas to enhance functionality and comfort.
Consider multi-functional furniture, like a foldable table or convertible seating, which can adapt to your needs while optimizing space. For sleeping arrangements, verify that your beds are comfortable yet compact. Under-bed drawers can serve as excellent storage solutions, keeping your essentials organized and out of the way. Additionally, overhead cabinets provide further storage while maintaining a clutter-free environment.
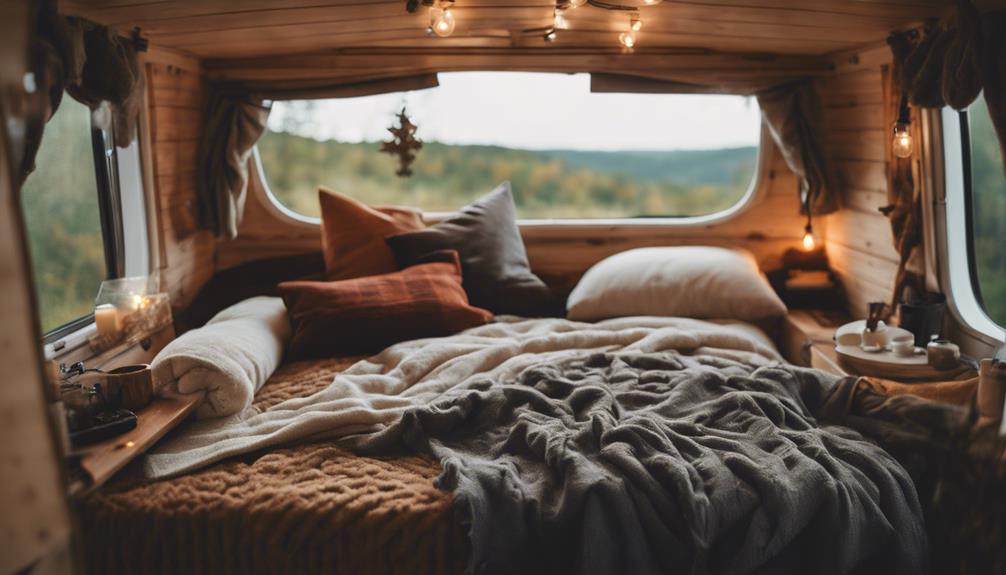
Choose lightweight and durable materials for your interior furnishings. This not only helps with the overall weight efficiency of your camper but also assures ease of towing. When selecting fabrics and finishes, think about cohesive color schemes and decorative elements that reflect your personal style, adding a touch of home to your camper.
Lastly, remember that a well-thought-out layout can greatly enhance your camping experience, making it more enjoyable and functional. By focusing on these design elements, you'll create a welcoming and practical space for your adventures.
Maintenance and Care Tips
Regular maintenance is essential for keeping your pop-up camper in top condition and guaranteeing a safe, enjoyable camping experience. By following these tips, you can prolong the life of your camper and avoid costly repairs.
- Inspect regularly: Look for leaks and structural damage, especially after heavy rain or snow. This keeps your camper safe and secure.
- Clean surfaces: Use mildew stain removers like Bass Pro Shops Mildew Stain Remover to prevent mold growth and maintain hygiene.
- Re-waterproof canvas: After cleaning, apply 303 Products to protect the fabric against moisture and extend its lifespan.
- Store wisely: Keep your camper in a dry, shaded area when not in use to prevent damage from UV exposure and harsh weather.
Budgeting Your DIY Project
When budgeting your DIY pop-up camper project, you need to set a realistic budget that fits your needs.
Look for affordable materials and keep track of your expenses throughout the process to stay on course.
With careful planning, you'll not only save money now but also enjoy long-term savings on your travels.
Setting a Realistic Budget
Establishing a realistic budget is essential for ensuring your DIY pop-up camper project stays on track and manageable. Begin by estimating your overall costs, which can range from $500 to $3000, depending on the design complexity and materials you choose.
To create a thorough budget, consider the following:
- Essential tools and safety gear: Allocate 20-30% of your budget for items like drills, saws, gloves, and goggles.
- Quality materials: Factor in expenses for marine-grade plywood, aluminum framing, and waterproofing sealants, as these can greatly impact your total costs.
- Contingency fund: Set aside 10-15% of your budget for unexpected repairs or additional features that may arise during construction.
- Price comparison: Research and compare prices from local hardware stores, online retailers, and recycling centers to find the best deals.
Sourcing Affordable Materials
Finding affordable materials is a key step in keeping your DIY pop-up camper project within budget while guaranteeing quality craftsmanship. Start by visiting local hardware stores, where you'll often find competitive pricing on essential items like plywood and aluminum. These stores can be your first stop for reliable supplies.
Next, consider checking out recycling centers or salvage yards for second-hand materials. You can greatly cut costs while still acquiring quality components for your camper. Online marketplaces like eBay and Craigslist are also excellent resources for budget-friendly deals on new and used camper parts.
Don't forget about bulk purchasing; suppliers frequently offer discounts when you buy materials like insulation and sealants in larger quantities. This approach can considerably lower your overall project costs.
As you gather materials, create a detailed budget that outlines your estimates for tools, materials, and any unexpected expenses. Aim for a total DIY camper budget ranging from $500 to $3000, depending on your design complexity and material choices. By being strategic in sourcing your materials, you can guarantee that your project remains financially feasible while achieving the desired quality.
Tracking Expenses Effectively
Creating a solid budget to track your expenses effectively guarantees you stay on course throughout your DIY pop-up camper project. Start by crafting a detailed budget that estimates costs for tools, materials, and any unforeseen expenses. The total investment for DIY campers typically ranges from $500 to $3000.
To keep your finances organized, consider categorizing your spending into sections like:
- Frame construction: Lumber, screws, and tools
- Materials selection: Canvas, insulation, and flooring
- Finishing touches: Paint, hardware, and accessories
- Tools: Saw, drill, and other essentials
Using a spreadsheet or budgeting app makes tracking both projected and actual costs easier, allowing for adjustments as needed.
Remember to regularly review your spending against your budget. This helps you identify areas where you might need to cut back or where you can invest a little more for higher-quality materials or enhancements.
Frequently Asked Questions
Is It Cheaper to Build Your Own Camper?
Yes, it's cheaper to build your own camper. You can save considerably by choosing materials, reducing labor costs, and using recycled items. Customizing it to your preferences further enhances the value while keeping expenses low.
What Is an Alternative to a Pop-Up Camper?
Imagine a cozy teardrop trailer, like a warm hug on wheels. If you're seeking alternatives to a pop-up camper, consider travel trailers for space, Airstreams for luxury, or van conversions for flexibility and comfort on the road.
What Are Pop-Up Camper Walls Made Of?
Pop-up camper walls are usually made from 1/2-inch pressure-treated plywood, offering durability and moisture resistance. You might also consider insulation materials for better temperature control and energy efficiency during your outdoor adventures.
How to Make a Camper a Home?
To make your camper feel like home, choose a cohesive design theme, upgrade essential amenities, maximize storage with multifunctional furniture, and personalize the space with decorative touches that reflect your style and enhance comfort.
Can I Incorporate AC into My DIY Pop-Up Camper Project?
Yes, you can incorporate adding AC to popup camper into your DIY project. With the right tools and materials, you can easily install an air conditioning unit to keep your camper cool during hot summer days. Just make sure to follow the installation instructions carefully for a successful outcome.
Conclusion
Building your own pop-up camper can be a rewarding adventure, allowing you to customize it to your needs.
Did you know that nearly 60% of campers prefer the convenience of pop-up trailers over traditional RVs for their lightweight and compact design?
By following this guide, you can create a cozy and functional camper that'll enhance your outdoor experiences.
So grab your tools, release your creativity, and hit the road with your very own DIY pop-up camper!

