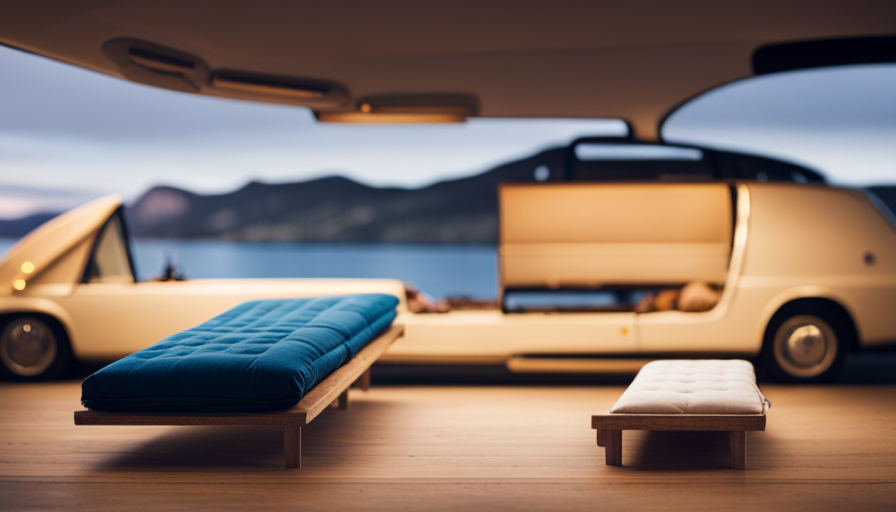
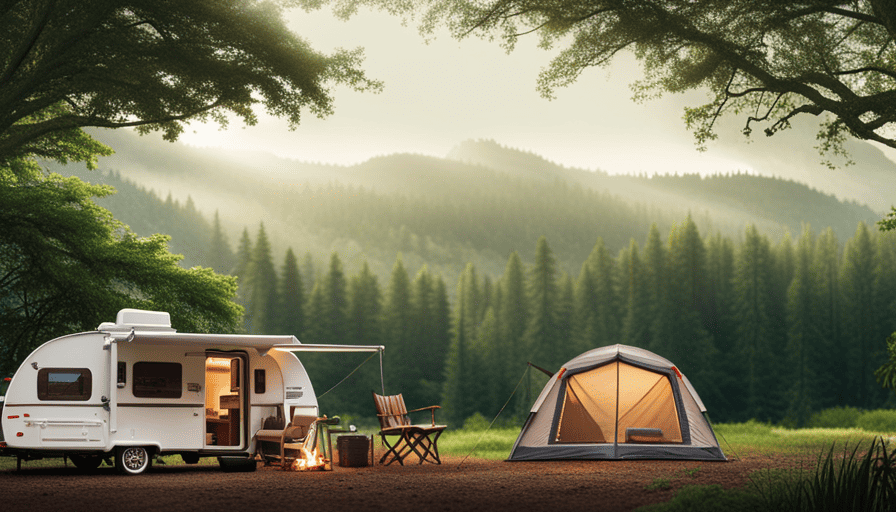
Did you know that over 70% of people in the United States enjoy camping? If you’re one of these outdoor enthusiasts, you might be interested in transforming your vehicle into a camper for your next adventure.
Converting your car into a cozy living space on wheels can provide you with the freedom and flexibility to explore the great outdoors while still enjoying some of the comforts of home.
In this article, we will guide you through the process of transforming your car into a camper, from assessing your car’s suitability for conversion to adding personal touches and decor. We will provide you with step-by-step instructions, helpful tips, and a list of necessary tools and materials.
So, whether you’re planning a weekend getaway or a cross-country road trip, get ready to hit the road in your very own custom-made camper!
Key Takeaways
- Assess the size and type of car to determine its suitability for conversion into a camper.
- Optimize space utilization by utilizing vertical space with shelves or cabinets and considering furniture placement.
- Install insulation for temperature control and blackout curtains or window covers for a comfortable sleeping environment.
- Create effective storage solutions for organizing belongings and install a basic kitchen setup with portable stove, compact refrigerator, and cooking utensils.
Assess Your Car’s Suitability for Conversion
Before you start dreaming about converting your car into a camper, it’s crucial to assess if your vehicle is up for the adventure! Car modification is a complex process that requires careful planning and consideration.
First and foremost, you need to evaluate the size and type of your car. Larger vehicles like vans or SUVs provide more space and are often better suited for camper conversions. However, with some creativity and smart storage solutions, smaller cars can also be transformed into cozy camping havens.
Once you’ve determined that your car is suitable for conversion, it’s time to think about the camping essentials you’ll need. Consider the number of people who’ll be using the camper and their sleeping arrangements. Will you need a foldable bed or sleeping bags? Don’t forget about storage space for clothes, cooking utensils, and other camping gear. It’s also essential to assess your car’s electrical system. Do you have enough power to run appliances like a refrigerator or lights? If not, you may need to invest in a secondary power source.
Now that you’ve assessed your car’s suitability and gathered the necessary camping essentials, it’s time to plan your layout and design.
Plan Your Layout and Design
First, envision the perfect layout and design for transforming your vehicle into a cozy camper. When planning your layout and design, consider the furniture placement to optimize space utilization. Think about what essentials you need, such as a bed, storage, and a small kitchen area. You can maximize the available space by utilizing vertical space effectively.
Consider installing shelves or cabinets above the bed or along the sides of the vehicle to store your belongings. This will help keep the floor area clear and create a more open and spacious feel inside.
When designing your layout, take into account the size and shape of your vehicle. Measure the dimensions accurately and consider any obstacles like wheel wells or windows that may affect furniture placement. Think about how the furniture will be secured in the vehicle and ensure that it is safe and stable during travel.
As you plan your layout and design, keep in mind your personal preferences and needs. Consider the activities you plan on doing during your camping trips and design your camper accordingly. By carefully planning the layout and design, you can create a comfortable and functional space that meets your specific requirements.
In the next section, we will discuss how to gather the necessary tools and materials for converting your car into a camper.
Gather the Necessary Tools and Materials
To create a cozy camper, gather the tools and materials needed for the conversion process, ensuring you have everything necessary for the project.
The tools needed for this transformation include a drill, screwdriver, jigsaw, measuring tape, and a utility knife. These tools will help you with various tasks such as cutting and securing materials.
As for the materials required, you’ll need plywood for constructing the bed frame and storage units, as well as foam insulation for added comfort. Additionally, you’ll require screws, nails, and brackets to assemble the different components securely. Don’t forget to get adhesive glue for attaching the insulation material.
Other essential materials include fabric for curtains and cushions, electrical wiring for lighting and charging devices, and a ventilation system for fresh air circulation.
Once you have gathered all the necessary tools and materials, you’ll be ready to move on to the next step: installing insulation for temperature control. This will ensure that your camper remains comfortable in any weather conditions.
Install Insulation for Temperature Control
Now that we’ve gathered all the necessary tools and materials, it’s time to get started on installing insulation for optimal temperature control in our cozy camper.
Insulation is crucial to create a comfortable living space, protecting us from extreme weather conditions and reducing noise levels. There are various insulation techniques and materials to choose from, depending on your budget and preferences.
One popular insulation technique is using foam board insulation. This material is lightweight, easy to install, and provides excellent insulation properties. Simply measure and cut the foam board to fit the walls, ceiling, and floor of your car. Secure it in place using adhesive or screws, ensuring a snug fit to prevent any air leaks.
Another option is reflective insulation, which uses a layer of reflective material to bounce heat away from the camper. This type of insulation is particularly effective in hot climates. Install it by attaching the reflective material to the interior walls and ceiling using adhesive or staples.
Remember to also insulate windows and doors to prevent heat loss. Use window insulation film or thermal curtains to create a barrier against cold drafts. Finally, seal any gaps or cracks with weatherstripping or silicone caulk.
With the insulation in place, we can now move on to the next step: building a sleeping and seating area.
Build a Sleeping and Seating Area
Once the insulation’s in place, it’s time to create a cozy and comfortable sleeping and seating area for ultimate relaxation in your camper.
The seating arrangements in your converted car can vary depending on the available space and your personal preferences. One option is to install a foldable bench seat that can double as a seating area during the day and a bed at night. This allows for maximum use of space and provides a comfortable spot to relax or dine.
Another option is to install swivel seats in the front of the car, which can be turned around to face the living area, creating a cozy seating area for socializing or enjoying the view.
For sleep comfort, consider investing in a good quality mattress or mattress topper that fits the dimensions of your sleeping area. Memory foam mattresses are a popular choice for camper conversions as they provide excellent support and can be easily cut to fit irregular shapes. Additionally, adding blackout curtains or window covers can help create a dark and peaceful sleeping environment.
To create storage solutions for your belongings, we’ll explore clever ways to maximize storage space in your camper.
Create Storage Solutions for Your Belongings
Transforming your vehicle into a cozy sanctuary involves creating clever storage solutions to keep your belongings organized and easily accessible. When you’re on the road, maximizing space becomes crucial.
One great way to do this is by utilizing storage bins or crates that can fit neatly under your bed or seating area. These bins can hold clothing, cooking utensils, and other essentials, keeping them out of the way but still within reach.
Another smart storage solution is utilizing the walls of your vehicle. Install hooks or magnetic strips to hang items like hats, keys, or cooking tools. You can also attach small baskets or pockets to store smaller items like toiletries or snacks. By utilizing the vertical space, you can keep your belongings organized and create a clutter-free environment.
Additionally, consider investing in collapsible storage solutions. There are various collapsible storage bins, baskets, and bags available on the market that can be easily folded and stored when not in use. This’ll save you valuable space and allow you to organize your belongings efficiently.
Creating effective storage solutions is essential when turning your car into a camper. By maximizing space and organizing your belongings, you can create a comfortable and clutter-free environment.
In the next section, we’ll discuss how to install a basic kitchen setup to enhance your camping experience.
Install a Basic Kitchen Setup
Enhance your camping experience by installing a basic kitchen setup that’ll leave your taste buds craving for more. Having a functional kitchen in your camper lets you enjoy delicious meals on the road, without relying solely on pre-packaged food.
Here are four essential items you’ll need to create a basic kitchen setup:
-
Basic Kitchen Appliances: Invest in a portable stove or cooktop that runs on a small propane canister. This’ll allow you to cook meals wherever you park your camper. Additionally, a compact refrigerator or cooler will keep your perishable items fresh and drinks cold.
-
Cooking Essentials: Stock up on cooking utensils like pots, pans, and a set of knives. Don’t forget basic kitchen tools such as a cutting board, can opener, and measuring cups. These essentials’ll make meal preparation a breeze.
-
Food Storage: Maximize space by using stackable food containers and storage bins. This’ll help keep your ingredients organized and prevent spills while driving. Consider using collapsible silicone containers to save even more space.
-
Dishwashing Supplies: Keep your kitchen clean with eco-friendly dish soap and a small dish rack. Opt for biodegradable products to minimize your impact on the environment.
Once your basic kitchen setup is complete, the next step is to set up a power source for electricity. This’ll allow you to fully utilize your kitchen appliances and other electrical devices.
Set Up a Power Source for Electricity
To create a fully functional kitchen setup in your camper, start by setting up a power source for electricity. One of the best ways to harness renewable energy is by installing solar panels on the roof of your camper. These panels will capture sunlight and convert it into usable electricity, providing you with a sustainable and eco-friendly power source.
Additionally, you’ll need a power inverter to convert the direct current (DC) power generated by the solar panels into alternating current (AC) power that can be used to power your appliances. This will allow you to charge your devices, run small kitchen appliances, and keep your lights on while you’re on the road.
When choosing solar panels and a power inverter, make sure to consider the power requirements of your kitchen appliances. Calculate the total wattage needed and choose panels and an inverter that can handle that load. Additionally, consider the size and weight of the panels, as well as their durability and efficiency.
With a reliable power source in place, you can now move on to adding personal touches and decor to make your camper feel like home.
Add Personal Touches and Decor
Make your camper feel like home by adding personal touches and decor that reflect your unique style and personality. One of the first things to consider is choosing the right color scheme. Opt for colors that create a cozy and inviting atmosphere, such as warm earth tones or soothing pastels. This will help make your camper feel more like a home away from home.
Additionally, finding unique decor pieces can add character to your space. Look for items that are compact and lightweight, such as small plants, wall art, or decorative pillows. You can also consider incorporating items that have sentimental value, like photographs or souvenirs from past trips.
To make the most of your space, think vertically. Utilize wall space for hanging organizers or shelves to keep your belongings organized and easily accessible. Adding curtains or blinds to your windows can provide privacy and also add a touch of style to your camper. Consider adding cozy blankets, throw pillows, and rugs to make your sleeping area more comfortable and inviting.
With your personal touches and decor in place, your camper will truly feel like a home on wheels. So, test your camper conversion and hit the road!
Test Your Camper Conversion and Hit the Road!
Now that we’ve added our personal touches and decor to our converted camper, it’s time to put it to the test and hit the road! Testing the durability of our camper conversion is crucial to ensure that everything is secure and functioning properly.
We want to make sure that all the fixtures and fittings stay in place while on the move, so it’s a good idea to take a short test drive to see how everything holds up. This will also give us a chance to check for any potential issues or adjustments that may need to be made.
Once we’re confident that our camper conversion is road-ready, it’s time to start planning our first adventure. Finding campsites that are suitable for our converted car can be a fun and exciting part of the journey. With so many options available, we can choose from national parks, private campgrounds, or even remote boondocking locations.
Researching online, using camping apps, or joining forums can help us discover the best spots that cater to our specific needs and preferences.
As we embark on our camper conversion journey, testing its durability and finding the perfect campsites will not only ensure a smooth and enjoyable experience but also open up a world of adventure and possibilities. So, fasten your seatbelts and get ready for an unforgettable road trip with our very own customized camper!
Frequently Asked Questions
What are some common challenges or obstacles people face when converting their car into a camper?
When converting a car into a camper, there are several common challenges that people face. One of these challenges is space optimization. Due to the limited space in a car, it can be difficult to find ways to maximize storage and sleeping areas. People often have to get creative with their storage solutions and make use of every inch of available space.
Additionally, they may need to make modifications to the car’s interior layout to better accommodate their camping needs.
Can you provide any tips or tricks for maximizing space and storage in a car camper conversion?
Maximizing storage space in a car camper conversion is crucial for a comfortable and organized experience. To achieve this, we recommend utilizing every nook and cranny efficiently. Install shelves, hooks, and storage bins to keep essentials easily accessible and organized.
Utilize the space under seats and in overhead compartments for additional storage. Consider collapsible furniture and multi-purpose items to save space. With these tips, you can efficiently organize your essentials and maximize storage space in your car camper conversion.
Are there any specific safety considerations or regulations to keep in mind when converting a car into a camper?
Safety considerations and legal regulations are crucial when converting a car into a camper. It’s important to ensure that the modifications made to the vehicle comply with safety standards and regulations set by the local authorities.
This may include installing proper ventilation, securing heavy items, and ensuring the electrical system meets safety requirements. Additionally, it’s essential to consider fire safety measures, such as having a fire extinguisher on board.
Familiarizing yourself with the specific legal requirements in your area is essential to ensure a safe and compliant conversion.
How much does it typically cost to convert a car into a camper, including materials and labor?
The cost breakdown of converting a car into a camper can vary depending on whether you choose to do it yourself or hire a professional. DIY conversions generally cost less, with materials ranging from $500 to $5,000.
However, if you opt for a professional conversion, prices can range from $10,000 to $50,000 or more, depending on the extent of customization. Labor costs typically account for a significant portion of the overall expense.
Are there any legal restrictions or limitations on where you can park or camp in a converted car camper?
When it comes to legal restrictions on parking and camping in car campers, it’s important to research and understand the specific regulations in the area you plan to travel.
Many cities and towns have laws prohibiting overnight camping or parking in certain areas. However, there are usually designated campgrounds, RV parks, and rest areas where you can safely and legally park your converted car camper.
Additionally, apps and websites can help you find safe and convenient parking spots, including public lands and private campgrounds.
Can I Use the Same Techniques to Move a Truck Camper Without a Truck as I Would to Turn my Car into a Camper?
When it comes to move truck camper without truck versus turning my car into a camper, the techniques may not be interchangeable. Moving a truck camper without a truck requires specialized equipment, such as a trailer, while converting a car into a camper involves interior modifications. Each approach demands distinct methods, so it’s essential to consider the practicality and requirements for both endeavors separately.
Can Happy Camper be Used to Help Turn Your Car Into a Camper?
Yes, using happy camper techniques, you can transform your car into a makeshift camper. By utilizing space-saving techniques and organization tips, you can create a cozy sleeping area and storage space for camping essentials. With a little creativity and resourcefulness, your car can become a comfortable and functional camper.
Conclusion
So there you have it, turning your car into a camper is a fun and rewarding project that can provide you with endless adventures on the road.
While some may argue that it’s more practical to simply purchase a ready-made camper, the process of converting your own car allows for a personalized and unique experience. It also gives you the opportunity to save money and customize the layout to suit your specific needs.
So don’t be afraid to take on this DIY project and turn your car into the ultimate camper!

