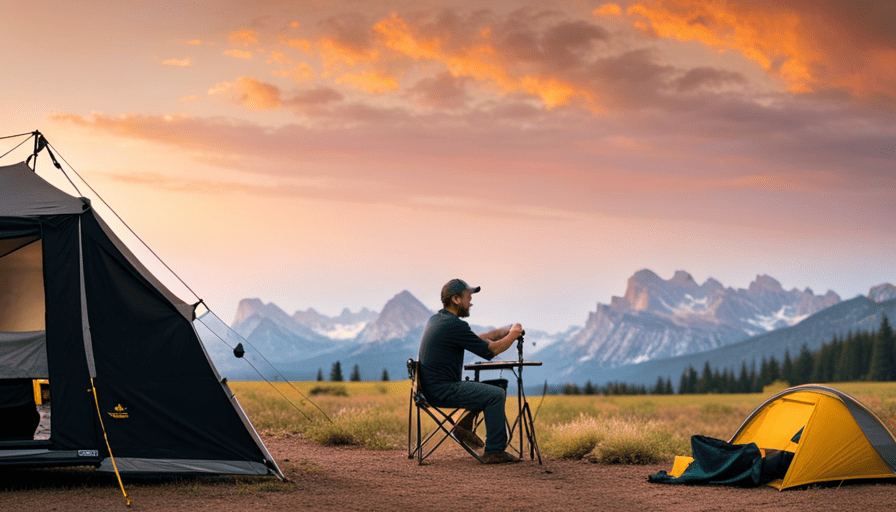
Are you prepared to convert your pop-up camper into the ultimate exterior living area? Well, buckle up, because we’re about to unveil the secret behind creating the ideal awning setup!
Picture this: you arrive at your campsite, the sun is shining, and you can already feel the gentle breeze on your face. But wait, something is missing…that’s right, the awning! It’s the key to creating a comfortable and shaded area where you can relax and enjoy the great outdoors.
In this article, we will guide you through the step-by-step process of setting up an awning on your pop up camper. From choosing the right type of awning to testing its stability, we’ve got you covered.
So grab your tools and let’s get started on this exciting journey to enhance your camping experience!
Key Takeaways
- Choosing the right type of awning is crucial for functionality and convenience.
- Finding a suitable location and properly anchoring the awning ensures stability.
- Regular cleaning, inspection, and maintenance prolong the lifespan of the awning.
- Using additional attachments like sidewalls or screens provides extra shade, privacy, and protection.
Gather the Necessary Materials and Tools
Now, gather all the materials and tools you’ll need to set up the awning on your pop-up camper. Gathering the materials is an essential first step before starting the installation process.
You will need the following items: an awning fabric, awning poles, stakes, ropes, a mallet, a screwdriver, and a measuring tape.
Start by preparing your tools. Make sure your screwdriver is the right size for any screws or bolts that may need to be adjusted during the installation. Check that your mallet is in good condition and ready to be used for pounding in stakes. Additionally, ensure that your measuring tape is accurate for precise measurements.
Next, gather all the necessary materials. The awning fabric should be of suitable size for your pop-up camper. Measure the length and width of your camper before purchasing the fabric to ensure it will fit properly. The awning poles, stakes, and ropes should be sturdy and durable to withstand various weather conditions.
With the materials and tools gathered, you’re now ready to move on to the next step: choosing the right type of awning for your pop-up camper. This decision is crucial as it’ll determine the overall functionality and convenience of your awning setup.
Choose the Right Type of Awning for Your Pop Up Camper
First, it’s crucial to select the perfect type of awning that complements your compact trailer. When choosing the right size awning for your pop-up camper, there are a few awning installation tips to keep in mind.
Measure the length and width of your camper to determine the appropriate size. Consider the amount of space you want to cover and how many people will be using the awning. Additionally, think about the weather conditions you may encounter on your camping trips.
If you frequently camp in windy areas, a sturdy and wind-resistant awning is essential. On the other hand, if you primarily camp in hot and sunny locations, an awning with UV protection will provide much-needed shade.
In order to find a suitable location for setting up the awning, it’s important to consider the surroundings and terrain of your campsite. Look for a flat and level area where the awning can be securely anchored. Avoid setting up near trees or branches that could potentially damage the awning or obstruct the view.
Once you have chosen the right type and size of awning, the next step is to find the perfect spot to set it up and start enjoying the shade and comfort it provides.
Find a Suitable Location for Setting Up the Awning
Once you’ve found the perfect spot, it’s time to scout for an ideal location to pitch your shade haven. Finding the perfect spot for your awning is crucial to ensure its stability and functionality.
Start by looking for a flat and level surface, preferably with soft ground that allows for easy anchoring. Avoid areas with slopes or uneven terrain, as they can make the setup process more challenging and compromise the stability of your awning.
Take into account the direction of the sun throughout the day. You’ll want to position your awning in a way that provides ample shade during the hottest hours. Consider the surrounding trees or structures that may offer additional shade or protection from the wind. This will help create a more comfortable and enjoyable outdoor space for you and your fellow campers.
Ensuring proper stability of the awning is essential for its longevity and safety. Look for a location where you can securely anchor the awning to the ground using stakes or weights. Avoid setting it up in areas with loose soil or sandy surfaces, as they may not provide enough support. If possible, check the weather forecast to make sure you’re not setting up in an area prone to strong winds or heavy rain.
Once you’ve found the perfect spot and assessed its suitability, you can move on to preparing the camper and awning area for setup.
Prepare the Camper and Awning Area
Before you can create the perfect outdoor oasis, it’s important to get everything ready by preparing the camper and the area where you’ll be enjoying your awning. Taking the time to properly maintain your camper is essential for a smooth camping experience. Start by checking the overall condition of your camper, ensuring that all systems are functioning properly and that there are no leaks or damages. Clean the exterior of the camper, removing any dirt or debris that may have accumulated.
Additionally, inspect the awning itself for any signs of wear or tear. This includes checking the fabric for holes or fraying, as well as inspecting the frame for any loose or broken parts. Taking care of your awning will prolong its lifespan and ensure that it provides shade and protection for years to come.
Nested bullet point list:
- Regularly clean and inspect the camper for any damages or issues.
- Store the awning properly when not in use to prevent unnecessary wear and tear.
- Use a mild soap and water solution to clean the awning fabric, avoiding harsh chemicals that can damage the material.
With the camper properly maintained and the awning in good condition, it’s time to unfold and assemble the awning frame. [Transition sentence to subsequent section about ‘unfold and assemble the awning frame’].
Unfold and Assemble the Awning Frame
Now that the camper and awning area have been properly prepared, it’s time to unfold and assemble the frame for the awning. The unfolding process is straightforward and can be done by following a few simple steps.
Start by releasing any latches or straps that may be holding the frame in place. Then, gently pull on the frame until it unfolds completely. Be careful not to force it or pull too hard, as this could damage the frame or the awning fabric.
Once the frame is unfolded, it’s time to connect the different parts together. Begin by aligning the frame sections and inserting the connecting pins into the designated holes. Make sure the pins are securely in place before moving on to the next section. This will ensure the stability and strength of the frame.
As you connect the frame parts, pay attention to any additional attachments, such as braces or support beams. These may need to be secured to provide extra stability for the awning.
Now that the frame is unfolded and assembled, we can move on to the next step: attaching the awning to the camper.
Attach the Awning to the Camper
To attach the awning to the camper, you’ll need to determine the best placement for maximum shade and protection from the elements. Can you envision the perfect spot for your outdoor oasis? Once you’ve chosen the ideal location, it’s time to securely attach the awning to your pop up camper.
Start by positioning the awning in the desired spot, making sure the fabric is taut and evenly stretched. Next, locate the awning rail on the side of your camper. Slide the awning bead into the rail, ensuring it’s fully inserted and securely attached. This will provide a stable connection between the awning and the camper.
To further secure the awning, use the provided awning stakes or anchors to secure the corners of the awning to the ground. This will prevent any movement or shifting, especially during windy conditions. Make sure the stakes are driven into the ground at a 45-degree angle for maximum stability.
Now, let’s talk about some tips for maintaining your awning over time. Regularly inspect the awning for any signs of wear or damage, such as tears or loose stitching. Clean the awning fabric with mild soap and water, and avoid using harsh chemicals that could damage the material. Additionally, consider applying a fabric protectant to prolong the lifespan of your awning.
As you’ve successfully attached the awning to your camper, let’s move on to the next step of adjusting and securing the awning in place.
Adjust and Secure the Awning
Once you’ve found the ideal spot for your outdoor oasis, it’s time to fine-tune and secure your awning for ultimate relaxation.
To start, adjust the awning height to your desired level. Most awnings have adjustable legs that can be extended or retracted to accommodate different heights. Make sure the legs are securely locked in place to prevent any accidental collapsing.
Next, troubleshoot common awning issues that may arise. If you notice any sagging or pooling of water on the awning fabric, consider using a support pole or rafter to create a slight slope and allow water to run off. Additionally, check for any loose or damaged parts such as brackets or screws. Tighten or replace them as needed to ensure a sturdy and safe setup.
To further enhance your outdoor experience, you can set up additional accessories, such as sidewalls or screens. These can provide extra shade, privacy, and protection from bugs or wind. Simply attach them to the awning using the provided hooks or Velcro strips, following the manufacturer’s instructions.
With your awning adjusted and secured, and any additional accessories in place, you’re now ready to fully enjoy your outdoor oasis. So sit back, relax, and make the most of your pop-up camper awning setup.
Set Up Additional Accessories, such as Sidewalls or Screens
Adding sidewalls or screens to your outdoor oasis can provide extra shade, privacy, and protection from bugs or wind, enhancing your overall experience. Here are some things to consider when deciding between screens and sidewalls:
-
Screens: Screens are a great option if you want to enjoy the fresh air while keeping the bugs out. They’re lightweight and easy to install, providing a breathable barrier against mosquitoes and other pests. However, they don’t offer as much privacy as sidewalls.
-
Sidewalls: Sidewalls are perfect if you want maximum privacy and protection from wind or rain. They create a cozy enclosed space, giving you a sense of seclusion and tranquility. However, they can make the area feel a bit stuffy on hot days and limit airflow.
When installing additional accessories, here are some tips and tricks to keep in mind:
-
Follow the manufacturer’s instructions carefully to ensure proper installation and avoid any damage to your camper or awning.
-
Take measurements beforehand to ensure a proper fit and minimize any gaps or sagging.
-
Use quality hardware and fasteners to securely attach the accessories to your awning, ensuring stability and longevity.
-
Consider investing in adjustable accessories that can be easily customized to fit different awning sizes or configurations.
By adding screens or sidewalls to your awning, you can create a versatile and comfortable outdoor space. After setting up these additional accessories, it’s important to test the awning for stability and functionality to make sure everything is in place and working properly.
Test the Awning for Stability and Functionality
Ensure that your outdoor oasis is secure and functional by testing the stability and functionality of your awning. To begin, check the stability of the awning by gently pulling on it from different angles. Look for any excessive movement or wobbling, as this could indicate that the awning isn’t properly secured. If you notice any instability, double-check the installation instructions and make any necessary adjustments to ensure a secure fit.
Next, test the functionality of the awning by extending and retracting it a few times. Pay close attention to the smoothness of the operation and listen for any unusual noises. If you notice any difficulties or hear any strange sounds, it may be necessary to troubleshoot the awning functionality. Start by inspecting the awning mechanism for any signs of damage or debris that may be obstructing the operation. Additionally, check the tension of the awning fabric to ensure it’s properly aligned and not causing any issues.
By properly testing the stability and functionality of your awning, you can ensure that it’ll provide you with a comfortable and reliable outdoor living space.
Now that you’ve confirmed the awning’s stability and functionality, it’s time to move on to the next step and enjoy your outdoor oasis to the fullest.
Enjoy Your Outdoor Living Space
Now that you’ve got your outdoor oasis all set up, it’s time to kick back, relax, and fully enjoy your amazing outdoor living space.
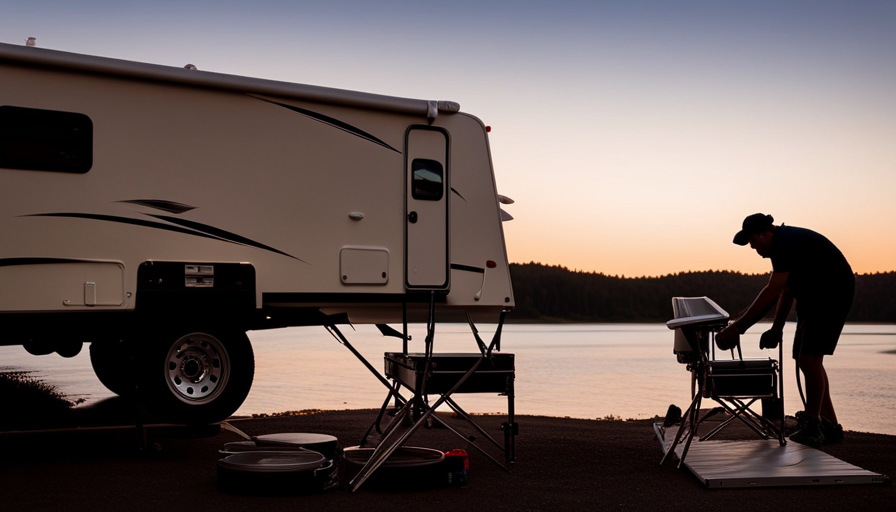
One of the best things about having an awning on your pop-up camper is the ability to create a comfortable and functional outdoor cooking and entertainment area. With your awning providing shade and protection from the elements, you can set up a grill or outdoor stove and cook up some delicious meals right outside your camper. Whether you’re grilling burgers, cooking up a stir fry, or roasting marshmallows for s’mores, the possibilities for outdoor cooking are endless.
Not only can you enjoy delicious meals, but your awning also allows you to create an outdoor entertainment area. Set up a table and chairs under the awning and enjoy meals with family and friends while being surrounded by nature. You can also bring out some board games or cards for some fun outdoor entertainment.
With your awning providing a comfortable and sheltered space, you can enjoy your outdoor living space rain or shine. So go ahead, fire up the grill, invite some friends over, and make the most of your awning-covered outdoor oasis.
Frequently Asked Questions
How do I clean and maintain my awning to ensure its longevity?
Awning cleaning tips and best awning maintenance practices are essential to ensuring its longevity. To clean the awning, start by brushing off any loose dirt or debris. Then, mix a mild soap with water and use a soft brush or cloth to gently scrub the awning. Rinse thoroughly and allow it to air dry before retracting.
Regularly inspect the awning for any tears or damage and promptly repair them. Lastly, avoid storing the awning when it’s wet to prevent mold and mildew growth.
Are there any specific safety precautions I should take while setting up and using the awning?
When setting up and using an awning on a pop-up camper, it’s important to take certain safety precautions and follow safety measures to ensure a safe and enjoyable experience.
Before setting up the awning, always check the weather conditions and ensure that the ground is level and stable. Use proper equipment, such as stakes and tie-downs, to secure the awning.
When using the awning, be mindful of weight limits and avoid hanging heavy objects.
Regularly inspect and maintain the awning to ensure its proper functioning and longevity.
Can I leave the awning attached to the camper while driving?
No, it’s not recommended to leave the awning attached to the camper while driving. Doing so can pose serious safety risks and may damage the awning or the camper. Instead, it’s advisable to properly secure and stow the awning before hitting the road.
There are alternative awning installation methods available that allow for easy setup and removal, ensuring both convenience and safety during your travels.
Are there any weight limitations or restrictions for the awning?
There are indeed weight limitations and restrictions when it comes to awnings on pop-up campers. It’s crucial to check the manufacturer’s guidelines to ensure you’re within the recommended weight limit for your specific awning model.
Exceeding the weight limit can cause damage to the camper and compromise your safety. Additionally, there may be restrictions on the use of certain accessories or modifications that could affect the stability and functionality of the awning.
Always prioritize safety and follow the guidelines provided.
Can I use my pop up camper’s existing awning rails for a new awning installation?
When considering awning installation alternatives for a pop up camper, it’s possible to use the existing awning rails. However, there can be potential issues with this approach. The main concern is compatibility, as different awnings may require specific rail sizes or configurations.
Additionally, the condition of the existing rails should be assessed to ensure they’re sturdy enough to support a new awning. It’s advisable to consult the manufacturer or a professional to determine the best course of action for your specific camper.
Conclusion
After following these steps to set up your awning on your pop up camper, you’ll be ready to enjoy your outdoor living space in no time.
With the right materials and tools, a suitable location, and proper assembly, your awning will provide shade and protection on your camping adventures.
Don’t forget to test the stability and functionality of the awning to ensure it’s secure.
So what are you waiting for? Get out there and start enjoying the great outdoors with your newly set up awning!

