Replacing the canvas on your pop-up camper is a straightforward process that can revitalize your camping experience. Start by gathering the necessary tools, including a screwdriver set and a replacement canvas specific to your model. Set up your camper in a spacious, well-lit area. Carefully remove the old canvas by detaching around 130 screws, documenting their placements for reference. Clean the frame before aligning and securing the new canvas, ensuring it fits snugly. Regular inspections and prompt repairs will help extend its lifespan. If you want to discover more tips and tricks for a successful replacement, keep going!
Key Takeaways
- Gather necessary tools and materials, including a screwdriver set, replacement canvas, and weatherproofing sealant for an efficient replacement process.
- Remove the old canvas by detaching around 130 screws, taking care to document bracket positions for easier reassembly.
- Clean the camper frame thoroughly, checking for rust or damage before aligning the new canvas for installation.
- Secure the new canvas progressively to ensure proper tension and fit, following the installation instructions closely.
Tools and Materials Needed
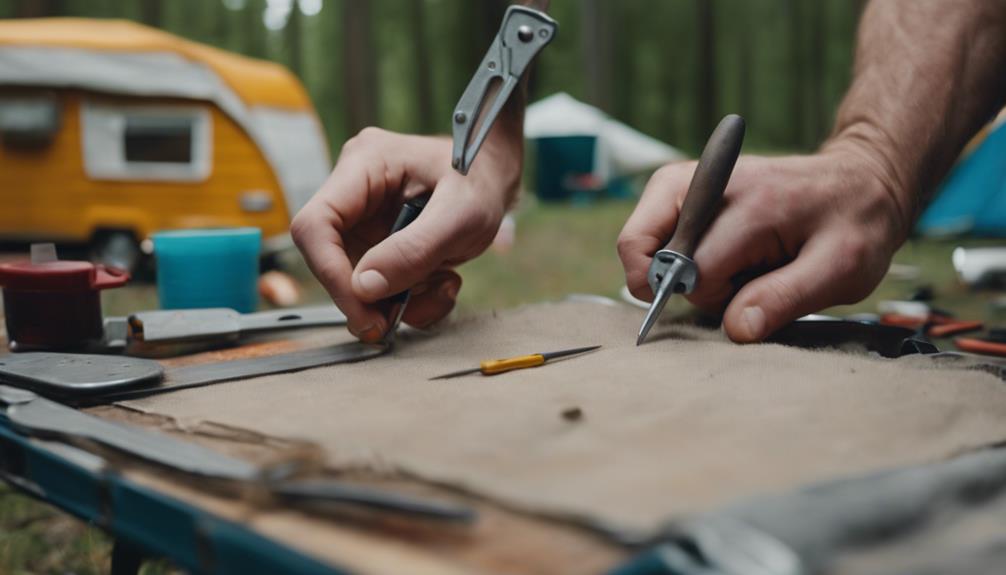
To successfully replace the canvas on your pop-up camper, you'll need a few important tools and materials at hand. First, grab a screwdriver set; it's critical for removing fasteners from the old canvas and securing components during installation. Next, make certain you have a replacement canvas that's specific to your camper model. This guarantees a proper fit and maximum functionality.
You'll also need weatherproofing sealant and canvas adhesive. These materials are essential for sealing edges and preventing leaks after you install the new canvas. Without them, your camper may not withstand the elements as effectively.
Don't forget about safety gear! Wearing gloves, goggles, and a dust mask protects you from debris and chemicals during the replacement process. It's important to prioritize your safety while working.
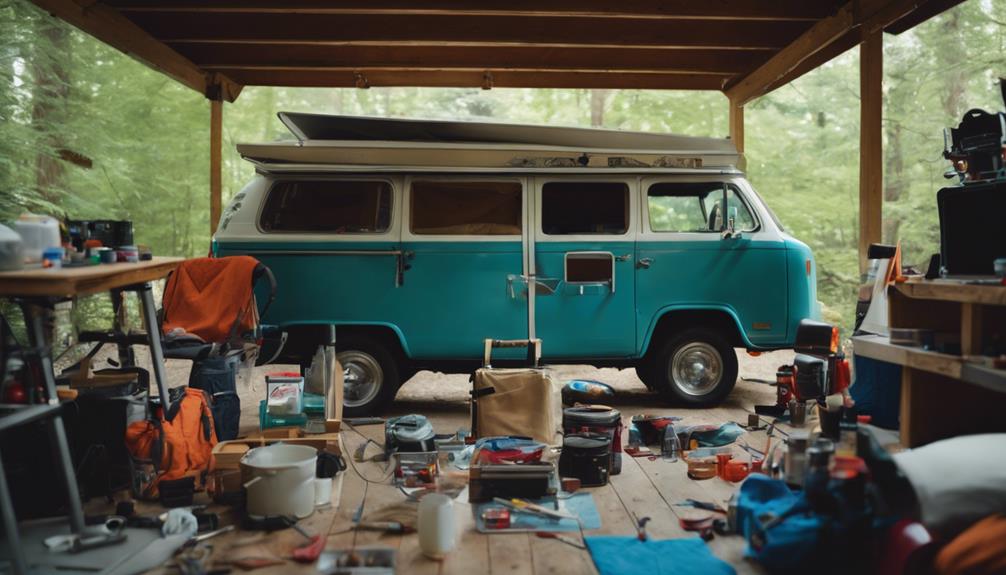
Lastly, set up a clean, flat workspace with adequate lighting. This helps you efficiently organize your tools and materials, making the entire replacement process smoother. By gathering these tools and materials, you're setting yourself up for a successful canvas replacement and making certain your pop-up camper is ready for your next adventure.
Preparation Steps
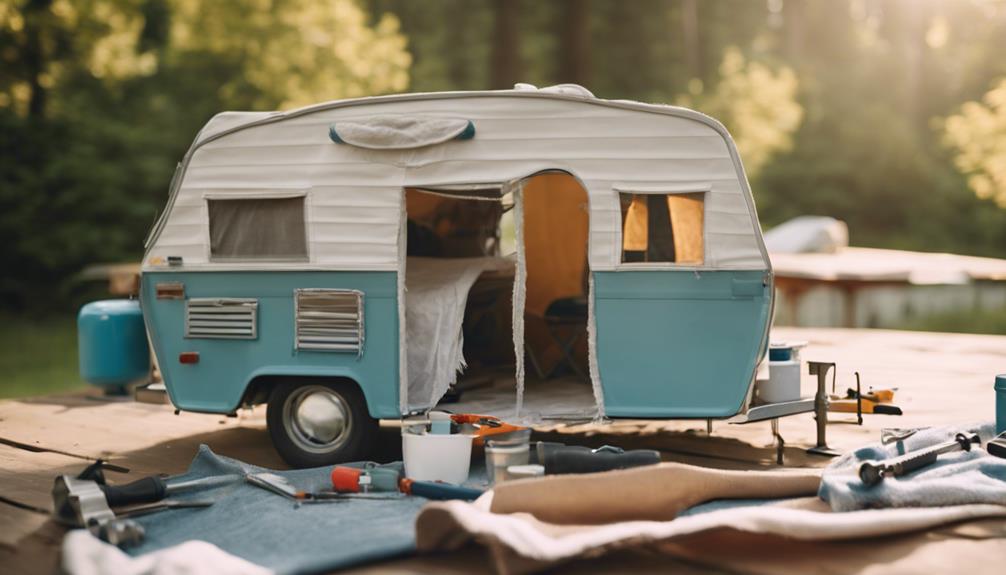
Set up your pop-up camper in a spacious, well-lit area on level ground to guarantee stability during the canvas replacement. This is one of the essential preparation steps to assure a smooth process.
Next, organize all your tools and materials, including a screwdriver set, wrench set, replacement canvas, and weatherproofing sealant. Having everything within reach will save you time and frustration.
Before diving into the replacement, review the installation instructions thoroughly. Familiarizing yourself with the steps will help you avoid mistakes and make the process more efficient. Confirm that all necessary fasteners and components are available and in good condition. This will prevent delays once you start the installation.
Don't forget to enlist partner assistance. It's always easier to tackle a project like this with an extra set of hands. Whether it's holding the canvas in place or handing you tools, having someone help will greatly improve your efficiency and lessen the chances of errors.
With everything prepared, you're ready to move forward confidently.
Step-by-Step Replacement Process

Begin by carefully removing the old canvas, which involves detaching around 130 screws from the drip cap rails and U channel.
As you work, document the positioning of brackets and attachments to make your canvas replacement easier later.
Once you've removed the old canvas, clean the camper frame thoroughly, checking for any rust or damage that might need repair before you install the new canvas.
Next, align the new canvas with the frame, ensuring you have accurate measurements to prevent excess fabric.
As you install the new canvas, secure it progressively to maintain tension and achieve a proper fit.
After it's in place, seal all seams and edges with a weatherproofing sealant and canvas adhesive to prevent leaks, ensuring your pop-up camper canvas is well-protected against the elements.
Maintenance Tips for Longevity
To keep your pop-up camper canvas in great shape, regular inspections are essential.
You'll want to catch any wear and tear early, so you can tackle problems before they worsen.
Additionally, using effective cleaning practices will help maintain the canvas's integrity and prevent unwanted mildew.
Regular Inspections Importance
Regularly inspecting your pop-up camper's canvas is essential for catching wear and tear early, ensuring you can address issues before they escalate into costly repairs. Conduct these inspections at least once a year to identify potential problems, such as signs of mold, mildew, or water damage. These issues can't only compromise the canvas's integrity but also lead to health concerns.
Pay close attention to seams and zippers, as these areas are often the most prone to wear and leakage. Make sure that closures are secure and functional, as any failure here can lead to bigger problems.
Document your findings during each inspection; this record will help you track the condition of your canvas over time and inform necessary maintenance actions or repairs.
Don't ignore small tears or damage—addressing them immediately can greatly extend the lifespan of your canvas. By staying proactive with regular inspections, you'll maintain your pop-up camper's protective qualities and enjoy countless trips without unexpected surprises.
Effective Cleaning Practices
Maintaining your pop-up camper's canvas requires effective cleaning practices that prevent dirt buildup and prolong its lifespan. Start by conducting regular inspections of the canvas at least once a year. This helps you identify any signs of wear and tear, allowing for timely repairs and maintenance.
For cleaning, use a mild soap and water solution, steering clear of harsh chemicals that can degrade the fabric. Aim to clean the canvas monthly to keep it in top condition.
To combat mildew growth, store your camper in a cool, dry environment. Consider using moisture absorbers like DampRid during storage to further prevent mold. Additionally, applying a weatherproofing sealant every few years will maintain the canvas's resistance to moisture, protecting it from the elements.
If you notice any small tears or damage, address them immediately with patches or adhesive. This proactive approach is essential for maintaining the integrity of the canvas and ensuring it lasts for many camping adventures to come.
Common Issues and Solutions

When facing common issues with your pop-up camper's canvas, knowing the right solutions can save you time and money.
If you encounter canvas tears, don't panic. Small tears can be effectively repaired using canvas patches or adhesive, which helps prevent further damage and extends the canvas's life.
Mold growth is another frequent problem. To tackle this, clean the affected area with a vinegar solution, and guarantee the canvas is completely dry before closing the camper to avoid future mold issues.
Zip malfunctions can be frustrating, but regular lubrication of zippers can keep them functioning smoothly. If you find broken zippers, replace them promptly to maintain the integrity of your canvas.
Lastly, be vigilant about weather damage. Conduct routine inspections and apply sealant every few years to protect against the elements. This proactive approach guarantees your canvas remains weatherproof and ready for your next adventure.
Canvas Care and Treatments
To keep your pop-up camper's canvas in top shape, consistent cleaning and proper treatments are key to preventing damage and prolonging its lifespan. Start by cleaning the canvas with a mild soap and water solution at least once a month to combat mildew growth, which thrives on dirt and grease. After cleaning, verify it's completely dry before folding the camper to thwart mildew formation.
Every few years, apply a waterproofing sealant to maintain the canvas's weather resistance. Consider using a vinyl protectant as well to enhance durability and lifespan. During storage, using products like DampRid can help manage humidity levels, further preventing mildew issues.
Don't forget about regular inspections. Check for wear and tear, and promptly repair any small tears or damage. Addressing these issues early can greatly extend the life of your canvas and improve overall camper functionality.
Community Insights and Support

Connecting with the Good Sam Community can really enhance your canvas replacement experience.
You'll find plenty of shared experiences and trusted service recommendations that can guide you through the process.
With the collective knowledge available, you won't feel alone tackling any challenges that come your way.
Shared Experiences
Online communities like the Good Sam Community offer invaluable insights and shared experiences that make the canvas replacement process feel less intimidating for camper owners. By engaging with others who've tackled similar projects, you'll find a wealth of knowledge about DIY projects that can save you money. Many users share their installation timelines and costs, giving you a realistic picture of what to expect.
Community interactions are key; they highlight the importance of thorough inspections before and after canvas replacement. Members often stress addressing any underlying issues to prevent future headaches. You'll also benefit from troubleshooting tips that can help you navigate common problems that arise during the process.
As you connect with fellow campers, you'll discover a supportive network that can offer advice and encouragement. Plus, you might gain referrals for trusted service providers if you decide to seek professional help.
Trusted Service Recommendations
Finding trusted service recommendations from fellow camper owners can greatly enhance your confidence in choosing the right professionals for your canvas replacement needs. Online communities, like the Good Sam Community, are invaluable for connecting with others who've had similar experiences. Engaging with these groups can lead to reliable referrals for professional installation services, ensuring quality work and expertise, especially for complex tasks.
While many community members advocate for professional installation, others share their success stories with DIY projects. If you're handy, you might consider tackling the canvas replacement yourself. These forums are filled with tips and advice that can help you navigate the process more smoothly.
Regular interactions within these communities not only provide service recommendations but also keep you up-to-date on the latest products and techniques for maintaining and replacing canvas effectively.
Ultimately, whether you opt for professional installation or decide to embark on a DIY project, leveraging trusted service recommendations from fellow camper owners can make all the difference in your canvas replacement journey. You'll feel more secure in your decision, knowing others have successfully navigated the same path.
Frequently Asked Questions
Can You Replace the Canvas on a Pop-Up Camper?
Yes, you can replace the canvas on your pop-up camper. It's a common task that improves comfort and functionality. Just make certain the new canvas fits your model, and consider DIY or professional installation based on your budget.
How to Remove Pop Top Canvas?
To remove the pop top canvas, lower the camper roof, clear the interior, and detach the canvas by removing screws and fasteners. Carefully peel the canvas off, ensuring you don't damage the frame during the process.
How to Repair Camper Canvas?
To repair camper canvas, inspect for damage, clean around tears, and patch larger holes. Stitch smaller rips, allow adhesive to dry, and regularly check for issues to maintain your canvas's integrity and longevity.
How Long Does Camper Trailer Canvas Last?
If you've camped regularly for eight years, you might notice your canvas showing signs of wear. Generally, camper trailer canvas lasts between 5 to 15 years, influenced by maintenance, climate, and material quality.
Are These Step-by-Step Guides for Repairing Pop-Up Camper Canvas Suitable for Replacing Canvas as Well?
Yes, the step-by-step guides for repairing popup camper canvas are suitable for replacing canvas as well. Following the detailed instructions will ensure that the replacement process is done correctly and efficiently. By carefully following each repairing popup camper canvas stepbystep, you can successfully replace the canvas on your pop-up camper.
Conclusion
Replacing the canvas on your pop-up camper might feel like climbing Mount Everest, but with the right tools and steps, you'll conquer it!
By following this thorough guide, you can transform your camper into a cozy haven for your adventures.
Remember to keep up with maintenance and care, so your new canvas lasts for years to come.
Now, get out there and enjoy the great outdoors with confidence in your refreshed pop-up camper!


