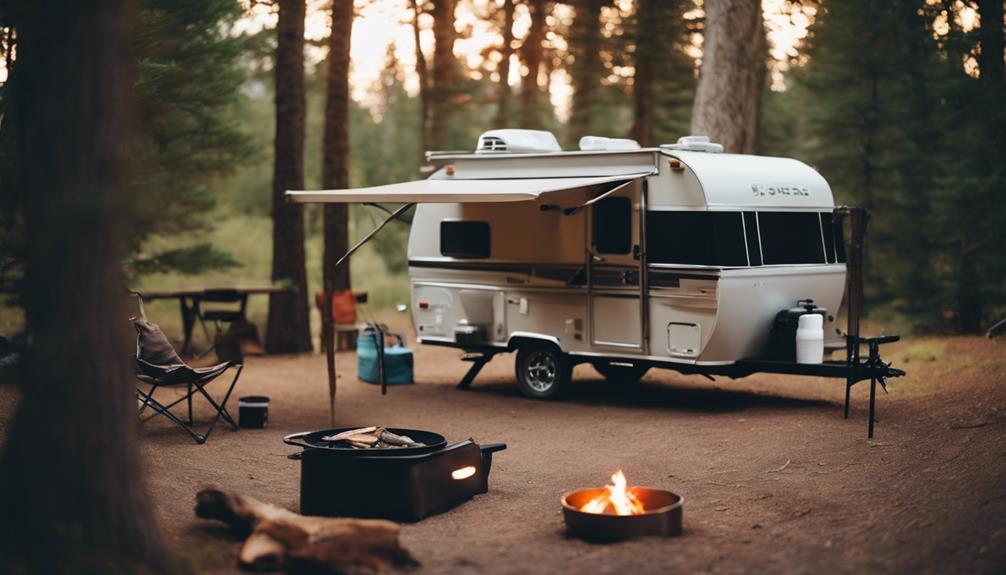
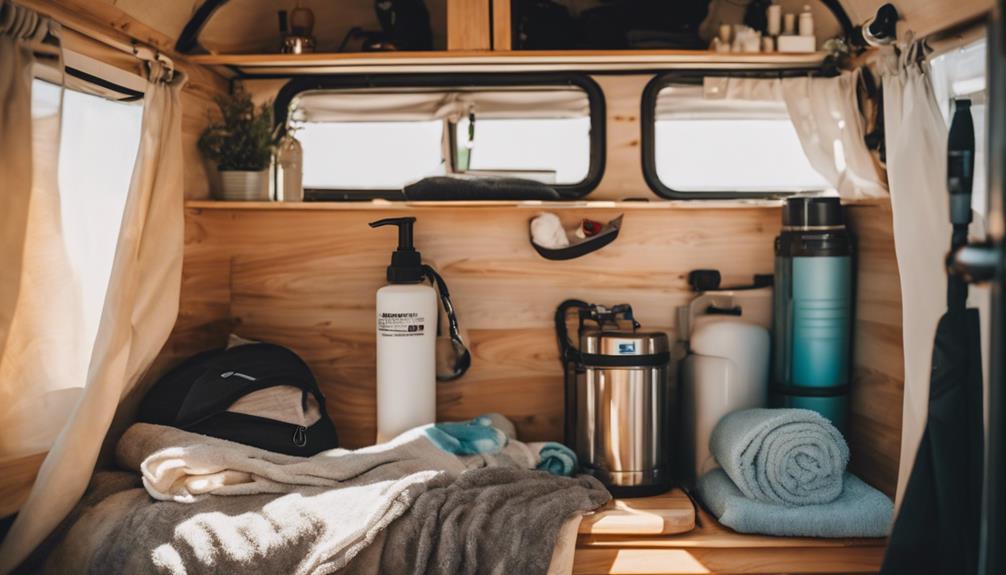
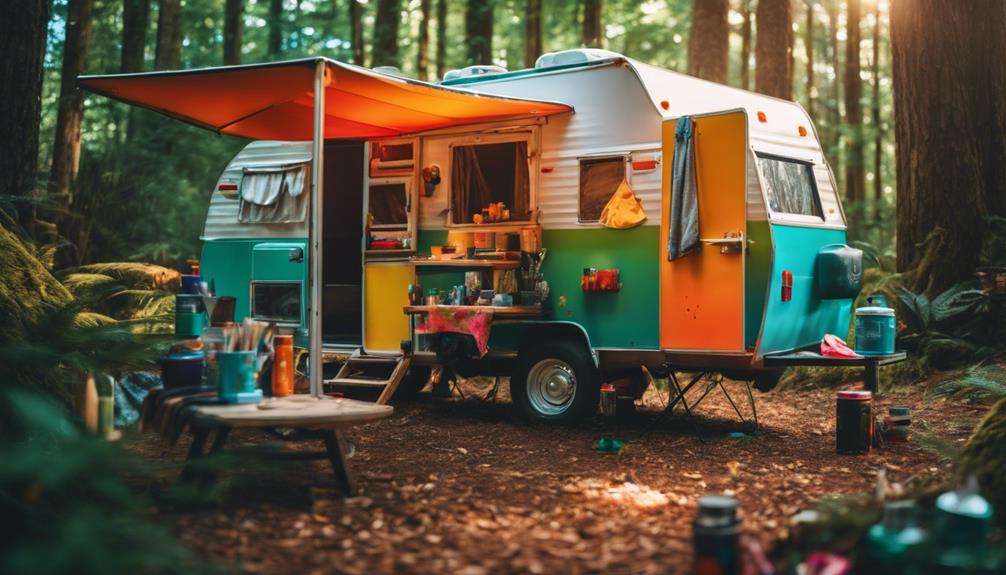
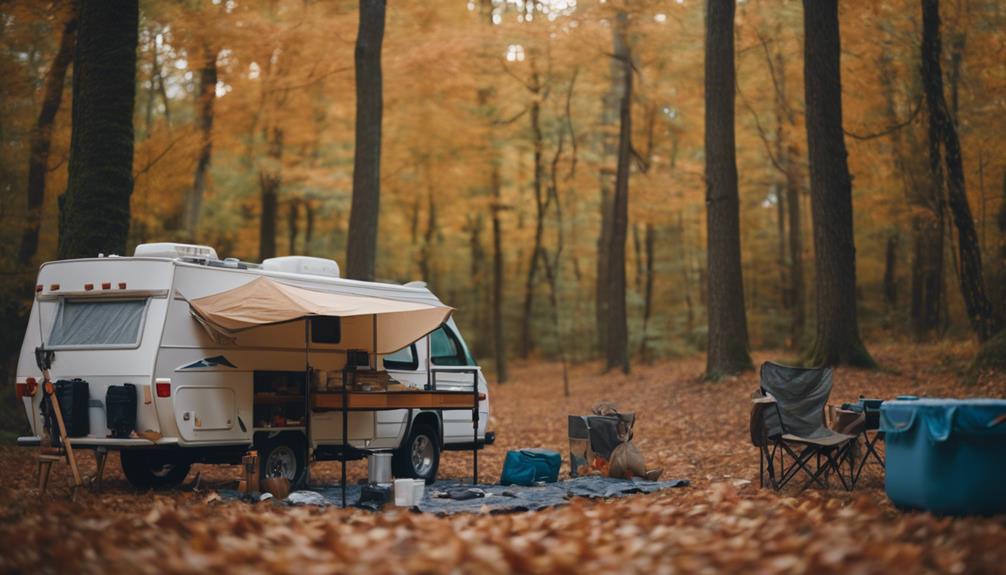
Renovating a pop-up camper is easier than you think! Start by selecting a camper under 20 years old, checking for water damage and solid construction. Gather essential tools like a drill, paintbrush, and sewing machine. Plan your steps; begin with a deep clean, then paint cabinets and sew new cushion covers. Use peel-and-stick flooring for an instant upgrade. Don't forget to add stylish decor that reflects your taste. Keep your budget under $1000 and track your expenses. With a little creativity and effort, you'll create a cozy retreat perfect for camping adventures. There's more to explore for your transformation journey.
Key Takeaways
- Choose a well-maintained pop-up camper under 20 years old, focusing on intact canvas and solid wood structures.
- Conduct a thorough assessment for water damage and create a detailed list of necessary repairs and replacements.
- Implement aesthetic updates like painting cabinets, updating curtains, and applying peel-and-stick flooring for a modern look.
- Prioritize functional upgrades such as converting spaces for usability and adding clever storage solutions to enhance comfort.
Camper Selection and Preparation
When you're selecting a pop-up camper for renovation, focus on models under 20 years old that show signs of good maintenance, like intact canvas and solid wood. Look for used campers that have minimal wear and tear; this'll save you time and effort in your renovation journey.
Before making a purchase, conduct a thorough inspection specifically for water damage. Check for soft spots in the wood and discoloration in the canvas, as these issues can severely affect the camper's integrity and your renovation plans.
Don't rush the selection process. Research is key—use platforms like Pinterest to gather decoration ideas and create mood boards that reflect your vision. This'll help you stay focused on your aesthetic goals during the renovation.
Once you've chosen the right camper, document your renovation process on social media, like Instagram, to share your progress and connect with other DIY enthusiasts. This can provide motivation and fresh inspiration as you transform your pop-up camper into something uniquely yours.
Remember to set a realistic timeline for your project; with consistent daily efforts, you can achieve significant results in just a few days.
Essential Tools and Materials
For a successful pop-up camper renovation, you'll need a solid toolkit and quality materials to bring your vision to life. Gathering essential tools and materials will make your project smoother and more enjoyable.
Here's a quick list to get you started:
- Drill: You'll use this for installing hardware and making modifications.
- Paintbrush or Roller: Essential for applying paint, especially if you're rejuvenating cabinets with chalk paint.
- Sewing Machine: This will help you create custom cushion covers and curtains, adding a personal touch.
- Utility Knife: Perfect for cutting materials like flooring and curtains accurately.
In addition to these tools, make sure to have ample materials on hand. Consider peel-and-stick vinyl tiles for flooring, canvas drop cloths for cushions, and quality fabric for curtains.
Also, don't forget measuring tape for precise dimensions and adhesives like spray glue to secure various materials. Finally, always prioritize safety with gloves and a dust mask while working with paint and other materials.
Equip yourself, and you're ready to transform your camper!
Step-by-Step Renovation Process

To kick off your renovation, start with an initial assessment and planning session to identify what needs replacing.
Then, break your tasks into daily segments, focusing on specific jobs to keep your momentum going.
Initial Assessment and Planning
Start your renovation by thoroughly evaluating the camper for signs of water damage, like canvas discoloration and soft spots in the wood, as these can indicate potential issues that need addressing. Your initial assessment is essential for a successful renovation process, so take your time to inspect every nook and cranny.
Next, create a detailed list of items that need replacement or repair. This will help you prioritize tasks and stay organized throughout the project. Here's a simple list to get you started:
- Inspect canvas: Check for tears or mildew.
- Examine wood: Look for soft spots or rot.
- Test appliances: Verify everything works properly.
- Assess flooring: Determine if it needs repair or replacement.
Once you've completed this assessment, gather inspiration from platforms like Pinterest and develop a mood board that reflects your desired style. This will guide your choices and keep your project cohesive.
Daily Renovation Tasks
Starting on your daily renovation tasks will transform your pop-up camper into a cozy retreat, making each step essential for achieving your vision.
On Day 1, kick things off with a thorough deep clean of both the interior and exterior. As you clean, create a list of items needing replacement or repair to guide your Pop Up Camper Remodel.
Day 2 is all about painting cabinets and accessories. Choose durable paint options like chalk paint to guarantee your work stands the test of time while enhancing aesthetics.
On Day 3, focus on sewing new cushion covers. This not only boosts comfort but also adds a stylish touch. Using materials like Canvas Drop Cloth will keep costs low while guaranteeing durability.
On Day 4, install peel-and-stick flooring. This quick project can be completed in about 45 minutes, dramatically changing the camper's look.
Final Touches and Organization
How can you elevate your pop-up camper's charm while maximizing its functionality through thoughtful final touches and organization? Once you've tackled the main renovation tasks, it's time to focus on enhancing comfort and efficiency. Here's how you can do that:
- Add Decorative Pillows: Brighten up your seating area with decorative pillows. They not only add a pop of color but also make your space feel cozier.
- Utilize Collapsible Furniture: Invest in collapsible tables and storage baskets from budget-friendly stores like Five Below or Dollar Tree. They'll help you keep your camper organized without taking up much space.
- Protect Surfaces: Apply Dollar Tree shelf liner to the interior doors. This keeps items from slipping during travel and protects surfaces.
- Create a Chalkboard Space: Incorporate chalkboard vinyl on the upper door. It's perfect for jotting down notes or reminders, adding a functional touch to your camper.
With these final touches and organization tips, you'll create a welcoming atmosphere that makes your pop-up camper feel like a home away from home!
Aesthetic Updates and Design Choices
To transform your pop-up camper's interior, focus on creating a cohesive color scheme that enhances its visual appeal. Consider using a palette of black, white, gold, and wood accents for a modern look. Aesthetic updates can greatly change your space without a hefty price tag. For instance, applying gold spray paint to hardware like door handles and table legs gives a stylish update that won't break the bank.
Another effective DIY transformation is installing peel-and-stick flooring. You can find attractive options that mimic wood for under $40, markedly improving your camper's aesthetics. Updating your curtains with durable fabrics adds both style and practicality. You can even engage in DIY sewing projects to customize them according to your personal taste.
Lastly, don't forget to incorporate themed decor. Whether you love VW or Palm accents, these personal touches will add charm and make your camper feel more inviting. By focusing on these aesthetic updates, your pop-up camper won't only look amazing but will also reflect your unique style, making it the perfect getaway spot.
Functional Upgrades for Comfort

While aesthetic updates enhance your camper's look, functional upgrades are key to maximizing comfort and usability during your adventures.
By implementing a few thoughtful changes, you can transform your pop-up camper into a cozy haven on wheels.
Here are some essential functional upgrades to take into account:
- Breakfast Nook Conversion: Transform the stove and sink area into a breakfast nook. This maximizes space and creates a comfortable dining experience.
- Full Sink Access: Modify the design to allow full access to the sink without removing covers. This improvement makes meal preparation much more convenient.
- Small Fireplace Addition: Incorporate a small fireplace to provide warmth and comfort during rainy days. It'll make your camper feel inviting and cozy.
- Creative Storage Solutions: Use vertical space and repurpose items for clever storage solutions. This approach helps keep your camper organized and clutter-free.
Cleaning and Maintenance Tips
Regular cleaning and maintenance are essential for keeping your pop-up camper in top shape and guaranteeing it lasts for many adventures ahead.
Start by regularly cleaning the canvas using products like Bass Pro Shops Mildew Stain Remover or Star Brite Mold and Mildew Stain Remover. This helps prevent mold and discoloration, which can damage your camper over time. After cleaning, don't forget to re-waterproof the canvas with a reliable product like 303 Products to maintain its integrity and water resistance.
While you're cleaning, take the time to inspect the canvas for any tears or damage. Addressing these issues early can prevent them from worsening, extending the life of your camper.
Additionally, lubricate moving parts, like lift mechanisms and hinges, to guarantee smooth operation and minimize wear and tear.
Budgeting for Your Project
Setting a clear budget for your pop-up camper renovation is crucial to keep your project on track and affordable. Aim to keep costs under $1000, a goal achievable with some smart budgeting strategies.
Here are four key steps to help you manage your DIY project effectively:
- Prioritize Updates: Create a list of essential updates, focusing on high-impact areas like flooring, cushions, and cabinetry.
- Research Materials: Look for budget-friendly materials. For instance, peel-and-stick tiles for flooring can cost around $34, while DIY cushion covers using Canvas Drop Cloth are about $22.
- Shop Smart: Visit discount stores like Dollar Tree and Five Below for accessories and organizational items that won't break the bank.
- Track Expenses: Keep a detailed record of all your expenses during the renovation. This will help you adjust your plans as needed and guarantee you stay within budget.
Sharing Your Transformation Journey
As you tackle your pop-up camper renovation, don't forget to document your progress on social media.
Sharing your journey not only inspires others, but also connects you with a community of fellow DIY enthusiasts.
Documenting Your Progress
Documenting your renovation journey not only tracks your progress but also inspires others who may be taking on similar projects. By sharing your experience, you create a valuable resource for fellow DIY enthusiasts. Here are some effective ways to document your progress:
- Social Media Platforms: Utilize platforms like Instagram to showcase each phase of your pop-up camper transformation. Create highlights to keep everything organized.
- Mood Boards: Consider crafting a mood board with color schemes and decor ideas. This visual guide can help maintain focus throughout the renovation.
- Before and After Photos: Take before and after photos during your project. These visuals represent the significant upgrades and changes, motivating you and inspiring others.
- Update Regularly: Use Pinterest to compile ideas and keep your progress visible. Regular updates can connect you with others interested in pop-up camper renovations.
Engaging With Community
Engaging with the community during your renovation journey not only fosters connections but also provides invaluable support and inspiration as you transform your pop-up camper.
Joining online platforms like The Pop Up Princess gives you access to a wealth of knowledge, where fellow pop-up camper owners share their renovation tips and stories. This can spark new ideas and encourage you when facing challenges.
Document your progress on social media, using platforms like Instagram to showcase your transformation. Create highlights for your before-and-after photos and step-by-step updates. This not only keeps you motivated but invites feedback and encouragement from your followers.
Participate in local or online DIY groups, where you can exchange ideas and ask questions. This kind of community support is essential, as it helps you gain insights from others who've walked the same path.
Don't forget to create a Pinterest mood board of your design inspirations and share it with the community for further suggestions.
Collaborating with other renovators enriches your experience, allowing you to contribute to a collective knowledge base that benefits everyone involved in pop-up camper renovations.
Sharing Tips Online
Sharing your renovation journey online not only inspires others but also helps you connect with a community of fellow pop-up camper enthusiasts who can offer valuable insights and encouragement.
By documenting your DIY projects, you'll create a rich resource for others looking to transform their campers for their next camping trips.
Here are some tips to effectively share your transformation:
- Use Photos and Videos: Capture every step of your renovation. Before-and-after shots are particularly engaging and showcase your hard work.
- Start a Blog or Journal: Detail your projects, including costs, materials, and specific steps taken. This can be incredibly helpful for others undertaking similar renovations.
- Engage with Online Communities: Join forums and groups focused on pop-up camper renovations. Share your experiences and exchange tips with others.
- Leverage Hashtags: Use relevant hashtags like #PopUpCamperRenovation and #CamperMakeover to increase your visibility and connect with like-minded DIY enthusiasts.
Frequently Asked Questions
Can You Modify a Pop up Camper?
Yes, you can modify a pop-up camper! Focus on cosmetic updates like painting or reupholstering. You can also enhance functionality with new storage solutions or electrical outlets, all while keeping your budget in mind.
How Do You Modernize an Old Camper?
To modernize an old camper, start with a cohesive design theme. Upgrade fixtures, replace worn items, and sew new cushion covers. Add personal touches like string lights and a chalkboard for a cozy, contemporary vibe.
Can You Replace the Canvas on a Pop up Camper?
Yes, you can replace the canvas on your pop-up camper. You'll need to remove the old canvas carefully, then follow the manufacturer's instructions for fitting the new one to guarantee a tight, waterproof seal.
How Do You Update the Inside of a Camper?
To update the inside of your camper, start by deep cleaning and listing items for replacement. Paint cabinets, install peel-and-stick flooring, refresh cushion covers, and update curtains to create a cohesive, inviting space.
Can I Use the DIY Renovation Tips for a Pop-Up Camper I’m Renting for Vacation?
Yes, you can absolutely apply DIY renovation tips to a pop-up camper you’re renting for vacation. Simple upgrades like painting, adding curtains, or organizing storage can make a big difference. Just be sure to check with the rental company first and avoid any permanent modifications. Enjoy your renting a popup camper vacation!
Conclusion
With your pop-up camper transformed, you're not just upgrading a vehicle; you're crafting a home on wheels that brings adventure to life.
Imagine the memories you'll create as you explore the great outdoors, all while enjoying the comforts of your personalized space.
So grab your tools, release your creativity, and hit the road!
After all, every journey begins with a single step—and yours starts now.
Happy camping!


