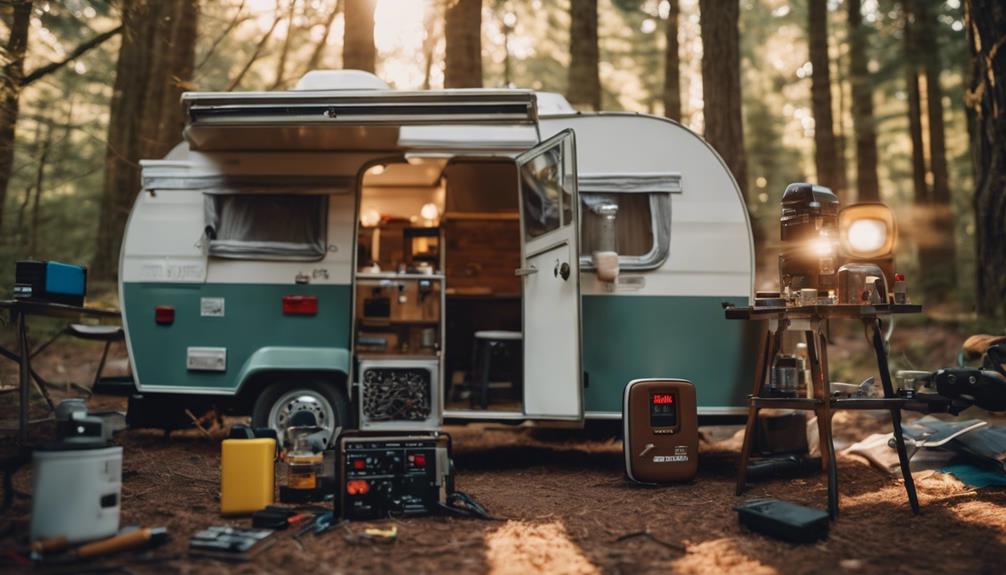
Raising a pop-up camper is easy if you follow these steps. Start by undoing all latches, then open and unroll the awning. Use the crank handle to raise the roof slowly, keeping an eye on the tension guide for any obstructions. Once the roof's fully up, check for alignment. Next, clear the storage box, release the slide-out, and secure the support brackets for the beds. After that, connect the camper to power and check all utilities. Finally, secure all seams and prepare the interior. Stick around, and you'll uncover more handy tips to enhance your camping experience!
Key Takeaways
- Ensure all latches are undone before raising the roof for a smooth setup process.
- Use the crank handle to gradually elevate the roof, monitoring for any obstructions.
- Confirm proper alignment and secure all components to maintain a stable structure.
- Extend the bunk ends fully and install support brackets for bed assembly stability.
Initial Setup Steps
To kick off the initial setup of your pop-up camper, start by undoing all latches before raising the roof. Make certain you've checked that everything is in place; this is essential for a smooth process.
Once all latches are released, you can proceed to open and unroll the awning while the roof is still down. This step prepares you for shade and protection as you continue.
Next, use the crank handle to gradually raise the roof. Be sure to keep an eye on the tension guide on the right side; it should be free from any obstructions before you reach full elevation. This guarantees that the roof rises smoothly without any snags.
After cranking it up, confirm that the roof is fully raised. It's imperative to check all components for proper alignment and functionality at this stage.
Making sure everything is aligned correctly will help maintain a secure and stable structure as you set up the rest of your camper. Once you've verified alignment, you're ready to move on to the next steps in your setup process.
Bed and Slide-Out Assembly
Once the roof is fully raised, you can start assembling the beds and slide-outs for a comfortable sleeping area. Begin by confirming the front storage box is cleared to allow for smooth operation.
Follow these steps for a successful setup:
- Unlock the slide-out mechanism by gently pulling out the bunk ends. Make sure they're aligned properly to avoid any issues.
- Install the first set of support brackets for each bed. You'll need two per bed to guarantee stability, so make sure they're securely fastened.
- Extend the bunk ends fully before setting up the second set of support brackets. This will help stabilize everything once it's in place.
- Double-check all supports to verify they're correctly installed and locked. This is essential for safety before anyone uses the beds.
Roof and Electrical Setup
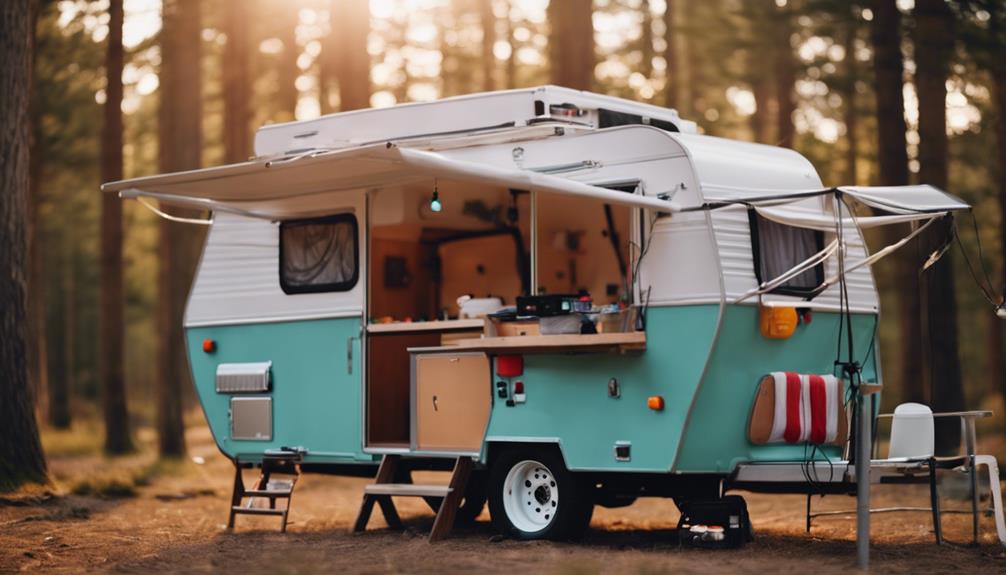
Raising the roof of your pop-up camper requires careful attention to the latches and crank handle to guarantee a smooth setup. Begin by confirming all latches are undone and the tension guide on the right side is free. Once you've verified these steps, use the crank handle to elevate the roof completely. After the roof is fully raised, install lift arm supports on both sides of the camper for added stability.
Next, you'll want to focus on the electrical setup. Before plugging in any appliances, connect the camper to a power source and access the electrical cover for the 30 amp connection. This step is essential for safely using your electrical systems. Make sure the air conditioner plug is conveniently located near the water pump for easy access during both setup and operation.
Lastly, remember that the box supports are for stabilization only, not for leveling the camper. Use a 3/4 inch socket with an impact driver to secure these supports. This will guarantee your pop-up camper is stable and ready for your adventure ahead.
Interior Arrangement
After raising the roof, clear the workspace by flipping up the sink and removing any stored items. This creates a clean area for your interior setup.
Start by securing the door in place to prevent drafts, guaranteeing your camper stays cozy.
Next, focus on arranging your cushions. You can either set them up for bed space or configure the interior table. If you're using the table, remember to detach the legs and position them for stability.
Don't forget about lighting! Install the light fixture over the slide-out area to make certain you have proper illumination during your camping experience.
Before using any appliances, double-check that your camper is plugged in and inspect the refrigerator panel. This guarantees that the electrical or propane settings are ready for your needs.
Here's a quick checklist to keep in mind during your interior arrangement:
- Flip up the sink
- Secure the door
- Arrange cushions
- Install light fixture
Utilities and Final Touches
Now that you've arranged the interior, it's time to focus on utilities and final touches.
You'll want to connect the gas line for your stove and set up the refrigerator for ideal food storage.
Let's make sure everything's ready and functioning for your camping adventure!
Interior Arrangement Essentials
How can you guarantee your pop-up camper's interior is both functional and inviting for your adventures? Start by focusing on key elements that enhance both usability and comfort. Here are some essentials to take into account:
- Light Fixture: After raising the roof, install a light fixture over the slide-out to guarantee your space is well-lit, making it easier to navigate during the night.
- Interior Table: Assemble your interior table by detaching and positioning the legs for stability. This table will be perfect for meals, games, or planning your next hike.
- Sink Preparation: Flip up the sink cover and clear out any stored items. This not only prepares the area for washing dishes but also keeps your kitchen organized.
- Exterior Stove: Attach the exterior stove and connect the gas line to enable outdoor cooking. This feature allows you to enjoy meals in the fresh air while keeping the interior clutter-free.
Utility Connections Overview
Before hitting the road, make sure to set up all essential utility connections to guarantee a smooth and comfortable camping experience.
First, plug in your pop-up camper using a 30 amp connection located at the electrical cover. This guarantees that all electrical appliances, including lights and outlets, run smoothly.
If you plan to cook outdoors, detach the exterior stove and securely connect the gas line to utilize propane for heating. This will keep your meals hot and ready.
If you're not connected to city water, turn on the water pump to facilitate water flow from the holding tank for sinks and showers. This step is essential for your comfort during your trip.
Next, check the refrigerator panel to make sure it's set correctly to operate on either electricity or propane. Keeping it at the right setting is important for keeping your food fresh throughout your camping adventure.
Lastly, before using the shower, attach the shower curtain to the railing with clasps and verify that there's enough water in the holding tank for operation.
With all these utility connections in place, you're ready to enjoy your camping experience!
Water System Configuration
To set up the water system in your pop-up camper, confirm the water pump is activated and the holding tank is filled. This guarantees you have access to fresh water for cooking, cleaning, and other needs.
Follow these steps to optimize your water system:
- Activate the water pump: If you're not connected to city water, turning on the water pump is vital for accessing your holding tank.
- Install the shower curtain: Attach the shower curtain to the railing using clasps. This creates a designated shower area, providing privacy while you enjoy your water system.
- Check gray water connections: Confirm the hose from the sink is securely connected to the gray water tank to prevent leaks and guarantee efficient waste management.
- Inspect the air conditioner plug: Regularly check the plug near the water pump to verify it's accessible and functioning properly, especially in hot weather.
Waste Management Procedures
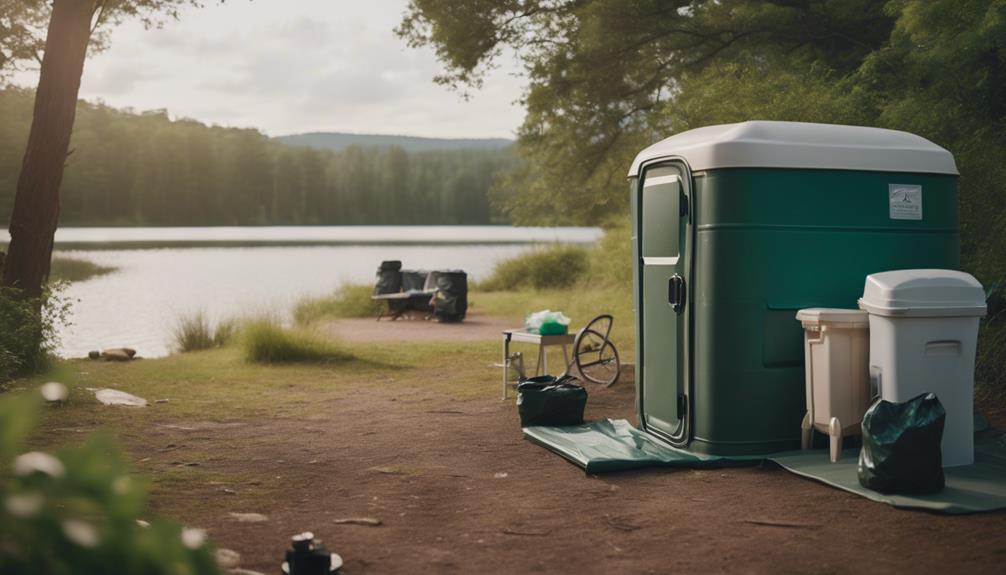
When it comes to waste management in your pop-up camper, you'll want to focus on gray water collection, shower water management, and proper toilet preparation.
Using a designated container for gray water is vital to keep things clean and efficient.
Let's explore the steps to guarantee everything runs smoothly during your camping trip.
Gray Water Collection
Proper gray water collection is essential for maintaining hygiene and preventing overflow during your camping trip. Managing gray water effectively guarantees you can enjoy your time outdoors without worrying about waste disposal issues.
Here's how to set up your gray water collection system:
- Use a Marked Container: Always choose a container specifically designed for gray water collection to avoid contamination and simplify disposal.
- Connect the Hose: Unscrew the hose from the sink and connect it directly to the gray water tank. Make sure it's secure to prevent leaks.
- Length Matters: The hose should be about 2-3 feet long. This length allows you to direct sink and shower water into the gray water tank without kinking.
- Positioning is Key: Confirm the hose slopes downward towards the tank. This setup facilitates efficient drainage and prevents any standing water.
Regularly check your gray water container's capacity and empty it as needed. Following these steps will keep your campsite clean and prevent overflow, guaranteeing a pleasant camping experience.
Shower Water Management
Efficient shower water management is vital for keeping your campsite clean and preventing unpleasant odors from waste buildup. To manage shower waste effectively, first, make sure the water is directed into a marked gray water collection container. Unscrew the hose from the sink and connect it to the gray water tank. Ensure the hose is about 2-3 feet long to facilitate easy positioning and drainage.
Before you start your shower, turn on the water pump if you're not connected to city water. Check that there's enough water in the holding tank for your shower needs. This step is important to guarantee you have a pleasant experience without running dry mid-shower.
Also, regularly inspect the connections for any leaks. You want to prevent overflow or spillage that could lead to messy situations. Keeping an eye on the gray water system will help you maintain sanitation throughout your trip.
Toilet Preparation Steps
Preparing your cassette toilet involves adding deodorizer and water to guarantee it functions properly and controls odors effectively. Here's how to ascertain everything's set up for your camping trip:
- Add Deodorizer: Pour the recommended amount of deodorizer into the cassette toilet. This will help neutralize odors throughout your stay.
- Fill with Water: Add enough water to the toilet to activate the deodorizer and facilitate waste breakdown.
- Locate Gray Water System: Familiarize yourself with the waste management system, specifically the marked container for gray water collection.
- Connect Sink Hose: Unscrew the hose from the sink and connect it securely to the gray water tank. Ensure the hose length is about 2-3 feet to effectively direct water from the sink and shower.
Remember to regularly check and empty the gray water tank as needed. This will maintain hygiene and prevent overflow during your trip.
Climate Control Settings
Maintaining a comfortable atmosphere in your pop-up camper hinges on effectively managing the climate control settings. The thermostat, typically located near the entrance door, provides easy access to adjust your heating and cooling needs.
To confirm you're cozy, follow these steps:
| Action | Heating | Air Conditioning |
|---|---|---|
| Turn on propane | Check if the furnace works | Plug in air conditioner |
| Set thermostat to desired temp | Monitor temperature regularly | Adjust settings as needed |
| Verify furnace is operational | Maintain airflow | Check for blockages |
When you toggle the thermostat to your preferred temperature, make certain the propane is on for ideal heating. If the weather is hot, locate the air conditioner plug next to the water pump for quick access. Regularly monitoring the temperature settings is essential, especially during extreme weather. By managing these settings, you can create a comfortable environment for everyone inside your camper. So, before you hit the road, confirm your climate control is just right!
Sealing the Pop-Up
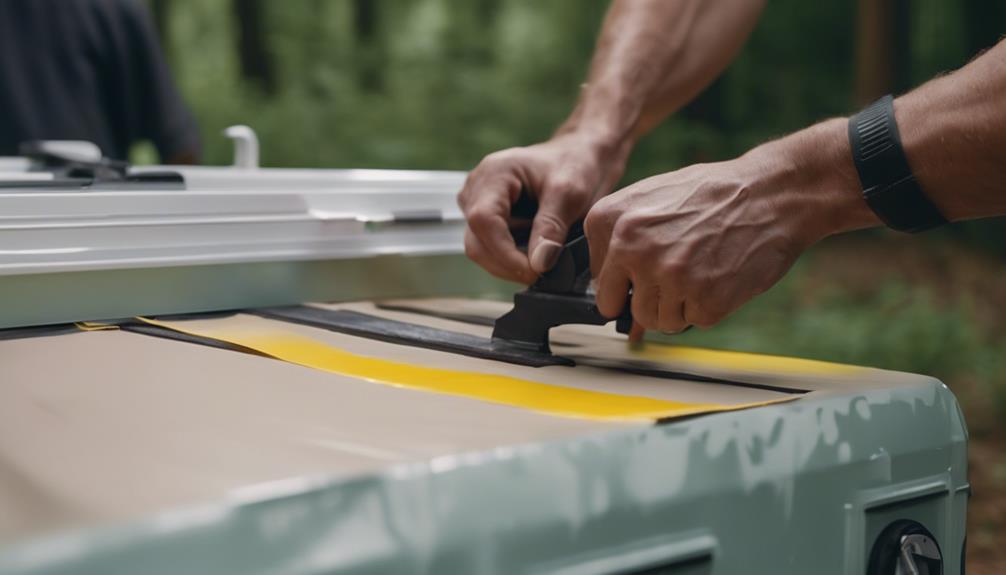
To keep your pop-up camper secure and comfortable, sealing it properly is essential.
Start by zipping all seams and applying velcro straps to eliminate gaps.
Then use bungee cords for extra stability.
These steps will help you prevent water intrusion and protect against drafts.
Zipper Sealing Techniques
Zipper sealing techniques are essential for guaranteeing your pop-up camper stays dry and insulated during your outdoor adventures. Properly sealing your camper's zipper seams can considerably improve waterproofing and overall comfort. Here's how to maximize your zipper sealing effectiveness:
- Zip Up Completely: Always guarantee that all zippers along the seams, especially at the corners, are fully zipped to prevent water intrusion and maintain insulation.
- Use a Sealing Agent: Apply a flexible sealing agent or fabric guard along the zipper seams. This adds an extra layer of waterproofing and durability against harsh weather.
- Regular Maintenance: Regularly check and clean your zippers to eliminate dirt buildup. This guarantees smooth operation and prevents potential tearing, which could compromise your insulation.
- Bungee Ties: After zipping, attach bungees under bunk ends to create a tighter seal. This minimizes gaps and enhances stability, especially in windy conditions.
Velcro Strap Application
Properly aligning the velcro straps with their corresponding points on the camper's frame is essential for creating a tight seal against the elements. Make certain to secure the straps on the door and corners to prevent any gaps that could let moisture or pests inside.
Take a moment to inspect the velcro on support brackets; it should be firmly attached to maintain structural integrity and prevent any shifting during use. After raising the roof and setting up, give all velcro seams a final check to verify they're sealed before closing for the night. Pay attention to the roughness of the fabric along seams, as any loose areas may need additional fastening for a complete seal.
Here's a quick reference table to help you remember the key points:
| Action | Purpose |
|---|---|
| Align velcro straps | Create a tight seal |
| Secure door and corners | Prevent moisture and pests |
| Check support brackets | Maintain structural integrity |
Bungee Cord Usage
Using bungee cords effectively can enhance the stability of your pop-up camper's setup by keeping the canvas taut under the bunk ends. This guarantees that your camper remains secure and protected against the elements, especially during windy conditions.
Here's how to use bungee cords properly:
- Inspect Your Cords: Before setting up, check your bungee cords for elasticity and any damage. This guarantees they provide adequate tension and support.
- Attach After Support Installation: Once the supports are installed, fasten the bungee cords under each bunk end. This will help prevent flapping and maintain a secure setup.
- Fasten Tightly: Make sure the cords are fastened tightly to eliminate any gaps. This will prevent moisture or pests from entering your camper.
- Proper Storage: After your trip, store your bungee cords properly. This helps prolong their lifespan and keeps them effective for future camping adventures.
Final Checks and Preparations
Before you hit the road, double-check that all zippers along the seams at the corners are securely zipped to keep out leaks and drafts. This is a vital step in your final checks to guarantee your pop-up camper is ready for adventure.
Next, fasten all the velcro straps on the door and corners. This will help secure a tight seal against any weather elements you might encounter.
Don't forget to attach bungees under the bunk ends for added support and stability during your travels.
It's important to inspect and secure all velcro on the support brackets as well; this will prevent any loosening while you're on the road.
Frequently Asked Questions
How High Should a Pop-Up Camper Hitch Be?
A pop-up camper hitch should be between 17 to 20 inches off the ground. Measure your tow vehicle's hitch height when unloaded, and adjust the camper's hitch to guarantee a level and stable towing experience.
Where Do You Put Levels on a Pop-Up Camper?
Imagine a tightrope walker, balancing perfectly. You'll want to place levels on the roof, floor, and frame of your pop-up camper, ensuring it stands strong and steady on solid ground before settling in.
Are Pop-Up Campers Hard to Set Up?
No, pop-up campers aren't hard to set up. With practice, you'll find the process becomes quicker and easier. Just follow the clear instructions, and soon you'll be enjoying your camping experience in no time.
Does a Pop-Up Camper Have to Be Perfectly Level?
A pop-up camper doesn't have to be perfectly level, but achieving a slight slope helps with drainage. It's best to level it for better appliance function and overall stability, enhancing your camping experience.
Conclusion
Now that you've raised your pop-up camper, imagine the sun streaming through the canvas as you step inside, ready for adventure.
With everything set up, your cozy haven awaits, inviting you to relax and unwind.
Picture evenings spent around the campfire, laughter echoing in the air, and the scent of roasted marshmallows filling the night.
You've transformed a simple camper into a home away from home, ready to create unforgettable memories under the stars.
Enjoy every moment!

