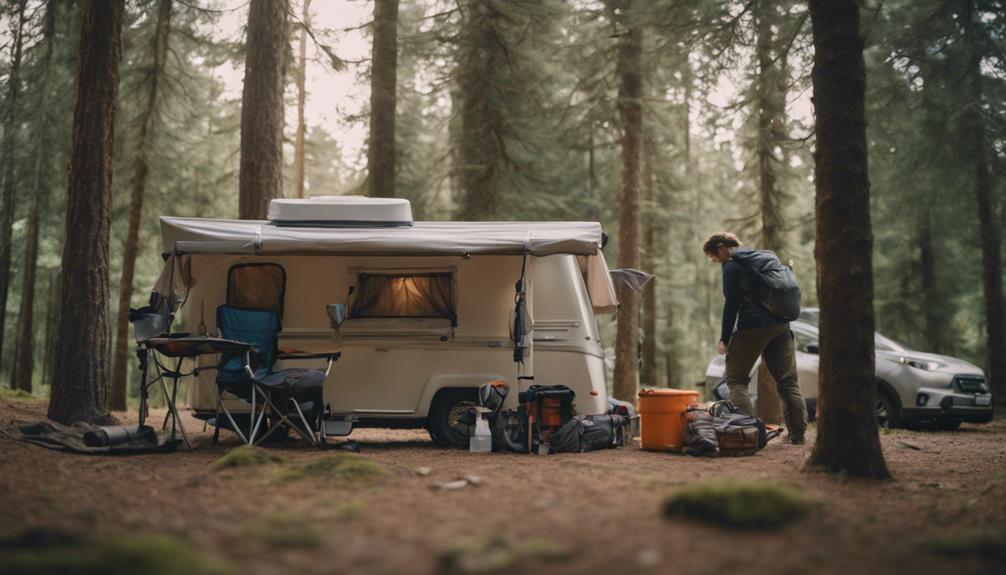
To safely lower your pop-up camper, start by closing all windows and doors. Turn on the fantastic fan to help with airflow and canvas tucking. Lower the roof in increments, checking for loose fabric as you go. Use a rubber broom and soft rags to tuck any canvas that might be in the way. After lowering, let the fabric settle for about 5-10 minutes before securing the latches. Keep an eye on corners to prevent bunching. Following these steps helps guarantee a smooth pack-up process and prepares you for your next adventure—there's more to discover!
Key Takeaways
- Ensure all windows, doors, and vents are closed to prevent airflow complications during the lowering process.
- Gradually lower the roof in increments, checking for loose fabric and tucking it with a rubber broom after each adjustment.
- Activate the fantastic fan on high to assist with airflow and help settle the canvas while lowering the roof.
- Allow the fabric to settle for 5-10 minutes after lowering before securing latches to ensure a snug fit.
Preparing for the Lowering Process
Before you lower your pop-up camper, make sure all windows, doors, and vents are securely closed to avoid any complications from airflow.
This step's essential because open openings can create resistance, making it harder to lower the roof smoothly.
Next, it's a good idea to activate the fantastic fan on high. This will help manage airflow and assist in tucking the canvas as you lower the roof.
Gather the necessary tools, like a rubber broom and soft rags on a stick.
These will make it easier to tuck the canvas in while the roof descends. Taking the time to do this properly will save you much time later on, as a well-tucked canvas prevents damage.
Once you've lowered the roof, wait about 5-10 minutes before securing the latches.
This time allows the fabric to settle properly, ensuring a snug fit.
Finally, organize your packing area by designating a spot for items that need to be stored separately, like the door and any loose gear.
This will streamline the process and keep everything neat as you finish packing.
Step-by-Step Lowering Techniques
To lower your pop-up camper, start by gradually bringing the roof down in increments. Make certain you walk around the camper after each adjustment to tuck in any loose fabric.
Before you begin, ensure all windows, doors, and vents are securely closed to prevent air resistance during the lowering process. Activate the fantastic fan on high to help settle the canvas and reduce bulk as you lower the roof.
Begin lowering the roof by dropping it approximately 1/3 down, then check for any loose canvas that may need tucking. Use a rubber broom or a stick with soft rags attached to assist you in tucking the canvas securely along the edges and corners. This will help prevent any pinching or damage as you continue lowering.
Once the roof is fully down, allow 5-10 minutes for the fabric to settle before securing the latches. This waiting period is essential for making sure a proper fit and avoiding any canvas issues.
Common Challenges and Solutions

Lowering a pop-up camper can present several common challenges, but understanding how to tackle these issues can streamline the packing process.
One of the main challenges is ensuring the canvas is properly tucked before lowering the roof. If you neglect this step, you might face pinching and misalignment issues. To solve this, use a rubber broom or a stick with soft rags to help tuck in the canvas, ensuring a flat surface for the final closure.
Another challenge is the potential for canvas bunching during the lowering process. To minimize this risk, lower the roof gradually and check each corner frequently. This way, you can avoid needing to raise the roof again.
Additionally, adjusting the tightness of the velcro and aligning the vinyl panel in the C channel can improve the door fit, reducing frustration when closing.
User Experiences and Tips
Many campers have found that lowering the pop-up camper becomes much easier with a few helpful tips and shared experiences from the community. One vital recommendation is to lower the roof in increments while checking for proper canvas tucking at each stage. This practice can prevent complications during packing.
Using tools like a rubber broom or a stick with rags can enhance your efficiency in tucking the canvas neatly, making the entire process smoother. It's also beneficial to allow the fabric to settle for 5-10 minutes before securing the latches. Activating a fantastic fan during lowering can create airflow, aiding in effective canvas tucking.
Practicing your lowering routine can greatly improve both speed and coordination. Many users report achieving a target breakdown time of just 30-45 minutes for efficient packing.
Here's a quick reference table summarizing these tips:
| Tip | Description | Benefits |
|---|---|---|
| Incremental Lowering | Lower in stages, check canvas each time | Reduces complications |
| Use Tools | Rubber broom or stick for tucking | Enhances efficiency |
| Allow Settling | Wait 5-10 mins before latching | Guarantees proper fit |
| Activate Fan | Use during lowering for airflow | Aids in tucking |
| Practice Routine | Rehearse lowering process | Improves speed |
Recommended Tools and Modifications

Using the right tools and modifications can greatly streamline the process of lowering your pop-up camper.
Start with an aluminum ladder, which gives you easy access to the canvas. This makes tucking the fabric in securely much simpler as you lower the roof. To prevent pinching and guarantee a smooth closure, consider using a soft rag attached to a stick for tucking.
Create airflow while lowering the roof by turning on a fantastic fan. This helps settle the fabric and minimizes any bunching that might occur. Additionally, employ bungee cords to pull the canvas inward as you lower the roof. This technique reduces slack and improves packing efficiency.
Installing hooks for securing the bungee cords can help maintain a neat fold of the canvas, preventing it from extending outside during the process.
With these tools and modifications, you'll find that lowering your pop-up camper becomes more efficient and less stressful. By preparing your setup in advance, you can enjoy a smoother packing experience, guaranteeing your camper is ready for the next adventure.
Frequently Asked Questions
How to Lower a Palomino Pop-Up Camper?
To lower your Palomino pop-up camper, first close all windows and doors. Keep the door open for air, push in excess canvas, and regularly check the lift system for smooth operation.
Can You Shrink Wrap a Pop-Up Camper?
You can't put all your eggs in one basket; yes, you can shrink wrap a pop-up camper. Just make sure everything's sealed tight, and consider getting professional help for larger models to avoid mishaps.
How Do You Fold a Pop up Tent for a Camper?
To fold a pop-up tent for your camper, start by removing any items. Then, collapse the sides inward, ensuring fabric is tucked securely. Finally, secure all straps and check for tightness to prevent shifting.
What Are the Disadvantages of a Pop-Up Camper?
Pop-up campers have limited space, less insulation for cold weather, and lack built-in amenities. Their setup can be time-consuming, and their lightweight design may cause stability issues in high winds, posing safety risks during travel.
Is Properly Measuring a Pop-Up Camper Essential for Safe Packing Up?
Properly measuring popup camper for cover is essential for safe packing up. Accurate measurements ensure that the cover will fit snugly and provide maximum protection against the elements. A well-fitted cover will also prevent damage to the camper during storage, ultimately saving you time and money on repairs.
Conclusion
So there you have it—lowering your pop-up camper doesn't have to feel like a game of Jenga gone wrong.
With a bit of preparation and the right techniques, you can pack it up without turning into a human pretzel.
Sure, you might still wrestle with those stubborn latches like they're auditioning for a reality show, but hey, at least you won't need a degree in engineering.
Now get out there and conquer that camper with style!


