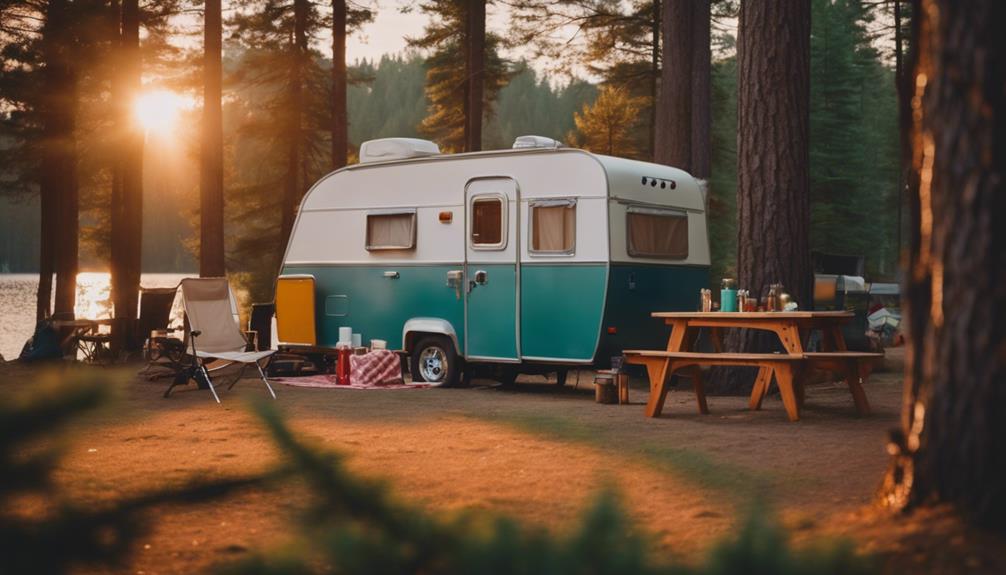
You can fix a pop-up camper by starting with a thorough inspection. Check the lift system for frayed cables or worn pulleys, and look for water stains that indicate leaks. Gather essential tools like screwdrivers, pliers, and a utility knife. Clean, lubricate, and reinstall springs, while reinforcing any soft wood areas for stability. After repairs, confirm all systems are working smoothly and make routine maintenance checks to prevent future issues. Each step you take enhances your camper's functionality, so stick around to discover valuable tips that will elevate your camping experience even further.
Key Takeaways
- Inspect the lift system for frayed cables and worn pulleys to ensure proper functionality and safety during operation.
- Regularly clean and lubricate moving parts with high-quality grease to prevent rust and ensure smooth operation.
- Check for leaks and water stains around the roof and seams, and seal any identified issues promptly.
- Examine canvas material for tears and mold, repairing or replacing it to maintain ventilation and protect against weather.
Assessing Common Issues
Evaluating common issues in your pop-up camper is critical for ensuring a safe and enjoyable camping experience.
Start with the lift system, as it's important for setting up your camper. Check for frayed cables or worn pulleys that might hinder proper operation. If you notice any irregularities, it's best to address them before your next trip.
Next, inspect the camper for leaks. Look for water stains or dampness inside, especially around the roof and seams. These leaks can lead to more serious issues, so it's important to catch them early.
Don't forget to examine the canvas material. Conduct a thorough visual inspection and feel for any signs of wear, such as tears or mold. Soft spots can indicate deterioration that compromises the integrity of the canvas.
Essential Tools and Materials
When fixing your pop-up camper, having the right tools and materials on hand is vital.
You'll need a solid set of tools like screwdrivers and pliers, along with essential materials like grease for maintenance.
Let's go over what you absolutely need to tackle those repairs effectively.
Necessary Tools Overview
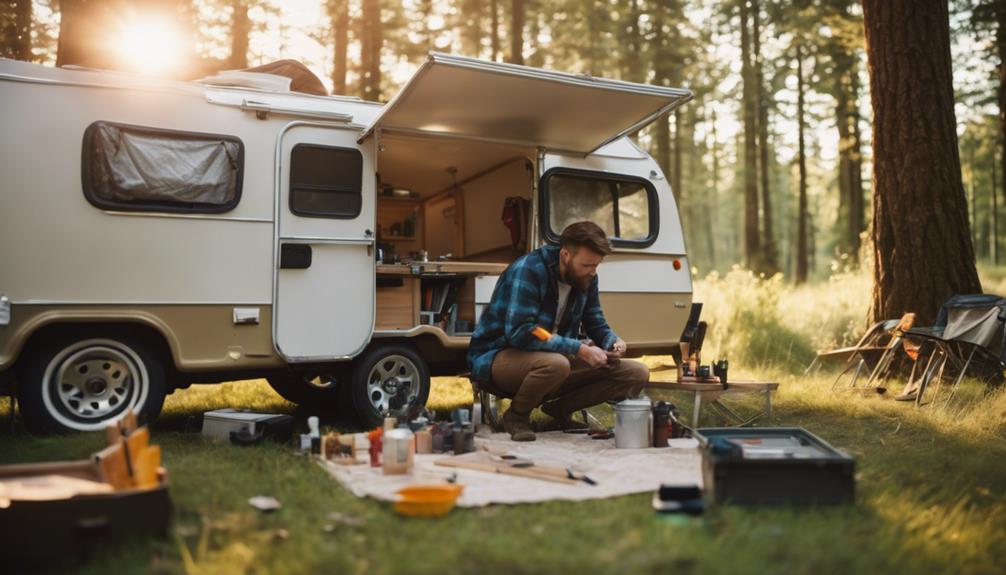
To effectively fix a pop-up camper, you'll need a basic toolkit that includes essential items like screwdrivers, pliers, wrenches, and a hammer. These necessary tools will help you tackle most repair tasks with ease.
A ladder is also important for accessing the roof and upper components during repairs, so don't forget it.
You'll want a utility knife or box cutter on hand to cut through old materials or seals that need replacing. When working on moving parts, having high-quality general-purpose grease is critical for maintenance and rust prevention.
Safety gear is a must; always wear gloves and goggles to protect yourself during the repair process. This step isn't just a suggestion—it's essential for your well-being.
Essential Materials Checklist
Gathering the right materials is essential for efficiently fixing your pop-up camper and ensuring all repairs go smoothly. Start by assembling a sturdy wrench set and a variety of screwdrivers; these tools are vital for loosening and tightening different components during your repairs.
Next, don't forget to stock up on high-quality general-purpose grease. This will help lubricate moving parts and prevent rust, especially in your camper's lift system. Keeping your camper in good condition relies heavily on this step.
Additionally, it's wise to have a selection of replacement hardware, including screws, bolts, and nuts. Worn or damaged parts can halt your repair progress, so having these on hand allows for quick replacements when necessary.
Lastly, prioritize your safety by equipping yourself with gloves and goggles. Protecting yourself while performing lifting and mechanical tasks is key to a safe repair experience.
Preparing for Repairs
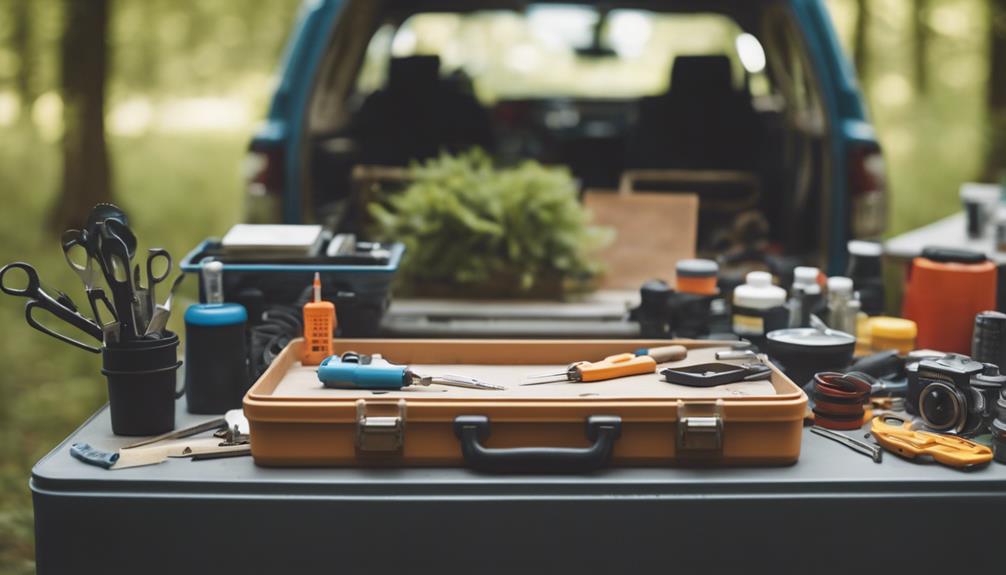
Before diving into repairs, make sure you have a detailed manual or guide specific to your pop-up camper model handy for reference. This will be your go-to resource as you tackle repairs.
Next, gather the necessary tools. Here's a handy checklist to keep you organized:
| Tools Needed | Purpose |
|---|---|
| General-purpose grease | Lubrication of moving parts |
| Wrenches | Tightening bolts |
| Screwdrivers | Removing and installing screws |
| Replacement parts | Fixing damaged components |
| Safety gear | Protecting yourself during repairs |
Now, assess your camper's current condition. Take a close look at the roof, lift system, and any rusted components that may need attention. It's also a good idea to organize a two-person team for tasks that require extra support, especially during heavy lifting.
Cleaning and Reusing Springs
When it comes to cleaning and reusing springs in your pop-up camper, you'll want to focus on effective rust removal techniques.
Proper lubrication methods are vital for ensuring smooth operation.
Following the right spring installation tips can prevent future issues.
Let's explore these essential steps to keep your camper in top shape.
Rust Removal Techniques
To effectively restore your camper's springs, start by scrubbing away rust with a wire brush or sandpaper until the metal shines again. Focus on the areas where rust is most visible.
Once you've removed the bulk of the rust, soak the springs in a solution of vinegar and baking soda for several hours. This mixture will help dissolve any remaining rust particles that might be clinging on.
After soaking, rinse the springs thoroughly with water to wash away any residue. Make sure to dry them completely to prevent further corrosion. It's important to handle this process safely, so wear gloves and eye protection to shield yourself from rust particles and chemicals.
Once the springs are clean and dry, apply a protective coating to guarantee they stay rust-free for a longer period. High-quality general-purpose grease is an excellent choice, as it not only protects the springs from moisture but also prevents future rust formation.
Proper Lubrication Methods
Proper lubrication is vital for maintaining the functionality and longevity of your camper's springs.
Start by thoroughly cleaning the old springs with a rust remover to eliminate corrosion. This step guarantees that you're working with a clean surface for maximum lubrication. Once the springs are clean, inspect them for any signs of damage or excessive wear. If they're still suitable for continued use, you can proceed with lubrication.
Use a high-quality general-purpose grease to coat the springs. This type of lubrication provides weather protection and rust prevention, guaranteeing long-lasting performance. When applying the grease, make sure to coat the entire surface of the springs evenly, paying special attention to any moving parts. This will help guarantee smooth operation when you raise and lower your camper.
For proper maintenance, regularly check the springs and reapply lubricant as needed. This not only maintains their effectiveness but also prolongs their lifespan, preventing future issues. By following these proper lubrication methods, you'll keep your camper's springs in great shape, making your outdoor adventures hassle-free.
Spring Installation Tips
Carefully remove the old springs from your pop-up camper, noting their positions for a smooth reinstallation process. It's vital to keep track of how each spring is mounted, as this will save you time and confusion later on.
Next, clean the springs thoroughly using a wire brush or a rust remover. This step is necessary for effective spring installation, as any rust or debris can hinder performance. Make sure to eliminate all rust and dirt to guarantee a smooth operation.
After cleaning, apply high-quality general-purpose grease to the springs. This not only provides weather protection but also helps prevent future rust formation.
When you're ready to reinstall, confirm that each spring is securely attached and positioned correctly based on your notes. Having a partner can be really helpful during this process, as spring installation can be tricky and may require an extra set of hands for safety and accuracy.
Once everything is in place, you'll be ready to enjoy your pop-up camper with the confidence that it's equipped with well-maintained springs.
Repairing the Lift System
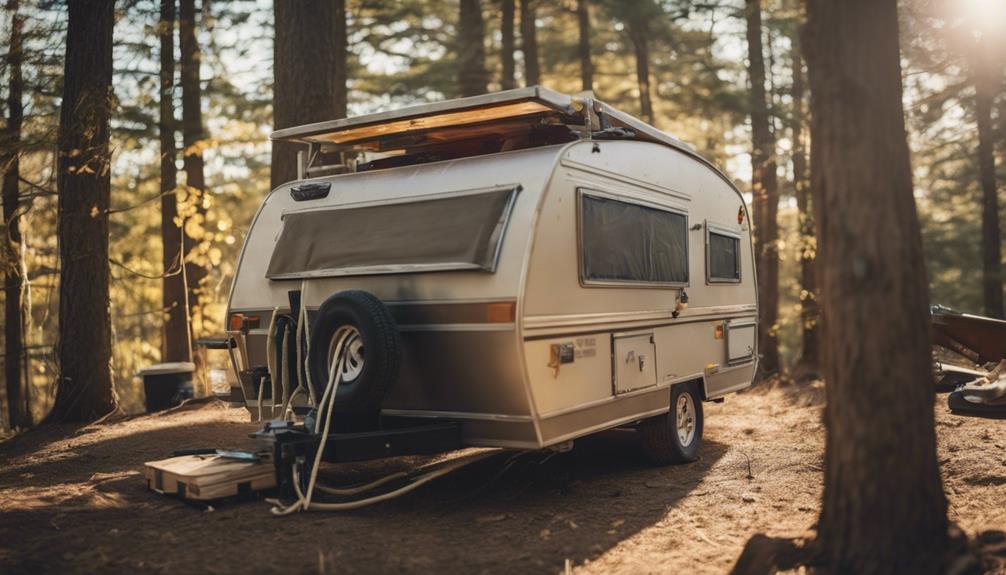
Inspecting and cleaning the lift system springs is your first step to guaranteeing a smooth and functional repair. Go inside the camper and take a little bit of time to remove any rust from the springs. This maintenance will help them function properly during the repair process.
Once you've cleaned them, apply high-quality general-purpose grease to all moving parts. This not only provides weather protection but also prevents future rusting.
Next, securely attach the roof to the lifting arms before testing the lift system. This guarantees proper alignment and functionality.
If you notice any stability issues, adjust the pulleys accordingly. You may need to make modifications to support any soft wood areas during the installation process.
Securing the Roof
Align the roof with the lifting arms before securing it to prevent any misalignment during use. Once aligned, use high-quality general-purpose grease on all moving parts. This step guarantees smooth operation and protects against weather-related wear and rust.
Next, make necessary adjustments to the pulleys to enhance stability during the lifting process. This will guarantee that the roof rises evenly. If you notice any soft wood areas, reinforce them with additional support to maintain structural integrity over time.
After securing the roof, conduct a quick inspection inside the trailer. Verify that all components are functioning correctly and check for any obstructions that might impede operation.
Here's a helpful table summarizing key steps:
| Step | Action |
|---|---|
| Align Roof | Guarantee it's aligned with lifting arms |
| Apply Grease | Use high-quality general-purpose grease |
| Check Pulleys | Adjust for even lifting |
Following these steps will help you secure the roof effectively, guaranteeing your pop-up camper is ready for your next adventure!
Final Stability Checks
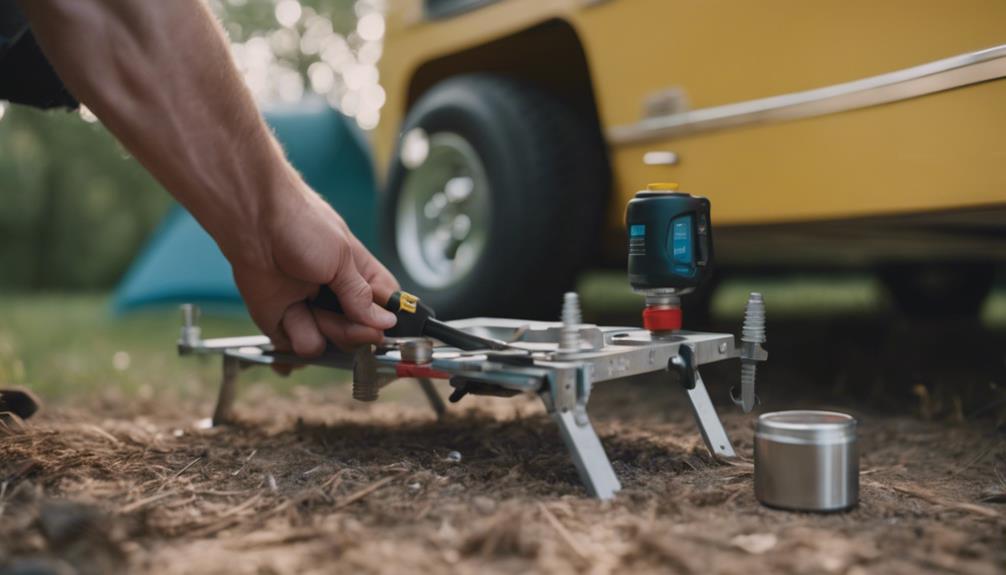
With the roof securely fastened, it's time to conduct final stability checks to guarantee everything operates smoothly before hitting the road.
Start by inspecting the inside of your trailer. Make sure all components are secure and functioning properly. Check the pulleys and adjust them as necessary to enhance stability, ensuring the lift system operates without a hitch.
Next, verify that the roof is tightly fastened to the lifting arms. This step is essential to prevent any unwanted movement during both setup and takedown.
While you're at it, inspect any soft wood areas in the camper. If you notice any weak spots, consider adding support to maintain structural integrity while you're out camping.
Maintenance Tips for Longevity
To keep your pop-up camper in great shape for years to come, make regular maintenance a priority. Staying proactive with maintenance can save you from costly repairs down the line. Here are some essential tips to guarantee longevity:
- Grease Moving Parts: Regularly apply high-quality general-purpose grease to all moving components to prevent rust and guarantee smooth operation.
- Inspect Springs: Clean and inspect the springs and other metal parts for rust. After thorough cleaning, reuse them to maintain functionality and durability.
- Check the Lift System: Perform routine checks on the lift system. Follow a step-by-step guide to spot and fix potential issues before they escalate.
- Adjust Pulleys: Make necessary adjustments to pulleys and support areas during repairs. This enhances stability and prevents future complications.
Troubleshooting Common Problems
When you're troubleshooting common problems with your pop-up camper, it's crucial to identify the issues quickly.
Start by checking the lift system, roof seals, and electrical components for any signs of trouble.
With a few quick fixes, you can get your camper back in shape and ready for your next adventure.
Identifying Common Issues
Identifying common issues in your pop-up camper can save you time and money, guaranteeing a smoother camping experience. By being proactive, you can catch problems early and prevent them from escalating. Here are some typical issues you might encounter:
- Difficulty raising the roof: This may indicate problems with the lift system or pulleys, which need inspection and possible adjustment.
- Leaks: Look for water stains inside your camper, as these often signal roof or seam leaks that require thorough checks of seals and weatherstripping.
- Canvas damage: Tears or mold can develop on the canvas material. Patch or treat these issues promptly to avoid further damage and guarantee proper ventilation.
- Electrical issues: Non-functioning lights or outlets usually stem from corroded connections or blown fuses. Systematic examination of wiring is essential.
Quick Fix Solutions
Troubleshooting common problems in your pop-up camper can often be straightforward with a few quick fixes that boost its performance and longevity. Here are some solutions to common issues you might encounter:
| Problem | Quick Fix Solution |
|---|---|
| Stubborn lid | Check for stuck or misaligned pulleys; lubricate with grease. |
| Lift system not smooth | Inspect cables for fraying; replace if necessary. |
| Roof won't stay up | verify roof is securely attached; adjust pulleys for stability. |
| Soft wood in frame | Reinforce with additional support to maintain integrity. |
Enhancing Your Camper Experience
To enhance your camper experience, regular maintenance and upgrades can make a world of difference in comfort and reliability. Keeping your pop-up camper in top shape not only prolongs its life but also improves your enjoyment on every trip. Here are some essential tips to contemplate:
- Regularly clean and grease the lift system. This simple task guarantees smooth operation and prevents wear.
- Seal and weatherproof the roof. Protecting against leaks during rain enhances your comfort and keeps your gear dry.
- Use high-quality materials for repairs. Investing in sturdy parts and general-purpose grease boosts durability and reliability.
- Involve your family in renovation tasks. Teamwork not only speeds up repairs but also strengthens bonds and creates lasting memories.
Frequently Asked Questions
How to Patch a Hole in a Pop-Up Camper?
To patch a hole in your pop-up camper, start by cleaning the area. Then, cut a durable patch, apply adhesive, and guarantee it cures properly before exposing it to moisture. You'll have a secure repair!
How to Repair a Hole in Pop-Up Canvas?
You might think leaving a hole in your canvas is fine, but it's not. Clean the area, cut a patch, apply adhesive, and seal the edges. Your canvas will thank you later!
What Do You Use to Seal a Pop-Up Camper?
To seal a pop-up camper, you'll want high-quality silicone sealant for seams and joints. Use UV-resistant roof sealant for the top, and always make sure surfaces are clean and dry before applying any sealants for best results.
How Do You Stabilize a Pop-Up Camper?
You've set up your pop-up camper, but it wobbles? First, park on a level surface, then use stabilizer jacks at each corner. Tighten loose bolts and consider adding wheel chocks for extra safety.
Can Changing the Cable on a Pop-Up Camper Be Part of the DIY Repair Guide for Pop-Up Campers?
Yes, changing the cable on a pop-up camper can be an essential popup camper cable repair that can be part of the DIY repair guide for pop-up campers. It’s important to have the proper tools and follow the manufacturer’s instructions for a successful repair.
Conclusion
By following this DIY repair guide, you can tackle common pop-up camper issues and prolong its lifespan.
For instance, when Jack noticed his camper's lift system was struggling, he cleaned and lubricated the springs as suggested. This simple fix not only saved him money but also made his next camping trip much more enjoyable.
With regular maintenance and a little know-how, you can guarantee your camper's ready for all your adventures ahead!

