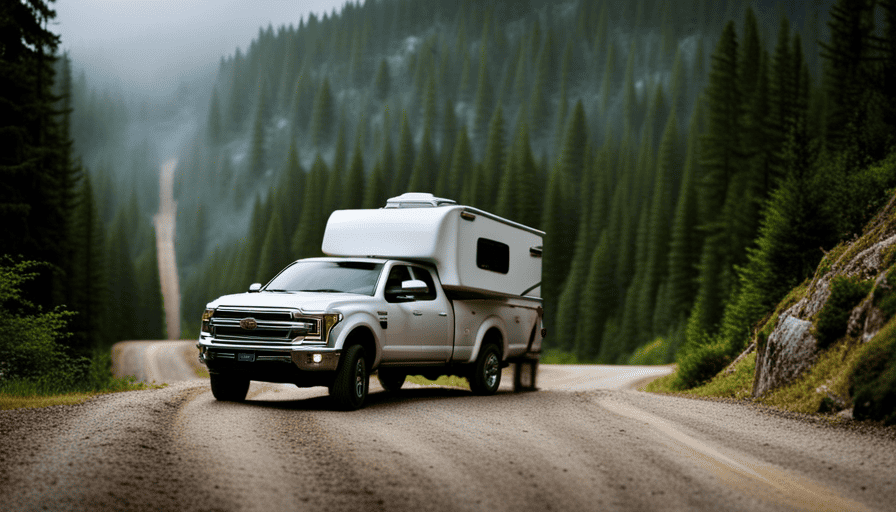
Picture setting out on a scenic road journey, feeling the breeze through your hair, with the liberty to discover the vast beauty of nature. Now, envision accomplishing this in a teardrop camper that you’ve constructed yourself from the ground up. With just a moderate amount of expertise and a bit of hard work, you have the ability to make this vision come true.
In this article, I will guide you through the process of building your own teardrop camper, from gathering the necessary tools and materials to hitting the road and enjoying the fruits of your labor. With detailed plans and step-by-step instructions, you’ll learn how to design, construct, and customize your teardrop camper to suit your needs and style.
So, whether you’re a seasoned DIY enthusiast or a novice looking for a new adventure, get ready to embark on a journey of creativity and exploration as we dive into the world of teardrop camper construction.
Key Takeaways
- Teardrop campers are compact and lightweight, making them perfect for road trips and customizable to fit specific needs and preferences.
- Gathering the necessary tools, materials, and safety equipment is essential for a successful build.
- Design considerations such as size, weight, and style should be taken into account when planning the build.
- Proper installation of electrical and plumbing systems, as well as thorough testing and adjustments, are crucial to ensure the camper is safe and functional before hitting the road.
Introduction to Teardrop Campers
So, you’re ready to embark on the exciting journey of building your very own teardrop camper!
Teardrop campers have gained popularity in recent years due to their unique benefits and customization options. One of the main advantages of a teardrop camper is its compact size. Unlike larger RVs, teardrop campers are lightweight and easy to tow, making them perfect for adventurous road trips.
Not only are they more fuel efficient, but they also provide a cozy and comfortable space to relax and sleep in. Another great aspect of teardrop campers is the ability to customize them to fit your specific needs and preferences. From adding storage compartments to installing solar panels, the possibilities are endless.
Whether you’re a minimalist camper or someone who loves the comforts of home, you can design your teardrop camper to suit your lifestyle.
Now that you understand the benefits and customization options of teardrop campers, it’s time to gather the necessary tools and materials for your exciting project.
Gather the Necessary Tools and Materials
First, you’ll need to gather all the essential tools and materials to create your dream adventure-on-wheels. Gathering tools and materials is a crucial step in building a teardrop camper, as it ensures that you have everything you need to bring your vision to life. Here are five items you’ll need to gather:
- Power tools: You’ll need a drill, jigsaw, and sander to cut and shape materials.
- Measuring tools: Make sure to have a tape measure and level to ensure accurate dimensions and straight lines.
- Safety equipment: Don’t forget to gather safety goggles, gloves, and a dust mask to protect yourself during construction.
- Lumber and plywood: These materials will form the base and structure of your teardrop camper.
- Insulation and interior materials: To make your camper comfortable, gather insulation, upholstery fabric, and other interior materials.
Once you have gathered all the necessary tools and materials, you can move on to the next step of designing and planning your teardrop camper. This will involve brainstorming ideas, creating sketches, and considering the layout and features that’ll make your camper functional and unique.
Design and Plan Your Teardrop Camper
Next, envision your ideal adventure-on-wheels and let your creativity soar as you design and plan the layout and features of your teardrop camper.
When it comes to designing your teardrop camper, there are a few important design considerations to keep in mind. First, think about the size and weight of the camper. You want to make sure it’s lightweight enough to be towed easily, but also spacious enough to accommodate your needs. Consider the number of beds, seating arrangements, and storage space you’ll require.
Additionally, think about the overall style and aesthetic you want to achieve. Do you prefer a modern and sleek design or a more rustic and cozy feel?
Budget planning is also a crucial aspect of designing your teardrop camper. Determine how much you’re willing to spend on materials and any additional features you may want to incorporate. Research and compare prices for different materials and appliances to find the best deals that fit within your budget.
Once you’ve finalized your design and budget, you can move on to the next step of building your teardrop camper: constructing the frame and walls. This is where your plans will come to life, and you can start building the foundation of your dream camper.
Build the Frame and Walls
Now it’s time to roll up your sleeves and start constructing the sturdy frame and walls of your dream adventure-on-wheels. The teardrop camper frame is the backbone of your camper, providing support and structure for the entire build.
You will need to gather materials such as steel or aluminum tubing, plywood, and screws to begin this stage of the construction process.
To build the frame, start by measuring and cutting the tubing according to your camper’s design. Then, use a welder or strong adhesive to join the pieces together, ensuring they’re securely connected. This will create the basic structure of your teardrop camper.
Next, it’s time to focus on constructing the walls. Cut plywood panels to the desired dimensions and attach them to the frame using screws or nails. Make sure to leave space for windows and doors, which can be added later in the build. Reinforce the corners and edges with additional supports to enhance the overall strength of the walls.
Once the frame and walls are complete, you can move on to the next step: installing the roof and flooring. This will further enclose the camper and provide a solid foundation for the interior.
With the frame and walls in place, your teardrop camper is starting to take shape, and you’re one step closer to having your own cozy mobile getaway.
Install the Roof and Flooring
Once the sturdy frame and walls are complete, it’s time to bring your cozy mobile getaway to life by installing the roof and flooring. This step is crucial as it’ll provide insulation and protection from the elements.
Before installing the roof, make sure to apply a layer of insulation to ensure maximum comfort inside the teardrop camper. There are various insulation materials available, such as foam boards or spray foam, so choose the one that suits your needs and budget.
Next, it’s time to select the right flooring material for your teardrop camper. Consider factors such as durability, water-resistance, and ease of installation. Popular choices include vinyl, laminate, and linoleum. These materials aren’t only affordable but also easy to clean, making them perfect for a camper environment.
Once the insulation and flooring are in place, you can seamlessly transition into the next section about building the interior and adding functional features. This is where you can let your creativity shine by customizing the layout and design according to your preferences. From installing cabinets and beds to adding a kitchenette and electrical system, the possibilities are endless.
Build the Interior and Add Functional Features
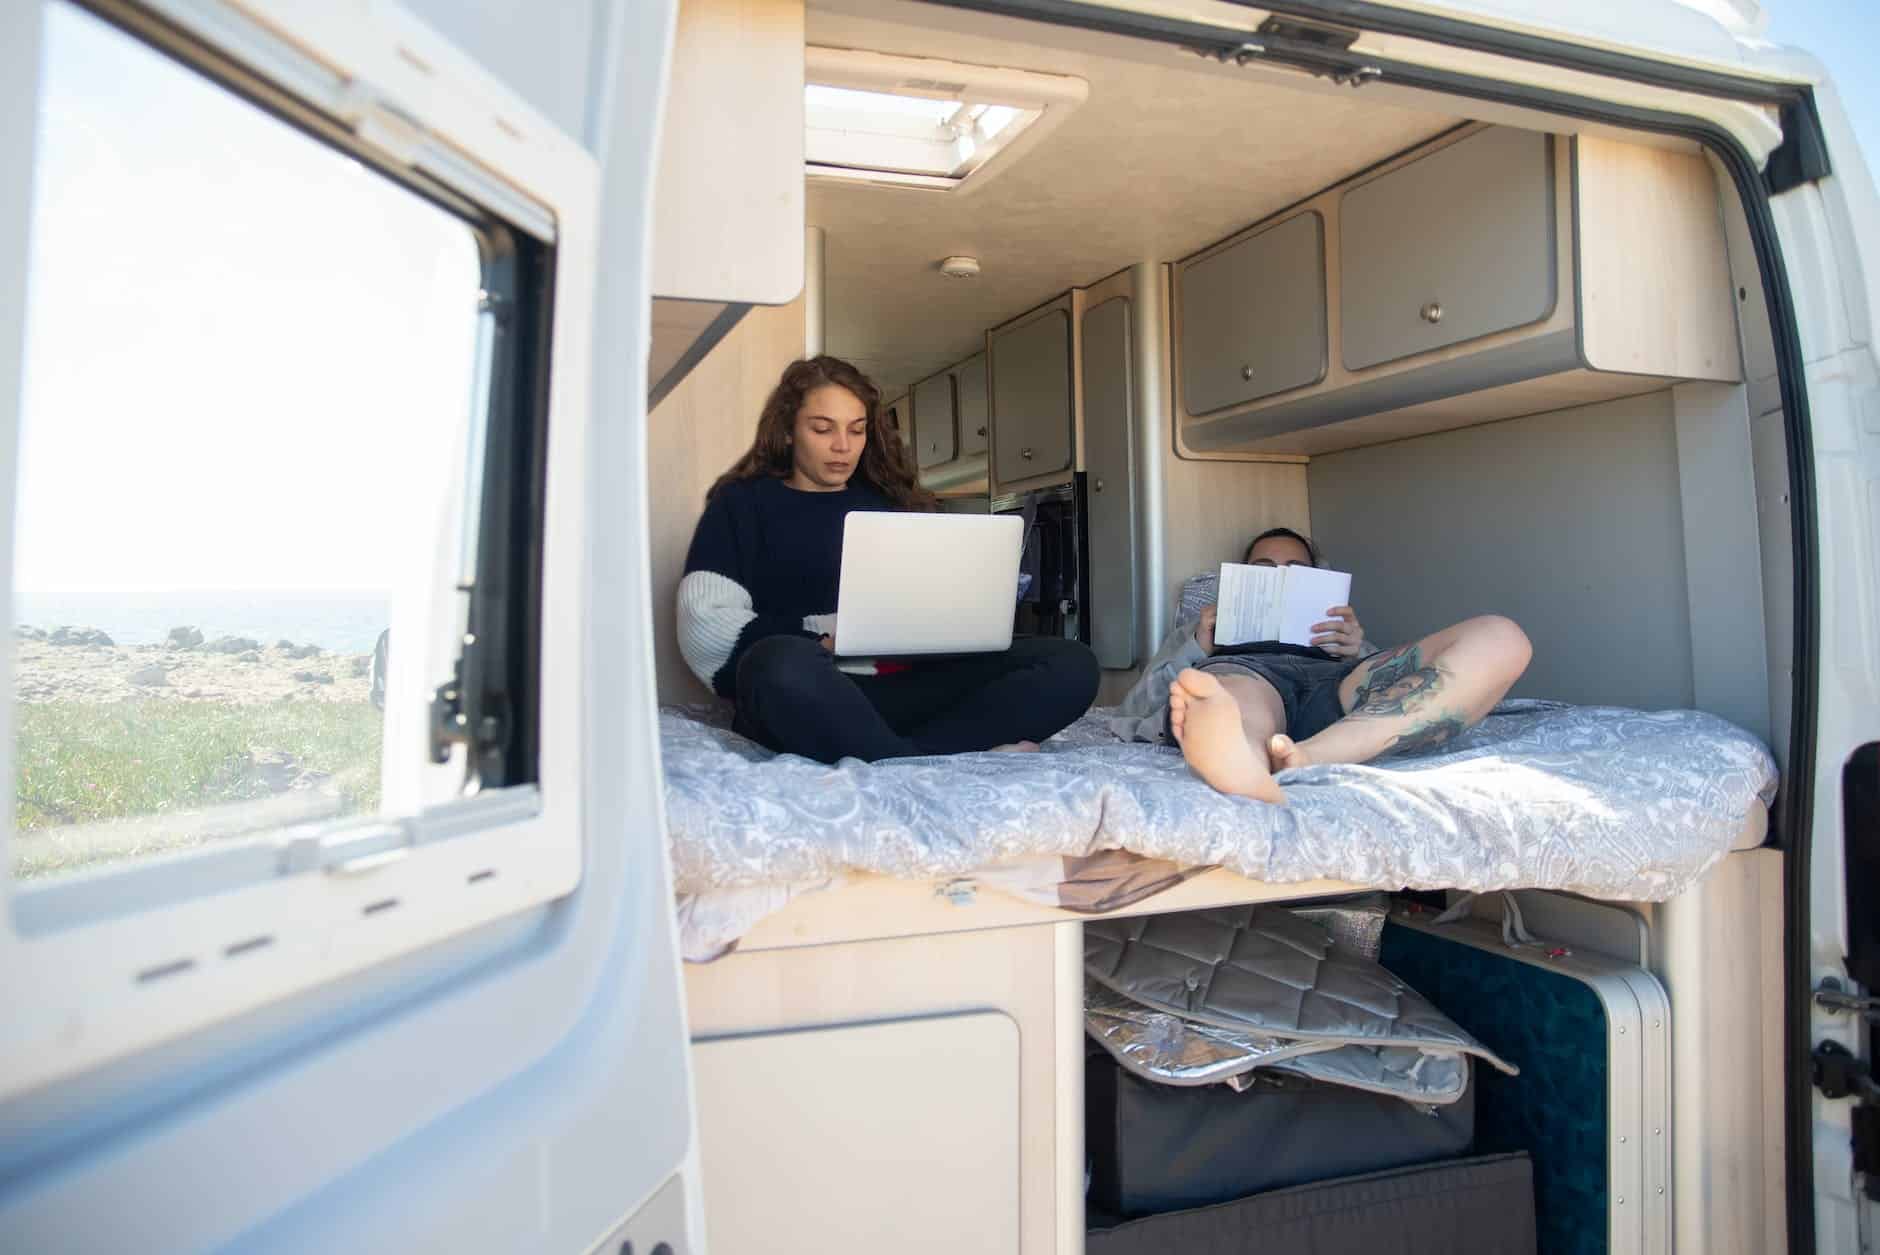
As you bring your cozy mobile getaway to life, let your creativity soar by customizing the layout and design of the interior, turning it into a personal sanctuary that embraces your unique style and taste. With functional design and storage solutions in mind, you can maximize the space available and create a comfortable living area.
Here are some ideas to inspire you:
-
Utilize vertical space by installing overhead cabinets or shelves. This will not only provide ample storage for your belongings but also help keep the camper organized and clutter-free.
-
Consider incorporating multipurpose furniture, such as a bench that doubles as a storage compartment or a foldable table that can be stowed away when not in use. This will optimize the use of space and allow for flexibility in the interior layout.
-
Don’t overlook the importance of good lighting. Install LED lights throughout the camper to create a bright and inviting atmosphere. You can also add task lighting in specific areas, such as the kitchen or reading nook, for added functionality.
-
Make the most of every inch by using under-bed storage or creating hidden compartments. This will ensure that you have enough room for all your essentials without sacrificing comfort.
Now that you’ve designed your dream interior, it’s time to move on to the next step: installing the electrical and plumbing systems.
Install Electrical and Plumbing Systems
To bring your cozy mobile getaway to life, it’s time to tackle the installation of the electrical and plumbing systems. Proper electrical wiring and plumbing installation are crucial for a functional and comfortable teardrop camper. Let’s start with the electrical system. Begin by mapping out where you want your lights, outlets, and appliances to be placed. Next, gather all necessary materials, such as wires, switches, and a power distribution panel. Carefully follow the manufacturer’s instructions to ensure a safe and efficient installation. It’s important to consider power source options, such as battery or shore power, and to install a fuse box for added protection.
Now, let’s move on to the plumbing system. Start by planning the layout of your water supply and waste disposal systems. Determine where you want your sink, shower, and toilet to be located. Purchase the appropriate pipes, fittings, and valves for your specific needs. Remember to include a freshwater tank and a wastewater tank to ensure proper functionality. Ensure that all connections are secure and leak-proof.
Once you have completed the installation of the electrical and plumbing systems, you can move on to the exciting step of painting and decorating your teardrop camper. This will add your personal touch and make it feel like a true home away from home.
Paint and Decorate Your Teardrop Camper
Get ready to unleash your inner artist and transform your humble mobile getaway into a vibrant and unique masterpiece, because now it’s time to splash on some paint and let your creativity run wild.
Painting your teardrop camper is not only a way to protect it from the elements, but also an opportunity to add your personal touch and make it truly one-of-a-kind.
When it comes to painting techniques, there are a few options to consider. You can use traditional brush and roller methods, or if you’re feeling adventurous, try out spray painting for a smoother and more professional finish.
Make sure to choose the right type of paint that’s suitable for outdoor use and can withstand the wear and tear of the road.
Once you’ve decided on a color scheme, it’s time to think about the decor. You can go for a rustic, woodsy look with earthy tones and nature-inspired patterns, or opt for a bold and vibrant design with bright colors and geometric shapes.
Don’t be afraid to mix and match patterns and textures to create a visually interesting and dynamic interior. Incorporate your favorite hobbies or interests into the decor, whether it’s a mural of your favorite beach scene or a display of vintage travel posters.
As you finish painting and decorating your teardrop camper, take a step back and admire your handiwork. It’s amazing how a little bit of paint and some carefully chosen decor can completely transform a space.
Now that your teardrop camper is looking fabulous, it’s time to move on to the next step: testing and making any necessary adjustments to ensure everything is in perfect working order.
Test and Make Necessary Adjustments
After putting in all the hard work of painting and decorating your teardrop camper, it’s time to move on to the next step: testing and making necessary adjustments. This is a crucial phase to ensure that everything is functioning properly and that your camper is ready for the road.
First, I recommend conducting a thorough inspection of your camper’s electrical and plumbing systems. Test all the lights, outlets, and appliances to make sure they’re in good working condition. Check for any leaks or weak spots in the plumbing system and fix them as needed.
It’s also a good idea to test the stability of your camper by taking it for a short test drive to see how it handles on the road.
During this testing phase, you may discover some areas that require adjustments. It could be something as simple as tightening a few screws or making minor tweaks to improve functionality. Don’t be discouraged if you encounter any issues – it’s all part of the DIY process.
By using adjustment techniques and testing methods, you can ensure that your teardrop camper is safe and ready for your adventures.
So, with everything in proper working order, it’s time to hit the road and enjoy your DIY teardrop camper, knowing that you’ve built it with your own hands and that it’s tailor-made for your travel needs.
Hit the Road and Enjoy Your DIY Teardrop Camper
Now it’s time to embark on your road trip adventure and fully immerse yourself in the joy of experiencing the open road in your very own handcrafted travel haven.
After all the hard work you’ve put into building your teardrop camper, it’s finally time to hit the road and enjoy the fruits of your labor. But before you do, there are a few things you need to consider to ensure a smooth and enjoyable journey.
First, let’s talk about the DIY camper kitchen. One of the great things about building your own teardrop camper is that you have the freedom to design your kitchen exactly the way you want it. Make sure to choose appliances and storage solutions that suit your needs and preferences. Consider the size and weight of the appliances, as well as their energy efficiency. You’ll also want to think about the layout of your kitchen to ensure it’s functional and easy to use while on the road.
Next, let’s discuss choosing the right trailer. When it comes to selecting a trailer for your teardrop camper, there are a few factors to consider. Firstly, you’ll want to ensure that the trailer is sturdy and reliable, capable of carrying the weight of your camper. It should also have good suspension to provide a smooth and comfortable ride. Additionally, consider the size of the trailer and how it will fit with your camper design. Take measurements and make sure it’s compatible before making your final decision.
With your DIY camper kitchen and the right trailer in place, you’re ready to hit the road and enjoy the freedom of traveling in your own teardrop camper. So pack your bags, grab your map, and get ready to embark on an unforgettable adventure. Happy travels!
Frequently Asked Questions
How much does it cost to build a teardrop camper?
Building a teardrop camper can be a rewarding project, but the cost depends on various factors. Budget considerations such as materials, size, and features will impact the final price. To give you an idea, prices can range from $1,000 to $10,000 or more.
However, keep in mind that these estimates are a rough guide, as personal choices and preferences can greatly influence the overall cost. It’s essential to plan carefully and consider all the cost factors before starting your teardrop camper build.
Can I customize the size and shape of my teardrop camper?
Yes, you can definitely customize the size and shape of your teardrop camper. When it comes to customization options, you have the freedom to design a camper that suits your specific needs and preferences. However, there are a few design considerations to keep in mind.
You’ll need to ensure that the modifications you make are structurally sound and won’t compromise the overall integrity and functionality of the camper.
What type of trailer should I use for my teardrop camper?
When choosing a trailer for your teardrop camper, there are several options to consider. One popular choice is a utility trailer, which provides a sturdy base and can be easily modified to fit your needs.
Another option is a flatbed trailer, which offers more flexibility in terms of size and shape. Look for trailers with features like a strong chassis, good suspension, and a suitable weight capacity to ensure a smooth and safe towing experience.
How long does it typically take to build a teardrop camper?
Building a teardrop camper is like embarking on a journey. It requires careful planning, organization, and patience. To stay organized during the process, create a detailed schedule and keep all materials in designated areas. Utilize storage solutions like built-in cabinets and overhead compartments to maximize space. Additionally, label and categorize all tools and supplies for easy access.
Following these tips will ensure a smooth and efficient teardrop camper building experience.
Are teardrop campers suitable for all weather conditions?
Teardrop campers have their pros and cons in extreme weather conditions. On the positive side, their compact size and aerodynamic shape make them more resistant to strong winds and easier to tow through inclement weather. However, their small interior space can be limiting during extended periods of bad weather.
To prepare a teardrop camper for different weather conditions, consider adding insulation, sealing any potential leaks, and equipping it with appropriate heating or cooling systems.
Are the Plans for Building a Teardrop Camper Helpful in Actually Building One?
When it comes to building a teardrop camper, having plans can be incredibly helpful. These detailed guides provide step-by-step instructions, measurements, and images, making it easier for enthusiasts to construct their own campers. By following these plans, aspiring builders can ensure accuracy and achieve successful results when building a teardrop camper.
Conclusion
In conclusion, building a teardrop camper has been a rewarding and fulfilling experience. I’ve carefully gathered the necessary tools and materials, designed and planned my camper, and meticulously constructed each part. The process was like weaving a tapestry, where every stitch had a purpose and added to the overall beauty of the final product.
Now, as I hit the open road in my DIY teardrop camper, I feel like a bird soaring freely in the sky, embracing the adventure and freedom that comes with it. So, grab your tools and embark on this incredible journey of building your own teardrop camper.
Safe travels!

