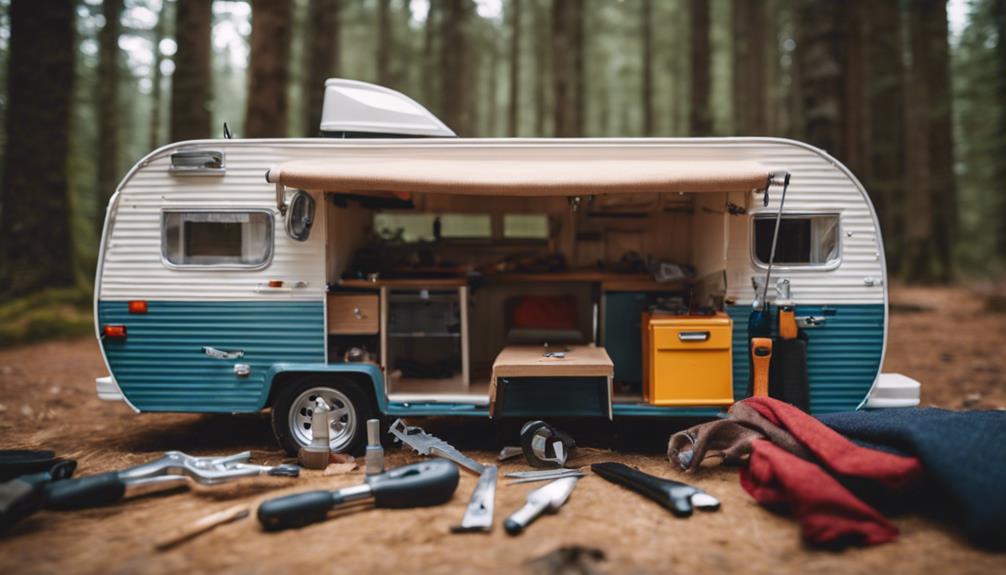
To take apart a pop-up camper, start with the roof. Carefully pry out the staples holding the aluminum skin to the wood frame and remove the eye bolts that secure the roof. Next, address the corner protectors by peeling away the vinyl cover to access screws. As you continue, be mindful of the seams and insulation to avoid damage. Check the structural integrity of each component, and be gentle throughout the process. Remember, rushing can lead to issues down the line. There's plenty more to learn about each step to guarantee a safe and efficient dismantling.
Key Takeaways
- Carefully remove staples securing the aluminum skin to the wood frame using a flathead screwdriver or pliers.
- Disassemble the roof piece-by-piece, prioritizing careful handling of components to avoid structural damage.
- Inspect and address any signs of rot in the wood frame during the aluminum skin removal process.
- Peel away vinyl covers gently to access screws, ensuring the integrity of the corner protectors remains intact.
Roof Removal Process
To begin the roof removal process, carefully pry out the staples securing the aluminum skin to the wood frame, being mindful to avoid scratches.
Take your time with this step, as even a little bit of haste can lead to unsightly marks on your pop-up camper. Once the staples are out, disassemble the roof piece-by-piece. This method guarantees you minimize damage since the structure is brittle and can easily bend under continuous weight.
Next, you'll need to remove the eye bolts that secure the roof to the upright arms. This step is vital for allowing further disassembly, so be thorough.
After that, access the seam running down the middle of the roof. This seam is essential for the complete removal of the aluminum skin, which might require some additional support as you work.
Keep in mind that styrofoam insulation glued between the aluminum sheets complicates the process. Handle everything with care to prevent any structural failure.
Corner Protector and Vinyl Removal
Carefully peel away the cracked and brittle vinyl cover from the corner protector to expose the square drive screws underneath. Make sure you have a square drive screwdriver on hand, as this will be essential for removing the screws without damaging anything around them.
As you work, keep an eye on the seam down the middle of the roof; you'll need access to it for the proper disassembly of the corner protector.
Before you start applying any weight or climbing on the bed platforms, inspect their structural integrity. This step is critical to avoid any potential collapse during the process.
If you're concerned about stability, consider using a truck bed spreader for additional support while you remove the corner protector and vinyl. This will help prevent any structural damage as you work.
Once you've removed the screws, gently lift the corner protector away from the camper. Be cautious, as the vinyl can be fragile.
With the protector removed, you're one step closer to successfully dismantling your pop-up camper.
Seam and Aluminum Skin Challenges

Removing the corner protector and vinyl cover sets the stage for tackling the seam and aluminum skin challenges that follow in your pop-up camper disassembly.
First, take off the center strip; it conceals fasteners and seams critical to accessing the aluminum skin. Be cautious during this step, as any continuous weight on the roof can lead to structural failures, causing unintended bends in the aluminum.
You'll also need to focus on the front roof section, which requires a similar seam removal process. This step demands meticulous attention to detail, as any oversight can complicate your disassembly efforts. Handle the aluminum skin carefully—falling sections can damage both the skin and the underlying structures.
An additional challenge arises from the glued styrofoam insulation between aluminum sheets. This insulation makes the removal process trickier, so work piece by piece to minimize damage.
Side Roof Disassembly
Start by tackling the aluminum skin on the side roof, pulling out the staples that secure it to the wood frame. Use a flathead screwdriver or pliers to help pry the staples out, but be cautious not to damage the aluminum or wood beneath.
As you remove the aluminum skin, check for any signs of rot in the wood frame. If you encounter rotting, it may complicate the removal process and require additional repairs.
While you're working, keep in mind that the side roof consists of a wood frame with styrofoam insulation glued between two aluminum sheets. This construction means you need to handle everything carefully to avoid causing damage.
You'll need to locate the vertical seam running down the middle of the side roof to access the aluminum skin more easily.
As you proceed, be cautious of applying too much weight to any section of the roof. Continuous weight can lead to structural failure, so work piece-by-piece and regularly assess the roof's integrity.
This method guarantees a safer disassembly while maintaining the condition of the remaining components.
Progress and Caution

As you continue dismantling the camper, it's important to recognize that significant progress comes with the responsibility of maintaining caution throughout the process. Each step you take can bring you closer to completion, but it also increases the risk of damaging the structure. Be sure to continuously assess the camper's structural integrity to avoid complications during disassembly.
Careful handling is essential, especially when removing components that contribute to the overall stability of the trailer. Remember that applying weight to the roof can lead to unintended bends in the aluminum, so manage loads carefully to prevent this.
As you work, take your time, and don't rush through tasks. Meticulous work pays off in the long run, ensuring a smoother dismantling experience. If you encounter any challenges, consider seeking viewer engagement or feedback from others who've successfully completed similar projects. They can offer valuable insights and tips.
Ultimately, balancing progress with caution will help you dismantle your pop-up camper effectively while minimizing the risk of damage. Keep your focus sharp, and good luck with the rest of your project!
Frequently Asked Questions
How to Clean the Inside of a Popup Camper?
To clean the inside of your pop-up camper, start by removing all belongings. Vacuum thoroughly, then wipe surfaces with a mild detergent. Disinfect the kitchen area, and let it air out for a fresh smell.
How Do You Remove Stickers From a Pop-Up Camper?
Imagine peeling away the memories stuck on your pop-up camper. Heat the stickers with a hairdryer, then gently lift them with a scraper. For residue, use warm soapy water or adhesive remover, avoiding harsh chemicals.
How Fast Should You Tow a Pop-Up Camper?
When towing a pop-up camper, you should maintain speeds between 55 to 65 mph for stability. On winding roads, keep it below 50 mph to guarantee control and safety. Always check local towing regulations, too.
How Can I Get Rid of My Pop-Up Camper?
Getting rid of your pop-up camper's like shedding old skin; start by evaluating its condition. Consider recycling, donating, selling parts, or contacting waste management for proper disposal. Make the most of its remaining life!
Can I Dismantle My Pop-Up Camper Before Towing It?
Yes, you can dismantle your pop-up camper before towing it. However, it’s important to follow proper towing a popup camper tips to ensure safe and smooth transportation. Make sure to secure all loose items, double-check the hitch connection, and properly distribute the weight for balanced towing.
Conclusion
In the end, taking apart a pop-up camper is no walk in the park, but with patience and careful attention, you can tackle it like a pro.
Remember to double-check each step and keep track of your parts.
Once it's all said and done, you'll have valuable experience under your belt for future repairs or upgrades.
So roll up your sleeves, take your time, and you'll be back on the road in no time!


