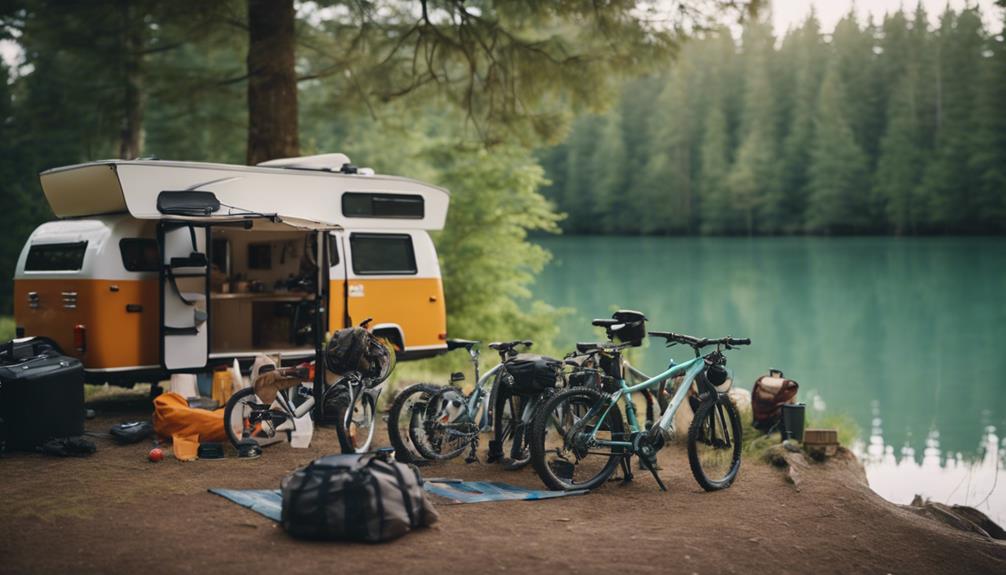
To set up your pop-up camper, start by undoing all latches and opening the awning while the roof is down. Use the crank handle to raise the roof and be sure the tension guide is free on the right side. Next, clear the storage box and slide out the beds, installing supports for stability. Plug in the camper for electrical access. Once inside, flip up the sink and raise the roof supports carefully. Don't forget to prepare the water system and check your climate controls. With a few simple steps, you'll be ready to enjoy your trip and more details are just ahead.
Key Takeaways
- Undo all latches and raise the roof using the crank handle, ensuring the tension guide is free on the right side.
- Clear the front storage box before sliding out beds and install two bed supports for stability.
- Plug in the camper to access electrical appliances and activate the water pump for water management.
- Set up the climate control by ensuring propane is on and adjusting the thermostat for heating.
Setup Procedures
To set up your pop-up camper, start by undoing all latches and opening the awning while the roof is still down. This initial step guarantees you can easily access all necessary parts of the camper.
Next, use the crank handle to raise the roof, making sure the tension guide is free on the right side.
Before sliding out the beds, clear the front storage box to avoid any obstacles. For stability, install two bed supports for each bunk. Once that's done, proceed to install lift arm supports on both sides of the camper. Use a 3/4 inch socket with an impact driver for the box supports—remember, these are for support only, not leveling.
After securing the roof, it's time to plug in the camper. This allows you to utilize electrical appliances and access the electrical cover for the 30 amp connection.
Once everything's in place, finalize your setup by zipping all zippers along seams, securing velcro straps, and attaching bungees under bunk ends. This guarantees your pop-up camper is sealed properly and ready for adventure!
Interior Setup
How do you begin the interior setup of your pop-up camper for a comfortable experience? Start by opening the door and pulling out the step for easy access. Flip up the sink and clear any stored items to prepare the area. Next, raise the roof supports carefully, ensuring that no canvas is pinched during the process. This attention to detail will help you enjoy your time in the camper without any hassle.
Once the roof is secure, install the light fixture over the slide-out to brighten up the space. This simple addition makes a big difference, especially during the evenings. Finally, assemble the interior table or arrange the cushions to create comfortable bed space. Be sure the table legs are detached and positioned for stability.
Here's a quick reference table to help you keep track of your interior setup tasks:
| Task | Description |
|---|---|
| Access the camper | Open the door and pull out the step |
| Prepare the sink area | Flip up the sink and remove items |
| Secure the roof | Raise supports without pinching canvas |
With these steps, you'll be able to tell that your pop-up camper is ready for a great adventure!
Water Management
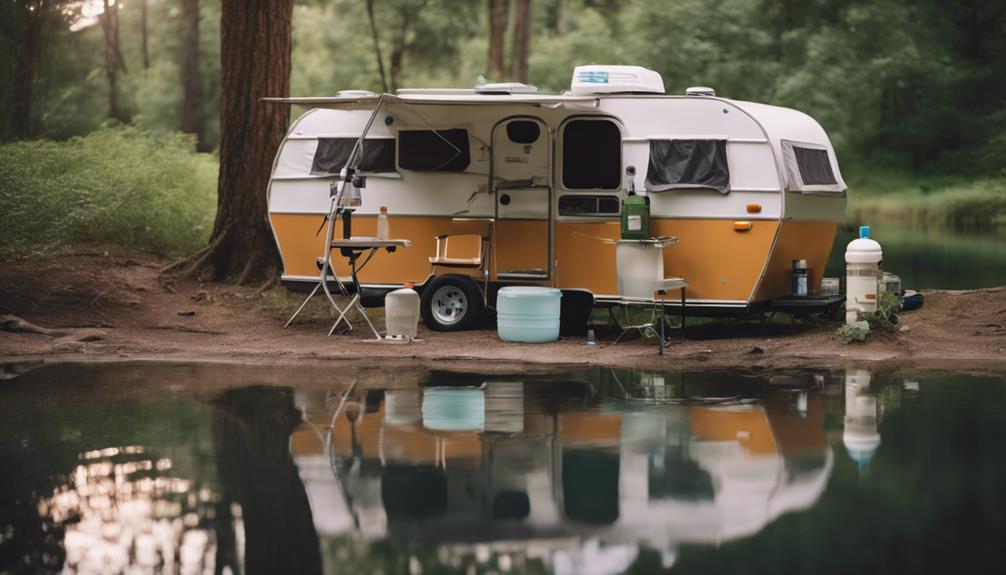
When it comes to water management in your pop-up camper, you'll want to focus on both shower setup and waste management techniques.
Make sure your water pump is activated and your gray water container is ready to handle waste efficiently.
Keeping everything organized will enhance your camping experience and maintain cleanliness.
Shower Setup Process
Start by attaching the shower curtain to the railing with the provided clasps for privacy and effective water containment. This step is essential, as it keeps the water from splashing outside the shower area.
Once that's secure, I'm going to check the water pump. If your camper isn't connected to city water, make sure the pump is turned on so water flows from the holding tank.
Next, verify there's enough water in the holding tank. You don't want to run dry during your shower. Almost everything hinges on having adequate water supply for a comfortable experience.
If you're using the air conditioner for cooling, locate and connect its plug near the water pump, as this can help maintain a pleasant atmosphere while you shower.
Lastly, as you prepare the area, don't forget to get the cassette toilet ready. Add deodorizer and water for proper function and hygiene, ensuring everything is set for your camping adventure.
With these steps, you're all set to enjoy a rejuvenating shower in your pop-up camper!
Waste Management Techniques
Effective waste management techniques, particularly for water, are vital to maintaining a clean and enjoyable camping experience in your pop-up camper. Start by using a marked container specifically for gray water collection. This prevents contamination and guarantees proper disposal. To set this up, connect a 2-3 foot hose from the sink to the gray water tank by unscrewing the hose from the sink.
Before using the shower, make certain there's water in the holding tank to facilitate proper drainage and avoid overflow. If you're not connected to city water, turn on the water pump to maintain adequate pressure for both the shower and sink.
For the cassette toilet, prepare it by adding deodorizer and water. This step is essential for managing waste effectively and maintaining hygiene.
Here's a quick overview of essential water management tasks:
| Task | Purpose |
|---|---|
| Use marked gray water container | Prevents contamination |
| Connect hose to gray water tank | Guarantees efficient waste management |
| Fill holding tank before shower | Prevents overflow |
| Add deodorizer to toilet | Maintains hygiene |
Following these techniques will enhance your camping experience and keep your camper clean.
Waste Management
Managing waste properly is essential for a smooth camping experience with your pop-up camper. Start by designating a marked container specifically for collecting gray water. This keeps your setup organized and compliant with waste management practices. Attach the hose from your sink to the gray water tank, making sure it's about 2-3 feet long for efficient drainage.
Regularly check and empty the gray water tank to prevent overflow and maintain hygiene. When using the shower, remember to turn on the water pump if you're not connected to city water, and confirm there's enough water in the holding tank before you start.
For your cassette toilet, prepare it by adding deodorizer and water. This will help guarantee proper function and control odors throughout your trip. Regularly monitor the toilet's status and empty it when necessary to avoid unpleasant situations.
Climate Control
When it comes to climate control in your pop-up camper, knowing the thermostat's location is key for quick adjustments.
You'll want to make sure the propane is on and set the thermostat to your preferred temperature for effective heating.
Let's also check the air conditioner setup for those warmer days ahead.
Thermostat Location and Function
The thermostat in your pop-up camper is conveniently located near the entrance door, allowing you to easily adjust the climate to your comfort.
With this setup, you can quickly set your desired indoor temperature, whether you need heating or cooling. If you're using the heater, make certain the propane is turned on, then toggle the thermostat to your preferred heat level.
For air conditioning, you'll find the plug next to the water pump, which connects to the camper's electrical system. This makes it simple to power up your AC when you need to cool down on hot days.
Before you hit the road, it's important to check that both the thermostat and all climate control systems are functioning properly. This guarantees you can enjoy a comfortable experience during your trip.
Propane Heating Setup
To guarantee your pop-up camper stays warm and cozy, start by connecting the propane tank and opening the valve to allow gas flow. Once that's done, locate the thermostat near the entrance door and adjust it to your desired temperature. This way, you're setting the stage for ideal comfort while you camp.
Before firing up the heater, it's vital to verify that the propane system is functioning correctly. Check for any leaks by applying soapy water on the connections; if you see bubbles, you've got a leak that needs addressing. Safety first!
After you've confirmed everything's in order, it might take a few minutes for the heater to ignite. Patience is key here, as the propane needs time to reach the burner. Keep an eye on the heater and listen for the ignition.
Lastly, don't forget to regularly check your propane levels. Make sure to refill as necessary to maintain consistent heating throughout your camping trip. Staying warm is essential for a great camping experience, so keep these steps in mind for a cozy and enjoyable time!
Final Checks
Before hitting the road, make certain all zippers and velcro straps are securely fastened to keep out leaks and drafts.
Start by checking the zippers along the seams at the corners; they need to be zipped tightly to prevent any water from sneaking in.
Next, secure all velcro straps on doors and corners to guarantee a proper seal against the elements.
Don't forget to attach the bungees under the bunk ends. This provides additional stability and helps prevent sagging when you're inside.
Additionally, check that all velcro on the support brackets is fastened properly. This step is essential for maintaining the structural integrity of your setup.
Camping Preparation
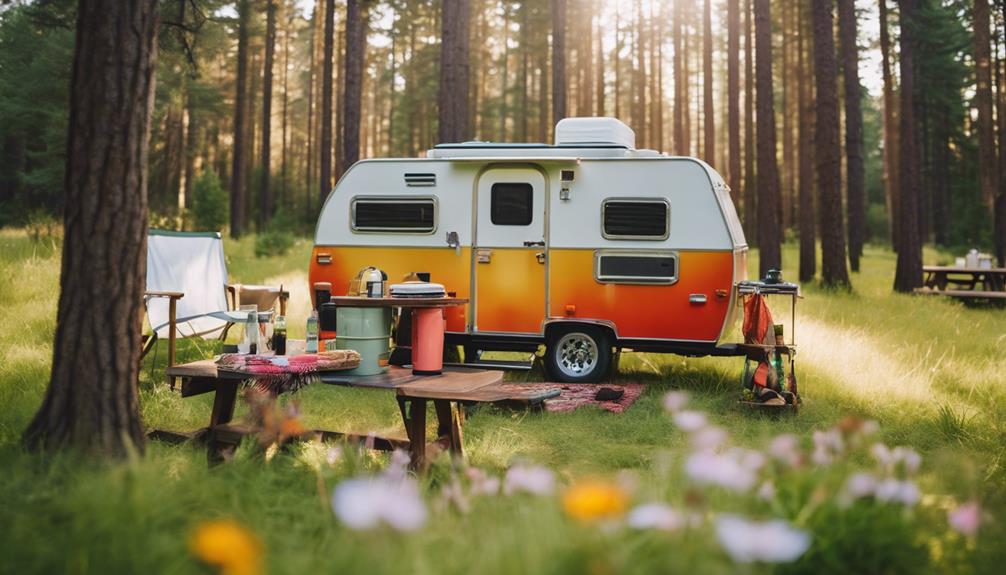
Gather all necessary equipment and plan ahead to guarantee a smooth camping experience. Start by ensuring you have essential items like leveling blocks, extension cords, and water hoses ready for efficient setup. Check the weather forecast, so you pack appropriate gear and clothing for comfort.
Create a checklist of vital items to avoid forgetting anything important. Here's a simple table to help you organize your packing:
| Category | Items | Notes |
|---|---|---|
| Food | Non-perishables, snacks | Include cooking supplies |
| Toiletries | Toothbrush, soap | Don't forget towels |
| Sleeping Gear | Sleeping bags, pillows | Check for comfort |
Before you head out, confirm that all camping permits and reservations are secured. Once you arrive, have a plan for your campsite setup layout, including where you'll position the camper, cooking area, and any outdoor activities. This preparation will help optimize your space and create a pleasant camping experience.
Frequently Asked Questions
Are Pop-Up Campers Hard to Set Up?
Pop-up campers aren't hard to set up. With a little practice, you'll find the process straightforward and intuitive. Most setups can be done in about 30 minutes, and you'll gain confidence as you go.
Can One Person Set up a Pop-Up Camper?
Yes, you can set up a pop-up camper alone. With the right tools and technique, you'll manage the roof and supports effectively. Just plan ahead to streamline the process and guarantee everything's within reach.
How Long Does It Take to Set up a Popup Camper?
You'd think setting up a pop-up camper would be a breeze, right? Well, it usually takes you about 15 to 30 minutes, especially if you're new. With practice, you might even shave that time down!
Does a Pop-Up Camper Have to Be Perfectly Level?
A pop-up camper doesn't have to be perfectly level, but you should aim for as level as possible. This helps prevent water pooling and guarantees your doors function properly during your camping adventures.
Can the Quick Start Guide for Setting Up a Pop-Up Camper Be Used in Emergency Situations?
In emergency situations, the Quick Start Guide for setting up a pop-up camper can be a lifesaver. This guide provides step-by-step instructions on how to manually open popup camper, allowing you to quickly and efficiently set up shelter during unexpected situations such as natural disasters or unforeseen disruptions to your original camping plans.
Conclusion
Now that you've set up your pop-up camper, you're ready for adventure!
Imagine pulling into a scenic campsite, the sun setting behind the trees, as you crack open a cold drink and relax with friends.
By following these steps, you'll create a comfortable home away from home.
Remember, each trip is a chance to create lasting memories, so take your time, enjoy the process, and embrace the great outdoors!
Happy camping!

