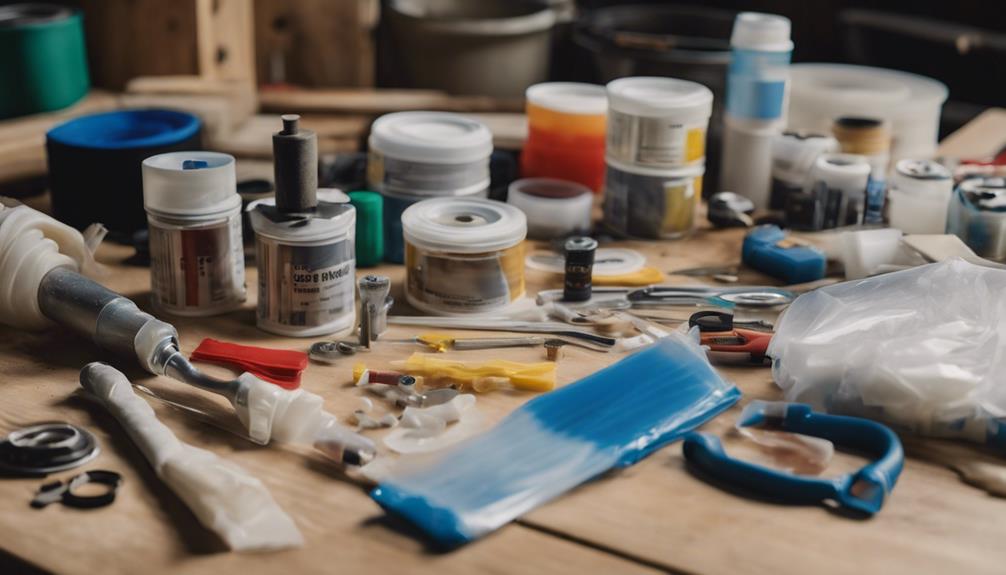
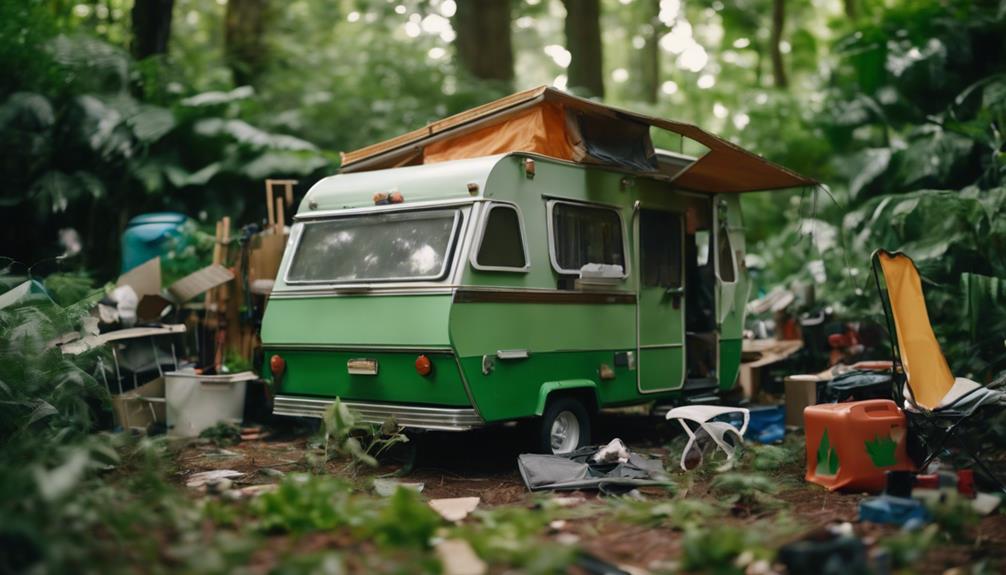
To seal your pop-up camper roof and prevent leaks, start by inspecting for cracks, loose seams, and any weather damage. Clean the roof thoroughly and gather materials like Eternabond tape and polyurethane sealants. Apply these products directly to the problem areas, using multiple thin coats for durability. Confirm you let each coat dry properly. Conduct regular inspections after heavy rains to identify and address issues early. Keeping your roof clean and maintaining your sealants will extend their lifespan. Stay tuned for more detailed steps and tips to enhance your camper's protection against leaks.
Key Takeaways
- Regularly inspect the roof for cracks, loose seams, and weather damage to identify potential leaks early.
- Clean the roof thoroughly before sealing to ensure proper adhesion of repair materials.
- Use high-quality sealants like Eternabond tape and polyurethane sealants for effective sealing and durability.
- Apply multiple thin coats of sealants, allowing adequate drying time between each coat for optimal results.
Assessing Roof Condition
How well do you know the condition of your pop-up camper roof? Regularly inspecting your roof is essential to prevent leaks and maintain its integrity.
Start by examining for cracks and loose seams, as these are common sources of water intrusion. Pay special attention to areas affected by severe weather; hail or strong winds can create pits or holes in aluminum roofs.
Next, check the caulking around seams, windows, and other openings. Deteriorated or missing caulking can lead to significant leaks, so it's important to catch these issues early.
A thorough cleaning of the roof surface not only helps you spot potential problems but also prepares the area for any necessary repairs.
As you assess the roof condition, document your findings. Keeping a record of any repairs and maintenance will help you track ongoing needs and guarantee that your pop-up camper remains in top shape.
Preparing for Repairs
Before diving into repairs, make certain you've gathered all necessary tools and materials to guarantee a smooth and efficient process. Proper preparation is key to sealing your pop-up camper's roof and preventing future leaks, especially around vulnerable areas like the center seam.
Here's what you'll need to prepare:
- Cleaning Supplies: Use Goo Gone Pro-Power to remove any dirt or old sealant. Follow up with acetone for a thorough cleaning of the roof surface, ensuring it's free of debris and oils.
- Tools for Surface Preparation: Equip yourself with a Stanley Chalk Reel to mark your work areas and a 3M Paint and Rust Stripper Brush to clean the center seam effectively.
- Removal of Old Materials: Carefully remove any existing putty, screws, or silicone from the center seam. This step is essential for achieving ideal adhesion when applying your new sealant.
With your tools and materials ready, you'll be well on your way to making effective repairs that not only enhance the durability of your roof but also extend the life of your pop-up camper.
Choosing Repair Materials

When it comes to sealing your pop-up camper roof, selecting the right materials is essential for lasting protection.
You'll want to take into account options like Eternabond tape and Gorilla silicone sealant for effective sealing and waterproofing.
Plus, understanding the best application techniques can guarantee your repairs hold up against the elements.
Sealant Material Options
Choosing the right sealant materials is essential for effectively addressing leaks and guaranteeing the longevity of your pop-up camper roof. Here are some top sealant material options to take into account:
- Eternabond tape: This highly recommended option is great for RV roofs, effectively addressing minor leaks and specific fault areas with its durability.
- Polyurethane sealants: Ideal for sealing overlaps, these sealants provide strong adhesion. Just remember to clean the surface thoroughly before application to enhance performance.
- OSI QUAD Sealant and Lexcel: These alternatives to silicone products excel in preventing leaks and are preferred for their superior performance on metal roofing.
When choosing sealants, avoid silicone caulking as it can cause adhesion issues.
Also, take into account the weight of added materials; heavy options like spray-on truck bed liners may impact your roof structure.
Always check the compatibility of sealants with your existing roof materials, prioritizing those specifically designed for metal roofing to guarantee effective sealing and long-lasting protection.
Application Techniques Overview
Applying sealants and coatings correctly is key to guaranteeing that your pop-up camper roof remains leak-free and durable for years to come.
Start by choosing the right repair materials, like Eternabond tape, known for its strong adhesion and long-lasting performance. Before sealing, thoroughly clean the roof surface with solvents such as acetone, and remove any old caulking to enhance adhesion.
When it comes to application techniques, use a roller or brush to apply multiple thin coats of your selected sealants. It's crucial to allow adequate drying time between coats; this guarantees a robust seal that effectively prevents leaks. Recommended sealants include ProFlex for roof caulking and Kool Seal for top coating, as they're designed for compatibility with various roof materials.
Keep in mind the weight of your repair materials; options like spray-on truck bed liner can add significant weight, potentially impacting roof integrity and handling.
Sealing Techniques and Application
To guarantee a watertight seal on your pop-up camper roof, start by thoroughly cleaning the surface with a suitable cleaner like Grease Lightning before applying any sealants. This step guarantees proper adhesion.
Once dry, follow these sealing techniques:
- Use Eterna Bond Tape for sealing seams and addressing minor leaks. This durable tape can be applied directly over existing caulking for an effective seal.
- Apply a polymer waterproof coating, such as RV Roof Magic or Kool Seal, in multiple thin coats. Make sure to allow adequate drying time between each coat for prime sealing performance.
- When caulking, choose a high-quality product like ProFlex or OSI QUAD Sealant. Avoid silicone, as it can lead to adhesion issues. If you need to remove old caulk, consider using a heat gun to soften it for easier removal.
Regular inspection is essential. Routinely check seams and caulking for signs of wear, and reapply sealants as necessary.
This practice not only prevents leaks but also helps extend your roof's lifespan, making sure your pop-up camper remains watertight for years to come.
Maintenance and Inspection Tips

Regularly inspecting your pop-up camper roof is essential for catching leaks early and guaranteeing long-lasting protection. Start by checking the seams and caulking, especially after heavy rain. These areas are common weak points that can lead to leaks if not monitored. Schedule routine inspections every few months and document your findings.
Here's a quick checklist to follow during your inspections:
| Inspection Task | Frequency |
|---|---|
| Check seams and caulking | After heavy rain |
| Inspect roof condition | Every few months |
| Clean dirty areas | Before applying sealants |
| Document repairs | Every inspection |
| Review maintenance history | Seasonal review |
Use a thorough cleaning regimen, like a mixture of Grease Lightning and water, to remove debris before applying sealants. Documenting your inspections and repairs, including dates and materials used, helps maintain a clear record of your camper's roof condition. Taking these steps guarantees ongoing integrity and performance of your camper's roof, allowing you to enjoy your adventures without worry.
User Experiences and Recommendations
Many users share their experiences and recommendations for sealing a pop-up camper roof, highlighting effective products and techniques that enhance protection against leaks. Here are some key insights from fellow RV owners:
- Use Eternabond Tape: This tape is praised for its durability in sealing seams. Users report excellent performance even after harsh weather, making it a top choice for preventing leaks.
- Opt for ProFlex or OSI QUAD Sealant: These sealants offer superior adhesion compared to traditional silicone products. Many RV owners recommend them for their reliable sealing capabilities, ensuring long-lasting protection.
- Prioritize Thorough Cleaning and Inspections: Before applying any sealant, thorough cleaning of the surface is essential for maximum adhesion. Regular inspections of the sealant condition can help catch minor issues before they turn into significant leaks.
Community members also advise applying sealants directly over existing materials while being cautious not to stretch the Eternabond tape during installation to avoid bubbling.
Frequently Asked Questions
What Do You Use to Seal a Pop up Camper?
To seal a pop-up camper, you can use Eternabond tape for seams and minor leaks. For a more thorough seal, apply a polymer waterproof coating after cleaning the surface thoroughly to guarantee proper adhesion.
How to Stop Camper Roof From Leaking?
You're camping under a starry sky, but rain suddenly pours. To stop your camper roof from leaking, inspect seams, use quality sealants, clean the surface, and apply waterproof coating for lasting protection.
What Is the Best Thing to Seal a Camper Roof With?
To seal a camper roof effectively, you'll want to use Eternabond tape for seams, polyurethane sealant for overlaps, and a protective top coat like Kool Seal for durability against the elements. Regular maintenance is essential.
How to Reseal a Tent Trailer Roof?
Resealing your tent trailer roof is like patching an old sweater. Start by cleaning thoroughly, then fill cracks with durable caulk. Finish with reflective sealant for a weatherproof shield, ensuring your adventures stay dry and comfortable.
Can a Properly Sealed Pop-Up Camper Roof Prevent Water Leakage While Showering?
Yes, a properly sealed pop-up camper roof can prevent water leakage while showering in a popup camper. Ensuring that all seams, edges, and penetrations are well-sealed with the appropriate waterproof materials can help to keep water out and maintain a dry interior while showering in a popup camper.
Conclusion
In sealing your pop-up camper roof, you're not just patching leaks; you're safeguarding your adventures.
By evaluating the roof's condition, preparing properly, and choosing the right materials, you guarantee countless journeys under the stars.
Remember, regular maintenance and inspections are your compass in preventing future issues.
So, embrace the joy of exploration with confidence, knowing that a well-sealed roof can keep your camping dreams afloat, even when the rain tries to cast a shadow.


