To repair your pop-up camper canvas, start by inspecting for tears and mold. Gather necessary supplies like heavy-duty thread and waterproof adhesive. Next, detach the old canvas carefully, documenting your removal process. Clean the frame and prepare the surface by trimming loose threads. Install the new canvas by aligning it over the frame, using the right fasteners. Seal all seams with high-quality sealant and apply waterproofing treatment for extra longevity. Remember, regular maintenance and inspections prevent future damage. Keep going to uncover more tips for enhancing your camper's durability and comfort!
Key Takeaways
- Inspect the canvas for tears, holes, and mold before beginning repairs to assess the damage accurately.
- Gather essential supplies, including replacement canvas, waterproof adhesive, and heavy-duty sewing materials for effective repairs.
- Carefully remove the old canvas, documenting the process and inspecting the frame for any damage before installation.
- Align and secure the new canvas over the frame, ensuring even coverage and using proper fasteners for attachment.
Understanding the Canvas
The canvas in your pop-up camper is your first line of defense against the elements, providing shelter from rain, wind, and insects while also enhancing your camping experience.
It's vital to understand that the quality of the canvas can greatly impact your comfort. A well-maintained canvas not only keeps you dry but also offers ventilation and lets in natural light, creating a more inviting atmosphere inside your camper.
Regular maintenance of the canvas is important for both comfort and aesthetics. Cleaning it periodically to remove dirt and debris helps preserve its integrity.
Additionally, applying waterproofing treatments can protect it from moisture, extending its lifespan.
The type of canvas material you choose also affects insulation, temperature regulation, and energy efficiency. A thicker, high-quality canvas can provide better insulation, keeping you warm during cooler nights and cool during hot days.
Assessing the Damage
Start by thoroughly inspecting your pop-up camper's canvas for any visible tears, rips, or holes that could compromise its integrity. Pay close attention to seams and corners, as these areas often show signs of wear and tear. Check for mold and mildew presence, which can indicate moisture retention and require specific cleaning methods. Document the size and location of any damage for reference during the repair process.
Here's a quick guide to help you assess the condition of your canvas:
| Damage Type | Description | Action Required |
|---|---|---|
| Tears/Rips | Visible openings in canvas | DIY patch or replace |
| Holes | Small punctures or gaps | DIY patch |
| Mold/Mildew | Discoloration or staining | Clean and treat |
| Seams/Wear | Fraying or splitting seams | Reinforce or sew |
| Structural Damage | Compromised integrity | Seek professional help |
Determine if the damage is manageable through DIY repairs or if you need to call in a pro for extensive issues. Being thorough now can save you time and trouble later.
Gathering Necessary Supplies
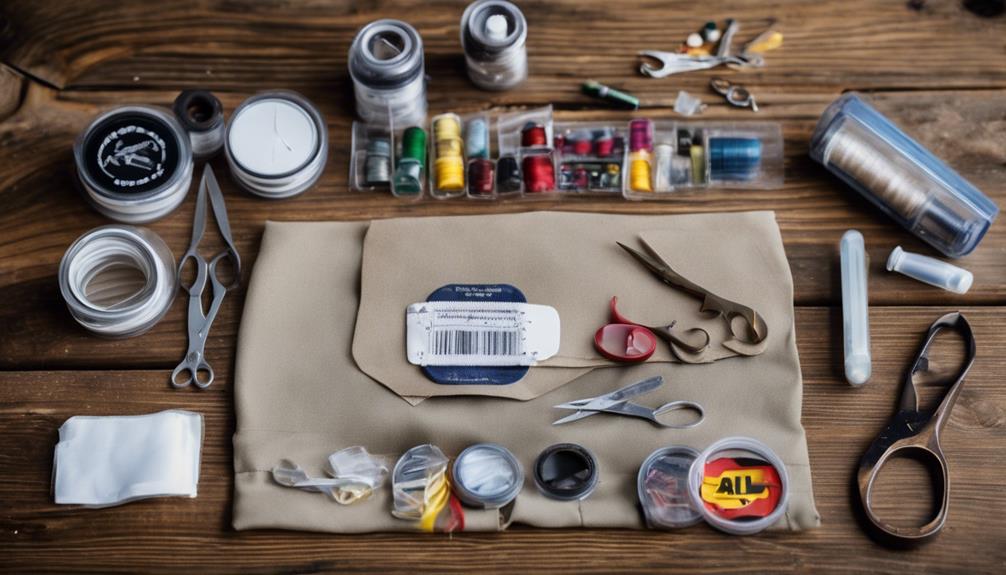
Before diving into repairs, you'll need to gather all the necessary supplies to guarantee a smooth and effective process.
Start by obtaining a replacement canvas that's compatible with your specific camper model. This guarantees a proper fit and functionality, making your repair easier and more durable.
Next, gather essential tools like a screwdriver or drill, utility knife or scissors, and measuring tape. These will help you take accurate measurements and make precise cuts during the repair.
Don't forget to acquire waterproof adhesive or sealant, as this is vital for securely attaching the new canvas and preventing leaks.
You'll also want to prepare some cleaning supplies. Mild soap, water, and a brush will help you clean the frame before installing the new canvas, assuring a good bond.
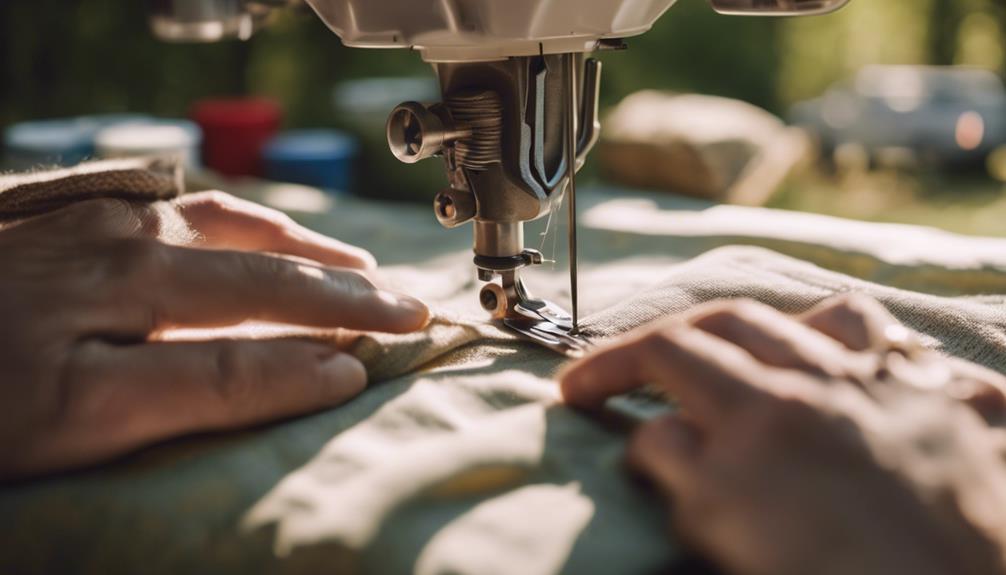
Finally, if you plan to sew any patches or repairs on the canvas, make sure you have a heavy-duty needle and strong, waterproof thread on hand.
With all these supplies gathered, you're set to tackle the repair process efficiently and effectively.
Removing Old Canvas
Lower the camper roof to access the canvas and clear out any interior furnishings that might obstruct the removal process. You'll want to make certain you have a clear workspace before starting.
Carefully detach the old canvas from the frame, which may involve unscrewing, unzipping, or unclipping various fasteners. Take your time to avoid damaging the frame components during this process.
As you're removing the old canvas, inspect the edges for any additional connections or seals that need to be freed. This step is vital to guarantee a complete removal without leaving behind any remnants. Document your removal process step-by-step; note any specific configurations or fasteners that may be helpful later when you install the new canvas.
Once the old canvas is fully removed, it's important to prepare the frame for the new canvas. Clean it thoroughly and check for any damage that may need addressing before you proceed.
This preparation will guarantee that your new canvas installation goes smoothly, providing a sturdy and reliable shelter for your camping adventures.
Preparing the Surface
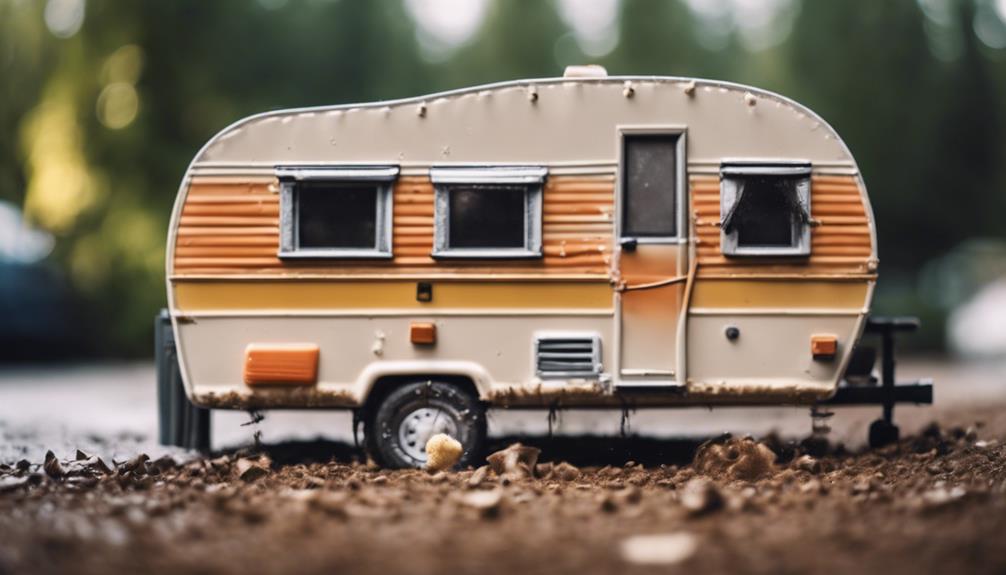
Thoroughly inspect the canvas for any damage, noting tears, holes, or mold to determine the repairs needed. Pay special attention to areas with mildew, as these can weaken the canvas further.
Once you've identified the damaged sections, it's time to clean them. Mix a mild soap with water and gently scrub the affected areas to remove dirt, debris, and any remnants of mildew. This step is essential, as a clean surface guarantees better adhesion for patches or sealants.
After cleaning, allow the area to dry completely. If you skip this step, the moisture can hinder the repair process. Next, check for any loose threads or frayed edges around the damage. If you find any, carefully trim them away to create a smooth surface for your repairs.
Once you've prepared the area, gather all necessary tools and materials. You'll need canvas patch material, strong waterproof thread, and adhesive to facilitate a seamless repair. Having everything on hand will make the process more efficient and guarantee you're ready to tackle the repairs without delay.
Installing New Canvas
When it comes to installing new canvas, you'll want to start by choosing the right replacement material that fits your camper's needs.
Next, you'll need to master the installation techniques and tips to guarantee a secure fit.
Choosing Replacement Canvas Material
Choosing the right replacement canvas material is vital for guaranteeing your pop-up camper remains functional and stylish.
First, make sure the material you choose is compatible with your specific camper model. This assures a proper fit and maintains functionality. Opt for heavy-duty, waterproof canvas that offers UV protection; this enhances durability and protects against weather elements.
It's also important to select canvas materials treated with mold and mildew resistance. This treatment prolongs the life of your replacement canvas material and keeps it looking clean. Additionally, consider the weight of the canvas; lighter materials can simplify installation and improve fuel efficiency during transport.
Don't overlook the aesthetic aspect, either. Verify the color and pattern options available to guarantee the new canvas complements your camper's design and reflects your personal style.
Installation Techniques and Tips
Before you plunge into the installation process, verify your replacement canvas is compatible with your camper model and free of defects. A proper fit is essential for functionality and durability.
Here are some tips to help you successfully install the new canvas on your pop:
- Align Carefully: Position the canvas over the frame, making certain it's aligned to avoid wrinkles.
- Use Correct Fasteners: Refer to the manufacturer's instructions to select the appropriate screws or clips for a secure attachment.
- Check for Even Coverage: Confirm the canvas covers all surfaces uniformly for both aesthetics and protection.
- Inspect for Fit: Once attached, do a thorough check to make certain everything fits well before finalizing.
Sealing and Waterproofing Steps
How can you effectively seal and waterproof your newly installed canvas to guarantee it withstands the elements?
Start by securing all seams and edges with a high-quality sealant. This step is essential to prevent leaks from rain and moisture.
Be sure to follow the manufacturer's instructions and allow the sealant to dry completely, which typically takes at least 24 hours.
Next, conduct a thorough inspection of both the canvas and frame to spot any areas that may need additional sealing or reinforcement.
Once you're satisfied with your sealing efforts, it's time to waterproof your canvas.
Apply a waterproofing spray, such as 303 High Tech Fabric Guard, to enhance its water resistance.
Depending on your exposure to the elements, you should repeat this application once or twice a year.
Sealing and Reinforcing
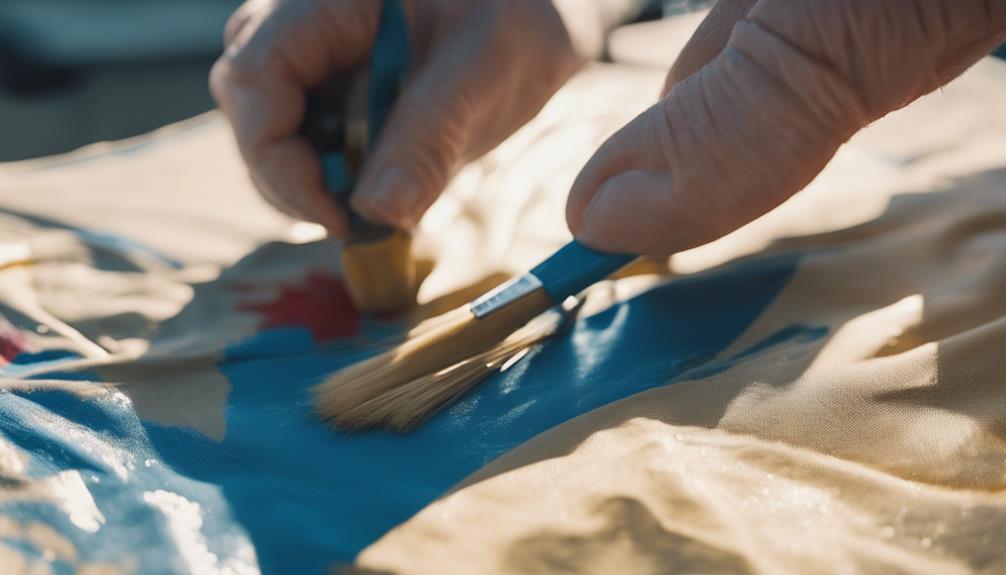
Sealing joints and reinforcing your pop-up camper's canvas are essential steps to keep it protected from the elements.
You'll want to use strong sealants and effective reinforcement techniques to guarantee durability and prevent leaks.
Let's explore the best products and methods to give your canvas the protection it needs.
Importance of Sealing Joints
Properly sealing joints in your pop-up camper canvas is essential to prevent water leaks that can cause mold growth and interior damage. When you take the time to seal these joints effectively, you're not just protecting your investment; you're also enhancing your camping experience.
Here are some key benefits of sealing joints:
- Prevents Water Leaks: Keeps moisture out, avoiding mold and mildew.
- Increases Longevity: High-quality sealants extend the life of your canvas.
- Improves Thermal Efficiency: Well-sealed joints help maintain comfortable temperatures.
- Reduces Repair Costs: Prevents expensive damage from water intrusion.
To maintain the integrity of your camper's canvas, make it a habit to inspect and reseal joints at least once or twice a year.
Using waterproof adhesives on seams and edges can greatly enhance durability. Remember, neglecting to seal joints can lead to costly repairs, affecting not only the canvas but also the frame, insulation, and interior fixtures.
Taking these steps now can save you time and money in the long run.
Reinforcement Techniques for Durability
To enhance the durability of your pop-up camper canvas, apply reinforcement techniques that target high-wear areas and protect against potential damage.
Begin by sealing seams and edges with a high-quality fabric adhesive or sealant to prevent water leaks. This is essential for maintaining the integrity of your camper's canvas.
Next, focus on areas prone to wear, such as corners and stress points. You can reinforce these spots by applying additional patches or fabric strips to distribute tension and prevent tearing. For larger tears, use heavy-duty thread and a strong needle to securely sew the patches, ensuring all edges are sealed to avoid further damage.
Regularly check your canvas and reapply waterproofing treatments like 303 High Tech Fabric Guard to protect against moisture and UV damage.
Incorporating these reinforcement techniques during your repair process will greatly extend the lifespan of your camper's canvas, ensuring a comfortable outdoor experience. By taking these proactive steps, you'll not only enhance the durability of your pop-up camper canvas but also enjoy peace of mind on your next adventure.
Recommended Sealant Products
Choosing the right sealant products is essential for effectively repairing and reinforcing your pop-up camper canvas. Using high-quality sealants not only extends the life of your canvas but also guarantees you stay dry during your camping adventures.
Here are some recommended sealant products you should consider:
- 303 High Tech Fabric Guard: Provides durable protection against moisture and UV damage; reapply annually.
- Flex Seal Liquid: Fills seams and reinforces areas prone to leaks with a flexible waterproof coating.
- GE Silicone II: A silicone-based sealant that creates a long-lasting waterproof barrier while allowing fabric movement.
- Gorilla Waterproof Patch & Seal Tape: Ideal for quick repairs, suitable for small and larger tears, offering a permanent waterproof seal.
Cleaning and Maintenance
Regular cleaning and maintenance of your pop-up camper canvas not only preserves its appearance but also extends its lifespan, guaranteeing you enjoy many more camping adventures.
Start by regularly inspecting the canvas for signs of wear, such as tears or mildew. When it's time to clean, use mild soap solutions and appropriate cleaning supplies like Woolite detergent diluted in water, especially for Sunbrella fabric. Allow the solution to soak on tough spots for a few minutes before scrubbing with a brush or sponge.
If you encounter mildew stains, consider using products like Bass Pro Shops Mildew Stain Remover or a mixture of dish soap and bleach. Just remember to rinse thoroughly afterward to avoid any residue that could harm the canvas.
Additionally, always verify the canvas is completely dry before storing it; this prevents mildew buildup. Store the camper in a dry, shaded area to protect it from UV damage.
Waterproofing Techniques
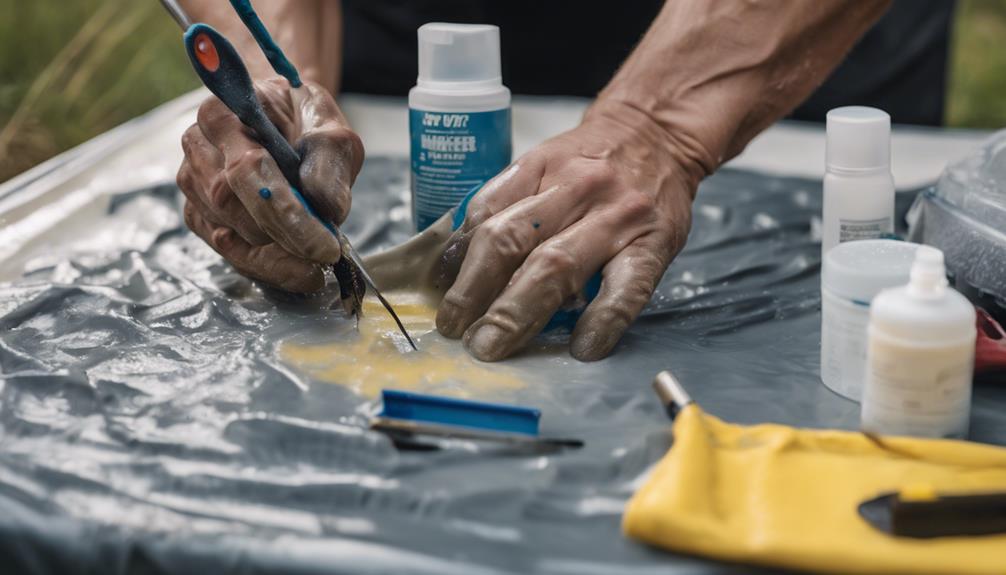
Waterproofing your pop-up camper canvas is essential for protecting it from the elements and guaranteeing a dry, comfortable camping experience.
To keep your canvas in top shape, follow these waterproofing techniques:
- Use 303 High Tech Fabric Guard: Apply this product every 6 to 12 months, depending on how much exposure your canvas gets to the elements.
- Conduct Spot Checks: After heavy rain, check for leaks to identify areas that may need additional waterproofing treatment.
- Prepare the Surface: Before applying the waterproofing, clean the canvas with a mild soap solution to guarantee the treatment adheres properly.
- Use the Right Amount: Start with a 16 oz. spray bottle for initial treatment; you may need larger quantities for subsequent applications based on the canvas area.
When to Seek Professional Help
Sometimes, knowing when to seek professional help can save you time and guarantee your pop-up camper canvas gets the care it needs. If you're facing multiple large tears or significant structural issues, it's best to consult an expert. DIY repairs mightn't suffice in these situations.
Extensive mold or mildew that's beyond your cleaning capabilities is another indicator that you should consider professional assistance. Proper remediation is essential to prevent further damage. If you're struggling to find matching fabric or color for repairs, a professional can access the right materials and offer their expertise.
After attempting repairs, if you have concerns about the waterproofing integrity of the canvas, don't hesitate to reach out to a professional. They can confirm it's sealed and protected correctly.
Frequently Asked Questions
How to Repair Canvas on Pop-Up Camper?
To repair canvas on your pop-up camper, inspect for damage, gather necessary tools, and patch holes using fabric adhesive or sewing. Regularly maintain it to extend its lifespan and prevent future issues.
How Do You Get Mold Out of a Canvas Pop-Up Camper?
To get mold out of your canvas pop-up camper, mix dish soap, bleach, and water. Scrub the affected areas, rinse thoroughly, and consider applying a waterproofing agent afterward to prevent future mold growth.
Can You Patch a Pop-Up Camper?
Did you know that 70% of pop-up campers experience canvas damage over time? Yes, you can patch your pop-up camper's canvas. Just guarantee you clean the area, use matching materials, and apply correctly for durability.
How Do You Clean Vinyl Canvas on a Pop-Up Camper?
To clean vinyl canvas on your pop-up camper, mix mild soap with water. Use a soft scrub brush, rinse thoroughly with a garden hose, and consider applying a protectant to extend its lifespan and appearance.
Are the Steps for Repairing a Pop-Up Camper Canvas Similar to Fixing a Pop-Up Camper?
When it comes to repairing a pop-up camper canvas, the steps are indeed similar to fixing a pop-up camper. In fact, both processes can be easily accomplished by following a comprehensive popup camper repair tutorial. With the right tools and instructions, you can have your camper looking good as new in no time.
Conclusion
Repairing your pop-up camper canvas is like patching a sail before setting out to sea; a little effort now can prevent bigger troubles later.
By understanding the canvas, evaluating damage, and knowing when to call for help, you guarantee your adventures remain worry-free.
Keep your supplies handy, follow the steps carefully, and your canvas will be ready to face the elements.
With the right care and attention, your camper will serve you well for many trips to come.

