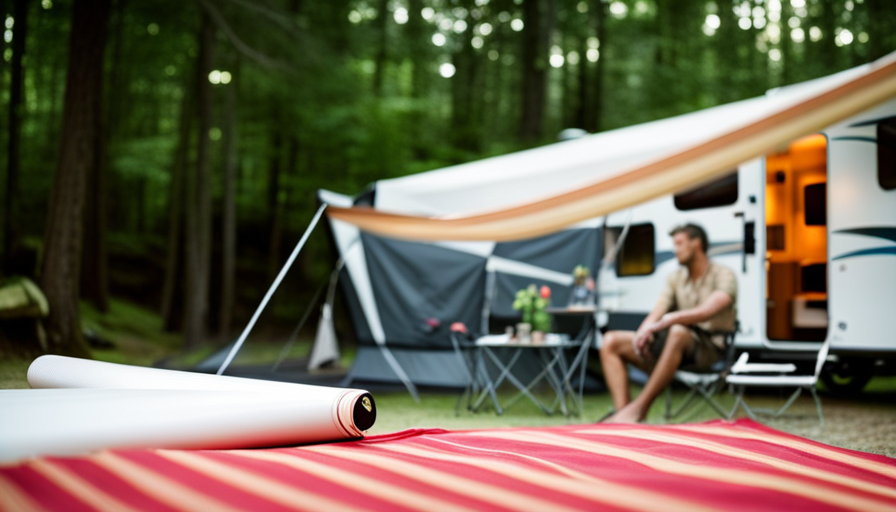
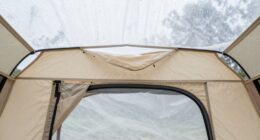
Imagine this scenario: You’ve settled into the perfect camping location, basking in the sunny glow, prepared to unwind and soak in the beauty of nature. However, suddenly it becomes just a tad too warm and you find yourself in need of some relief from the sun. This is when the awning of your camper proves to be invaluable. Extending an awning from a camper is an easy task that quickly turns your outdoor area into a shaded and pleasant retreat.
In this article, I’ll guide you through the steps to open your camper’s awning and create the perfect shaded area for all your camping activities. From familiarizing yourself with the awning system to securing the legs and testing its stability, I’ll provide you with all the detailed instructions you need.
So let’s get started and make the most of your camping experience with a properly opened awning on your camper!
Key Takeaways
- Familiarize yourself with the camper’s awning system, including its size, type, and material.
- Regularly maintain and clean the awning system to ensure its longevity.
- Prepare the area before opening the awning by clearing obstacles and checking for low-hanging branches and power lines.
- Double-check the awning latches, ensure the camper is level and stable, and unlock and release the awning latches before extending the awning arms.
Familiarize Yourself with Your Camper’s Awning System
Let’s take a moment to get to know your camper’s awning system better, so you can easily open it up and enjoy some shade on your next adventure!
Selecting the right awning for your camper is essential. Consider the size, type, and material of the awning that’ll best suit your needs. Some awnings are manual, while others are electric, so choose one that fits your preference and budget.
Maintaining and cleaning your camper’s awning system is crucial for its longevity. Regularly inspect the awning for any tears, loose parts, or signs of wear and tear. Clean the awning with a mild soap and water solution, making sure you remove any dirt, stains, or debris. It’s also important to let the awning dry completely before rolling it up to prevent mold or mildew growth.
Now that you’re familiar with your camper’s awning system, let’s move on to preparing the area for opening the awning. This step is essential to ensure a smooth and hassle-free process when setting up your shade.
Prepare the Area for Opening the Awning
First, you’ll want to make sure the area around your camper is clear of any obstacles or debris. This is an important step in preparing to open your awning, as it ensures a safe and smooth process. Take a few minutes to walk around the camper and remove any items that may be in the way, such as chairs, tables, or other outdoor equipment.
Also, be mindful of low-hanging branches or power lines that may interfere with the awning’s extension.
Once the area is cleared, it’s time to take some safety precautions before opening the awning. Start by double-checking that all the awning latches are securely locked in place. This’ll prevent any unexpected movements or accidents during the opening process. Additionally, make sure that the camper is level and stable, as an uneven surface can cause the awning to extend unevenly or become damaged.
Now that you’ve prepared the area and taken necessary safety precautions, you’re ready to unlock and release the awning latches. This step’ll allow the awning to be extended fully and securely.
Unlock and Release the Awning Latches
Before unlocking and releasing the latches, ensure that all necessary safety precautions have been taken to prevent any accidents or damage. It is important to carefully follow the manufacturer’s instructions for your specific camper model. To unlock and release the awning latches, locate the latches on both sides of the awning. These latches are designed to secure the awning in place during travel. Use a firm grip to pull down on the latches, releasing them from their locked position. Once the latches are unlocked, move to the center of the awning and carefully release the tension by pushing up on the awning assembly. This will allow the awning to slowly unroll. As the awning unrolls, keep a firm grip on the fabric to prevent it from unrolling too quickly or becoming tangled. Once the awning is fully unrolled, you can proceed to the next step of extending the awning arms.
| Unlocking Latches | Releasing Awning |
|---|---|
| Locate latches on both sides of the awning | Pull down on the latches to unlock them |
| Move to the center of the awning | Push up on the awning assembly to release tension |
| Keep a firm grip on the fabric | Prevent it from unrolling too quickly or tangling |
Transitioning into the next section, it is important to remember that extending the awning arms is the next step in properly opening the awning.
Extend the Awning Arms
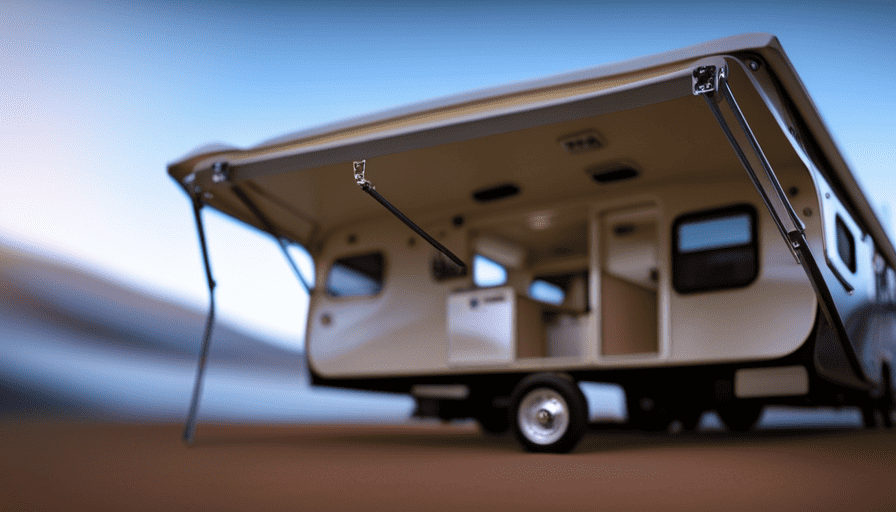
Once the latches are released, the awning gracefully stretches its arms outwards, reaching for the sky like a majestic bird spreading its wings. Extending the awning arms is a crucial step in setting up your camper awning.
Here are three key points to consider when extending the awning arms:
-
Positioning: Before extending the arms, ensure that the awning is positioned correctly. This involves making sure the arms are aligned with the camper’s side and that the awning fabric is taut and evenly stretched.
-
Crank or Lever: Depending on the type of awning you have, you’ll either use a crank or a lever to extend the arms. Follow the manufacturer’s instructions to operate the crank or lever smoothly and safely. Be mindful of any obstructions or obstacles that could impede the smooth extension of the arms.
-
Safety Locks: Once the arms are fully extended, ensure that the safety locks are engaged. These locks are designed to secure the arms in place and prevent accidental retraction. Double-check that the locks are fully engaged and functioning properly for added safety.
Now that the awning arms are extended, it’s time to move on to securing the awning legs.
Secure the Awning Legs
Now that you’ve extended the awning arms and positioned them correctly, it’s time to lock in the stability by securing the sturdy awning legs. This step is crucial in stabilizing the awning and preventing any potential damage. To ensure a secure setup, follow these simple instructions:
-
Begin by locating the awning legs on the outer edges of the awning. These legs are typically made of durable aluminum or steel and are designed to provide support.
-
Extend each leg fully until it locks into place. You will hear a distinct clicking sound when the leg is properly secured. This step ensures that the legs won’t collapse unexpectedly.
-
Once the legs are extended, check for any signs of wobbling or instability. If necessary, adjust the legs to ensure a level and secure setup. This will prevent the awning from swaying or shifting in strong winds.
By properly securing the awning legs, you will create a stable and safe environment for your camper. This not only protects your awning from potential damage but also ensures the comfort and safety of everyone inside. Now that the awning is securely set up, let’s move on to adjusting the awning tension for optimal performance.
Adjust the Awning Tension
To optimize performance, you’ll want to fine-tune the tension of your awning. Adjusting awning tension is an essential step in maintaining awning longevity.
When the tension is too loose, the awning may sag and flap in the wind, which can cause unnecessary wear and tear. Conversely, if the tension is too tight, it can put excessive stress on the awning fabric and frame.
To adjust the tension, start by locating the tension knobs on both arms of the awning. These knobs allow you to increase or decrease the tension as needed. Begin by loosening the knobs slightly to relieve any existing tension. Then, slowly tighten the knobs until the awning fabric is taut but not overly stretched.
It’s important to strike a balance between a snug fit and avoiding excessive strain. Regularly checking and adjusting the tension will help prolong the lifespan of your awning. Additionally, be sure to follow the manufacturer’s guidelines for your specific awning model, as the tension adjustment process may vary.
Once you have adjusted the awning tension, you can proceed to the next step and attach any accessories or add-ons. This will further enhance the functionality of your camper awning.
Attach any Accessories or Add-ons
As you attach any accessories or add-ons, you’ll discover new ways to elevate your camping experience and create a personalized space that fits your unique needs.
When it comes to awning accessories, there are plenty of options to choose from. One popular accessory is the awning lights, which can provide a warm and cozy ambiance at night. These lights are easy to attach to the awning and can be powered by batteries or connected to a power source.
Another useful accessory is the awning screen, which helps to keep bugs and insects out of your camping area. It attaches to the awning and provides a mesh barrier that allows fresh air to circulate while keeping unwanted pests at bay.
In addition to attaching accessories, it’s important to perform regular awning maintenance to ensure its longevity and functionality. This includes checking for any loose screws or bolts and tightening them as needed. It’s also a good idea to clean the awning fabric regularly to prevent the buildup of dirt and debris. This can be done by simply hosing down the fabric or using a mild detergent and a soft brush to scrub away any stains.
By taking the time to attach accessories and perform regular maintenance, you can enhance the functionality and durability of your awning.
Now, let’s move on to the next step: testing the stability and functionality of the awning.
Test the Stability and Functionality of the Awning
Once you’ve attached all your desired accessories, it’s time to put the awning to the test and ensure its stability and functionality.
Testing the stability of the awning is crucial to ensure that it can withstand various weather conditions and provide a reliable shelter. Start by extending the awning fully and securing it in place. Next, apply gentle pressure to different points along the awning to evaluate its durability. Check for any signs of sagging or instability, as these could indicate potential issues that need to be addressed.
To further evaluate the stability, consider opening and closing the awning multiple times to see if it operates smoothly and without any obstructions. Pay attention to any unusual sounds or resistance during this process. Additionally, test the functionality of any adjustable features, such as the height or angle of the awning, to ensure they’re working properly.
Once you’re satisfied with the stability and functionality of the awning, you can move on to using it to create a shaded outdoor space. This will provide you with a cozy spot to relax and enjoy the outdoors while protecting yourself from the sun’s rays.
Use the Awning to Create a Shaded Outdoor Space
Transform your outdoor space into a tranquil oasis, where the warm glow of the sun filters through the canopy, casting dappled shadows and creating a serene ambiance. Here are some exciting ways to utilize the shaded outdoor space created by the awning:
-
Host a backyard picnic: Set up a cozy picnic blanket under the awning and enjoy a leisurely meal with friends and family. The shade will keep you cool and protected from the sun’s rays.
-
Create an outdoor living room: Arrange comfortable seating, such as lounge chairs or a sofa, under the awning. Add some soft cushions and a coffee table to create a relaxing space where you can unwind and read a book or chat with friends.
-
Set up a play area: If you have kids, the shaded outdoor space can serve as a play area. Add some toys, a small table for arts and crafts, or even a mini sandbox. This way, your little ones can enjoy the fresh air and stay protected from the sun.
-
Install outdoor lighting: Enhance the ambiance of your shaded outdoor space by adding lighting options. String some fairy lights or hang lanterns to create a cozy and inviting atmosphere for evening gatherings.
-
Set up a mini bar: Turn your shaded outdoor space into a mini bar by adding a small table, some bar stools, and a cooler. You can enjoy refreshing drinks and cocktails while basking in the shade.
Incorporating these tips will elevate the comfort and enjoyment of your outdoor space.
Now, let’s transition into the next section on how to properly store and secure the awning when not in use.
Properly Store and Secure the Awning When Not in Use
When you’re finished enjoying your shaded outdoor space, make sure to store and secure the awning properly to protect it and ensure its longevity. Properly storing and securing your camper’s awning is essential to prevent any damage and maintain its functionality.
Here are some steps to follow:
-
First, retract the awning completely by using the designated mechanism. Make sure it’s fully closed and latched securely. This will protect the fabric from any potential weather elements and keep it from flapping in the wind.
-
Next, clean the awning thoroughly using mild soap, water, and a soft brush. Remove any dirt, debris, or stains to prevent them from causing damage during storage. Allow the awning to dry completely before moving on to the next step.
-
Once the awning is dry, roll it up tightly, starting from one end and working your way to the other. This will help prevent any wrinkles or creases from forming and ensure a smooth deployment next time you use it. Secure the rolled-up awning with the provided straps or bungee cords.
-
Store the awning in a clean and dry area. Avoid placing it near sharp objects or chemicals that could potentially damage the fabric. If possible, store it in a protective cover or bag to provide an extra layer of protection.
By properly storing and securing your camper’s awning, you can prolong its lifespan and ensure that it continues to provide you with shade and comfort for many years to come.
Frequently Asked Questions
How do I clean and maintain my camper’s awning?
Cleaning and maintaining your camper’s awning is a breeze! First, make sure you have plenty of free time and a strong desire to scrub.
Start by using a mild soap and water mixture to gently clean the awning fabric. Avoid harsh chemicals or abrasive brushes, as they can damage the material. Once clean, let it air dry completely.
As for recommended maintenance, it’s best to clean your awning at least once a year or more frequently if it gets dirty often. Trust me, it’s worth the effort!
Can I open the awning partially or does it have to be fully extended?
You can definitely open the awning partially, giving you more versatility in how you use it. The awning can be extended to different lengths depending on your preference and needs. Partial extension allows you to create a smaller shaded area or to adjust the awning to fit in tighter spaces.
This feature is especially useful when camping in crowded areas or when you want to block only a specific area from the sun.
Is it possible to adjust the height of the awning?
Yes, it’s indeed possible to adjust the height of the awning on a camper. This feature allows you to customize your outdoor space based on your needs and preferences. Depending on the model, you may have different awning height options to choose from. By adjusting the height, you can create a shaded area that suits your desired level of comfort. Whether you want it higher for more airflow or lower for better protection from the sun.
What should I do if the awning gets stuck or won’t retract?
If your camper awning gets stuck or won’t retract, there are a few troubleshooting steps you can take.
First, check for any obstructions such as branches or debris that may be blocking the awning’s movement.
Next, verify that the awning is properly aligned and the tension is adjusted correctly.
If these steps don’t resolve the issue, it may be necessary to contact a professional for further assistance.
Remember to always follow safety guidelines when operating a camper awning.
Are there any safety precautions I should take when using the awning?
When it comes to awning maintenance and safety precautions, I can’t stress enough the importance of being as cautious as a cat on a hot tin roof.
Before even thinking about using the awning, make sure it’s in good condition and properly secured. Regularly inspect it for any signs of wear and tear, and clean it to keep it looking sharp.
When opening or closing the awning, always double-check that it’s properly locked in place to avoid any unexpected surprises. Safety first, folks!
Conclusion
After following these steps, opening the awning on my camper was a breeze. It was like unfurling a beautiful sail, ready to guide me through the adventure ahead.
I now have a shady oasis to relax in and enjoy the great outdoors. Remember to always properly store and secure the awning when not in use to protect it from any unforeseen weather.
With this newfound knowledge, I feel confident in my ability to create a comfortable and inviting outdoor space wherever my camper takes me.

