To open a pop-up camper, start by positioning it on level ground without unhooking. Stabilize the camper with wheel blocks to prevent movement. After leveling side-to-side, unhook the tow vehicle and adjust the tongue jack until it's flat front-to-back. Next, connect the electrical cord and water hose, ensuring safety checks. Raise the roof using the crank, then extend the awning. Set up the slide-out and install bed brackets for stability. Finally, prepare the interior and verify all connections. There's more to making your camping experience comfortable and enjoyable, so keep going to uncover essential tips!
Key Takeaways
- Position the camper on level ground and assess for nearby obstacles before unhooking the tow vehicle.
- Raise the roof by ensuring all latches are undone, using a crank handle while keeping the tension guide clear.
- Check for leaks or damage on the roof once fully raised, and secure any necessary lift arm supports.
- Extend the awning fully and ensure it's taut, securing it with stakes or supports for stability.
Initial Setup and Leveling
When you arrive at your campsite, the initial setup and leveling of your pop-up camper is crucial for a comfortable experience.
Start by positioning the camper without unhooking the tow vehicle. Take a moment to assess the ground slope and check for nearby trees and fire pits to guarantee ideal placement.
Once you've found a suitable spot, focus on leveling your camper side to side. Use a level to determine which side is lower, then shift the camper forward or backward about 1.5 feet as necessary.
If the low side isn't level, grab some plywood or commercial leveling blocks to lift it. Place these under the low side until the camper is perfectly balanced.
Don't forget to block the wheels with small wood pieces to prevent any movement while you're leveling.
Stabilization and Safety Checks
Stabilizing your pop-up camper is essential for safety and comfort, so make certain you've secured everything before you start enjoying your trip. Begin by placing small blocks of wood in front and behind the camper's wheels to prevent any movement. Once blocked, confirm the camper is level side-to-side; if it's not, use cut-up two by four pieces for additional stabilization.
Next, lower the tongue jack by pulling the retaining pin, making sure it's on a stable surface to avoid sinking. After unhooking the tow vehicle, check the front-to-back level of the camper and adjust the tongue jack as needed.
Finally, conduct a thorough safety check on all equipment, stabilizers, and connections. You want to make certain everything is secure and functioning properly before moving on. Here's a quick table to help you remember your stabilization steps:
| Step | Action Required | Emotional Response |
|---|---|---|
| Wheel Blocking | Place blocks front and back | Relief from potential movement |
| Level Check | Confirm side-to-side level | Confidence in setup stability |
| Tongue Jack Adjustment | Lower jack safely | Assurance of secure unhooking |
| Front-to-Back Level Check | Adjust as necessary | Peace of mind for comfort |
| Safety Equipment Check | Inspect stabilizers and connections | Trust in your camper's safety |
Electrical and Water Connections
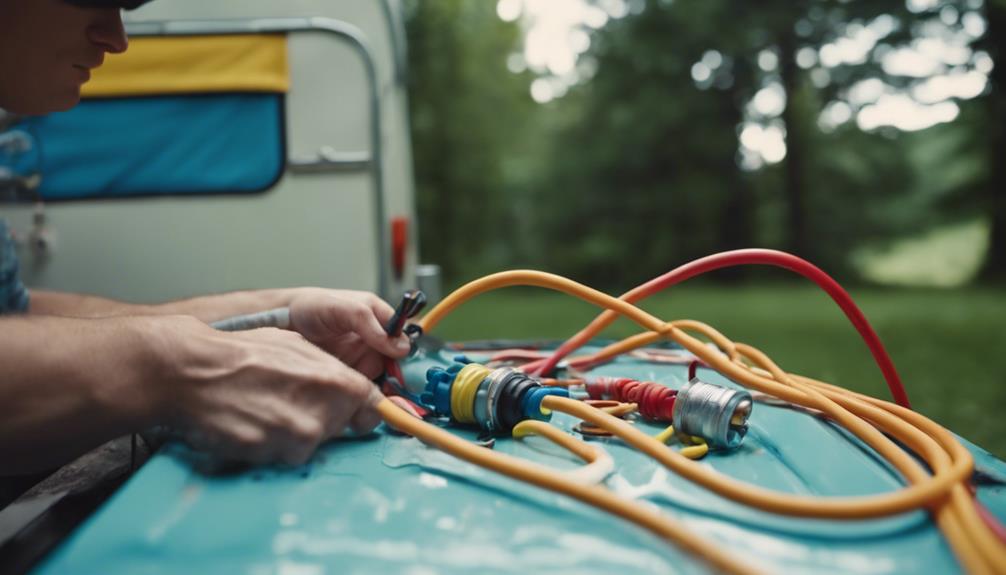
After ensuring your pop-up camper is stable and secure, it's time to connect the electrical and water systems for a seamless camping experience.
First, make sure to turn off the breaker at the campsite before plugging in your camper's electrical cord. This step is essential to prevent electrical shock and damage. Once you're ready, connect the electrical cord to the electrical post, confirming that the connection is secure. Also, check for any visible damage to the cord before use.
Next, for your water connection, grab a sanitary water hose and attach it to the campsite water spigot. Make sure the hose hookup is located opposite the door side of the camper for easy access. If a spigot isn't available, simply activate the water pump switch inside the camper to draw water from the holding tank.
Lastly, don't forget to manage waste disposal efficiently. Attach a drain hose to the drain fitting on the camper's backside and direct it toward a gray water tank or bucket.
Roof and Awning Setup
Now that you've connected your electrical and water systems, it's time to set up the roof and awning.
Start by raising the roof smoothly, ensuring all latches are undone and the tension guide is clear.
Once the roof is up, you'll want to extend the awning and secure it properly to prepare your pop-up for the great outdoors.
Roof Raising Procedure
Before you raise the roof of your pop-up camper, make certain all latches are undone to guarantee a smooth operation. This step is essential to avoid any damage during the roof raising procedure.
Next, grab the crank handle and start raising the roof. Keep the tension guide on the right side free, ensuring the roof elevates properly. As you crank, watch for any resistance that might indicate a problem.
Once the roof reaches its full height, make sure it's stable and secure before moving on to other setup tasks. It's also a good idea to inspect the roof for leaks or any signs of damage at this point; addressing these issues now can save you from complications down the line.
Once you're satisfied with the roof's condition and height, you can proceed to extend the awning fully. Remember to secure it with stakes or supports to protect yourself from the elements.
With the roof raised and the awning set, you're ready to enjoy your camping experience!
Awning Extension Techniques
With the roof securely raised, you can focus on extending the awning to enhance your outdoor living space. Before you begin, make certain the awning is free of debris. This prevents any damage during setup. Use the manufacturer's instructions for peak safety and operation as your guide.
To start, extend the awning fully. Once it's out, secure it using stakes or supports. This is vital to maintain stability and prevent sagging.
After extending, check the tension in the awning fabric. It should be taut and secure to guarantee it can withstand wind and other elements.
Bed and Slide-Out Arrangement
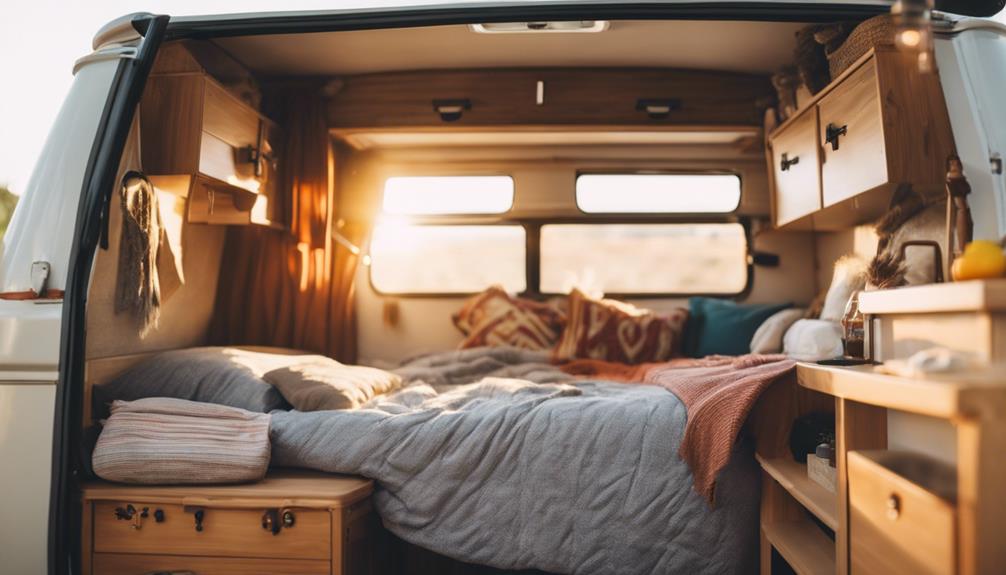
To guarantee a smooth setup, first clear the front storage box of any obstructions that could interfere with the bed slide-out process.
Once you've verified the area is clear, check that the roof is fully raised and install the lift arm supports on both sides of the camper. This step is vital for stability.
Next, release the slide-out mechanism by pulling out the bunk ends until you feel a solid stop. Be careful to avoid catching the canvas during this extension.
After you've successfully slid out the beds, it's important to install the first set of bed support brackets to maintain stability. Each bed requires two support brackets for ideal safety.
Once the initial supports are in place, set up a second set of bed support brackets. This will prevent any sagging and make sure that your sleeping areas are secure.
By following these steps, you'll have a solid foundation for your pop-up camper's beds, allowing for a comfortable and enjoyable camping experience.
Always prioritize safety and structural integrity when arranging your beds and slide-outs.
Interior Setup and Utilities
After securing the beds, it's time to focus on setting up the interior utilities and creating a comfortable living space in your pop-up camper.
Start by opening the camper door and pulling out the step for easy access. Flip up the sink and remove any stored items to prepare it for use. This is vital for cooking and cleaning during your trips.
Next, raise the roof supports, making sure that no canvas is pinched to prevent damage. Once the roof is secure, you can assemble the interior table. Detach and position the table legs to guarantee stability while you eat or play games. If you have cushions, arrange them to create cozy seating or extra sleeping areas.
Don't forget about the propane tanks if your camper has a stove or heater. Verify they're properly connected and check for any leaks before use. This will assure a safe and enjoyable camping experience.
With the utilities set up and the space arranged, you're ready to enjoy your time in the great outdoors!
Water and Waste Management
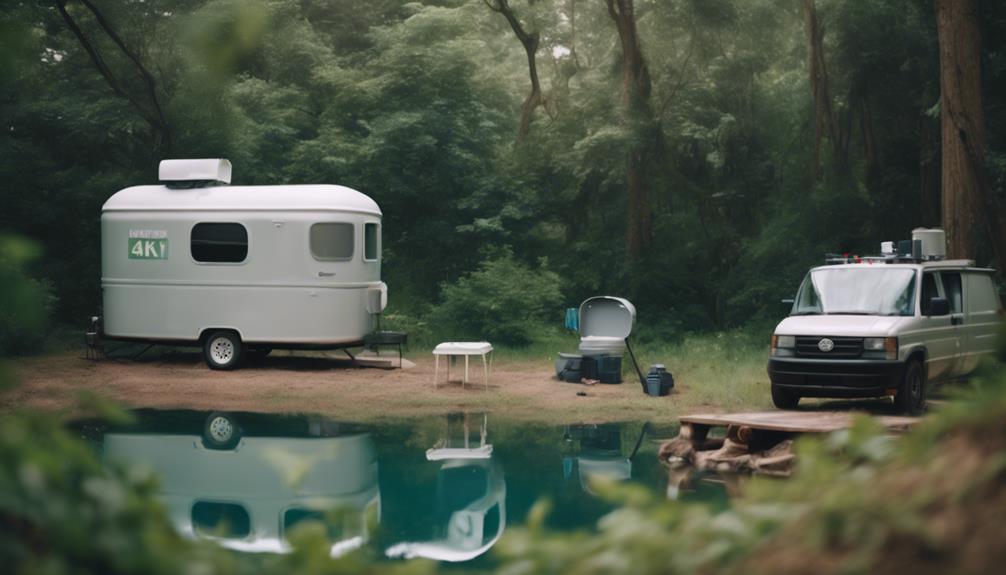
Managing water and waste in your pop-up camper is essential for a smooth and enjoyable camping experience. Start by setting up your shower. Attach the shower curtain to the railing using clasps, and make certain the water pump is turned on unless you're connected to city water. Before taking a shower, check that there's enough water in the holding tank to avoid running the pump dry.
For effective waste management, use a marked container specifically designed for gray water collection. Connect the hose from your sink securely to the gray water tank, making sure it's about 2-3 feet long to direct water without spills. This setup helps prevent messes and keeps your campsite tidy.
Don't forget about the cassette toilet. Prepare it with deodorizer and water, making sure it's ready for use during your trip. Regularly check these systems to verify they're functioning properly.
Final Checks and Preparations
Before hitting the road, make sure to perform a few final checks and preparations to guarantee your pop-up camper is ready for a hassle-free adventure. These steps will help make certain everything is secure and functioning properly.
| Task | Description | Status |
|---|---|---|
| Check Connections | Ensure water, sewer, and electrical hookups are secure. | [ ] Complete |
| Secure Door | Engage locking clips on both sides of the door. | [ ] Complete |
| Store Interior Gear | Safely store all gear and secure poles. | [ ] Complete |
| Seal Zippers | Zip all zippers and secure velcro straps. | [ ] Complete |
| Test Systems | Verify water, heating, and cooling systems are working. | [ ] Complete |
After you've completed these final checks, you'll have peace of mind that your camper is prepared for your journey. Remember, a little preparation goes a long way in making certain you enjoy the great outdoors without unexpected interruptions. Happy camping!
Frequently Asked Questions
How Do I Open a Popup Camper?
To open a pop-up camper, first undo all latches, then use the crank handle to raise the roof steadily. Make certain everything's stable before extending the beds and checking all systems for functionality.
How Do You Set up a Pop-Up Camper Bed?
Imagine the cozy nights under the stars. To set up your pop-up camper bed, clear the front storage, slide out the bunks, install supports, secure the canvas, and check for tautness. Sweet dreams await!
How Do You Open a Barbie Pop-Up Camper?
To open your Barbie Pop-Up Camper, find the latch and release it. Pull up the roof until it locks, then slide out the sides to create living spaces, and set up any accessories for play.
How Do You Fold a Pop up Tent for a Camper?
Folding a pop-up tent? Oh, just like cramming a giant burrito into a tiny lunchbox! Start emptying it, undo latches, lower the roof, slide in bed ends, then fold the canvas neatly—voilà, done!
Can a Flat Tire Cause Difficulty in Opening a Pop-Up Camper?
Yes, a flat tire can cause difficulty in opening a pop-up camper. If the tire is flat, it may not support the weight of the camper, making it challenging to lift and set up. It’s important to know how to handle these situations by watching a changing a flat tire tutorial.
Conclusion
Now that you've got the hang of opening your pop-up camper, don't let the setup process intimidate you.
It might seem overwhelming at first, but with practice, it'll become second nature.
Plus, the joy of camping under the stars and creating lasting memories with family and friends is worth every bit of effort.
So grab your gear, hit the road, and embrace the adventure that awaits—you've got this!

