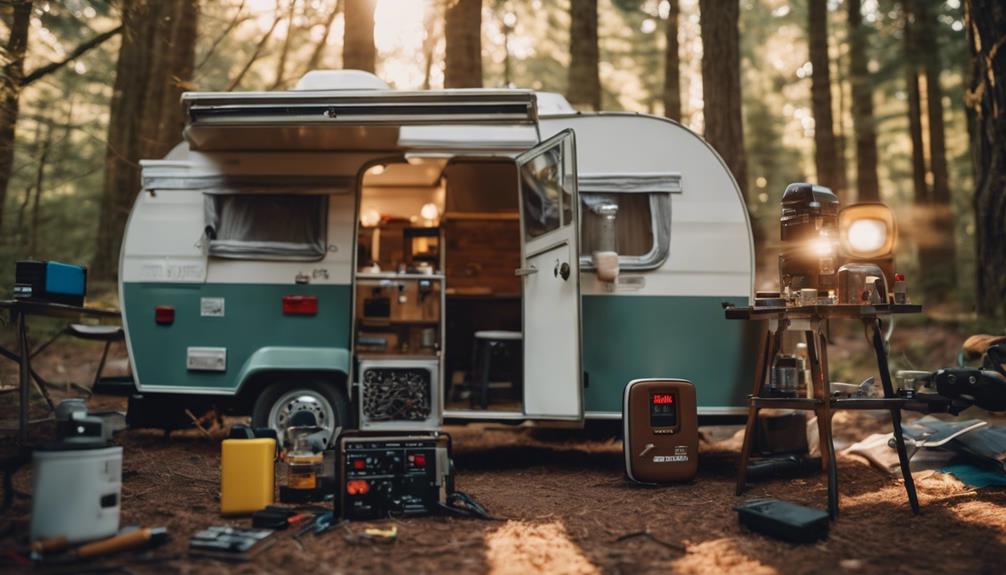
To install a battery on your pop-up camper, start by choosing the right type based on your power needs, like deep cycle or AGM batteries. Find an accessible location that's away from heat sources and guarantees good weight distribution. Gather your tools, disconnect shore power, and connect the battery following correct polarity—red to positive and black to negative. Secure the battery in a proper box and check all connections for corrosion. Finally, test the system with a multimeter to confirm it's working. Keeping these tips in mind sets you up for success, and there's even more to explore!
Key Takeaways
- Choose the right battery type (deep cycle, AGM, or lithium-ion) based on your camper's electrical needs and usage patterns.
- Ensure proper battery placement for accessibility, ventilation, and balanced weight distribution to maintain towing stability.
- Use the correct gauge wire (6 or 8 AWG) for safe connections, and connect positive terminals first to minimize spark risks.
- Regularly inspect battery connections for corrosion and wear, and maintain proper water levels for lead-acid batteries to prolong lifespan.
Understanding Battery Types
When choosing a battery for your pop-up camper, it's important to understand the different types available and how they can meet your energy needs. The most common options are deep cycle lead-acid batteries and AGM (Absorbent Glass Mat) batteries.
Deep cycle lead-acid batteries range from 70 to 220 amp-hours, making them a reliable choice for powering lights, water pumps, and other camper equipment during your off-grid adventures.
On the other hand, AGM batteries are known for their lower self-discharge rates and spill-proof design. While they can be pricier than traditional lead-acid batteries, their advantages might make them worth the investment.
Additionally, consider the emerging popularity of lithium-ion batteries, which are lightweight and boast a longer lifespan. They offer a higher energy density but come at a steeper price.
Ultimately, it's vital to match the battery type with your camper's electrical system and your specific usage needs. Pay attention to factors like discharge rates, charging requirements, and overall power consumption to guarantee you choose the right battery for your adventures.
Choosing the Right Location
Selecting the right location for your battery in a pop-up camper is essential for guaranteeing easy access and ideal performance. Typically, the front storage compartment is the best choice. Make certain to mount the battery securely in a battery box to prevent movement during travel. Here's a quick reference table to help you consider important factors:
| Factor | Recommendation | Importance |
|---|---|---|
| Accessibility | Choose a location easy to reach | Maintenance and monitoring |
| Heat Sources | Keep away from the furnace | Prevent overheating |
| Weight Distribution | Balance placement for towing | Stability during travel |
| Ventilation | Guarantee proper airflow | Safety with lead-acid |
| Power Cord Positioning | Plan for convenient access to the cord | Easy setup and usage |
When you position your battery, remember to verify that it's not near heat sources. This helps prevent any potential failure. Also, think about the battery's weight; a balanced setup will make your towing experience smoother. Finally, guarantee proper ventilation to minimize safety hazards, particularly with lead-acid batteries.
Preparing for Installation

Before you start the installation, make sure you've got all the necessary tools ready, like a wrench and wire cutters.
Don't forget to wear safety gear to protect yourself during the process.
Gather Necessary Tools
Gathering the right tools is vital for a smooth battery installation on your pop-up camper. First, make certain you have a wrench or socket set for connecting the battery terminals, along with a screwdriver to secure the battery tray. Safety gloves are also important to protect your hands during the process.
Next, you'll need a multimeter to check voltage levels and diagnose any electrical issues before hooking up the battery. This tool guarantees you're working with a fully functional system.
Don't forget to obtain a battery box or tray; it'll securely hold the battery in place and prevent movement while you're on the road.
Having a battery charger on hand is wise, especially if you're using a deep cycle battery for extended off-grid camping. This will help maintain the battery's charge and guarantee reliability during your adventures.
Safety Precautions First
Making certain of your safety is essential when preparing to install a battery on your pop-up camper. Start by disconnecting the camper from any shore power to prevent electrical shock or short circuits. Safety precautions are vital, so be sure to wear protective gear like gloves and safety glasses. This will help protect you from battery acid and potential sparks that can occur during installation.
Next, double-check the polarity of the battery terminals. Connect positive to positive and negative to negative to avoid damaging your electrical system. Having a fire extinguisher on hand is also a smart move, just in case an accidental short circuit or electrical fire arises during the process.
Before you engage, familiarize yourself with the location of the kill switch and battery breaker. Knowing where these are can save valuable time if you need to disconnect power quickly.
Connecting the Battery
Now that you're ready to connect the battery, it's essential to choose the right battery type and understand the wiring connections.
You'll also need to take some safety precautions to guarantee everything runs smoothly.
Let's break down these key points to get your pop-up camper powered up safely.
Battery Type Selection
Selecting the right deep cycle battery, like a Group 24 or Group 27, is vital for effectively powering your pop-up camper's systems. These batteries are designed to handle multiple discharge and recharge cycles, making them ideal for dry camping where you might rely solely on battery power. A minimum of 12 volts is essential for operating your camper's important systems, such as lights, water pumps, and furnaces.
When choosing your battery, consider these key points:
- Capacity: Look for batteries with ample amp hours to suit your needs.
- Weight: Verify your camper can handle the battery's weight without compromising balance.
- Safety Features: Select batteries with built-in safety mechanisms to prevent overcharging.
Don't forget to use appropriate 6-gauge battery cables for safe connections and consider installing a battery disconnect switch. This will help you cut off power when not in use, preventing unwanted battery drain.
Regularly check the battery's charge level, and connect it to your tow vehicle or shore power when parked for best maintenance.
Wiring Connections Explained
To connect the battery to your pop-up camper, start by using the correct gauge wire, typically 6 or 8 AWG, to handle the current load safely.
First, verify that the battery kill switch is in the 'on' position; this allows power to flow to the camper's electrical system.
Next, take a red wire and connect it from the positive terminal of the battery to the camper's positive power input. Then, use a black wire to connect the negative terminal to the camper's ground.
Before you finalize the connections, check that the battery breaker is functional and hasn't tripped. A tripped breaker can prevent your camper from receiving power, which could hinder your adventures.
Once everything is connected, it's a good idea to inspect the wiring regularly for any signs of corrosion or wear. This maintenance helps verify efficient power delivery and extends battery life.
If you plan to use shore power, remember that your camper's electrical system should seamlessly switch between battery and shore power, so keep your connections clean and secure for peak performance.
Safety Precautions Required
Before connecting the battery, verify the camper's disconnected from shore power to prevent electrical shocks or damage.
Following essential safety precautions is vital for a smooth and safe battery installation. Here are some key steps you should always take:
- Use insulated tools to avoid accidental short circuits when working near battery terminals.
- Connect the positive (red) terminal first, followed by the negative (black) terminal to minimize the risk of sparks.
- Regularly inspect battery connections for corrosion or loose terminals, cleaning them as needed to guarantee a solid connection.
Securing the Battery Compartment
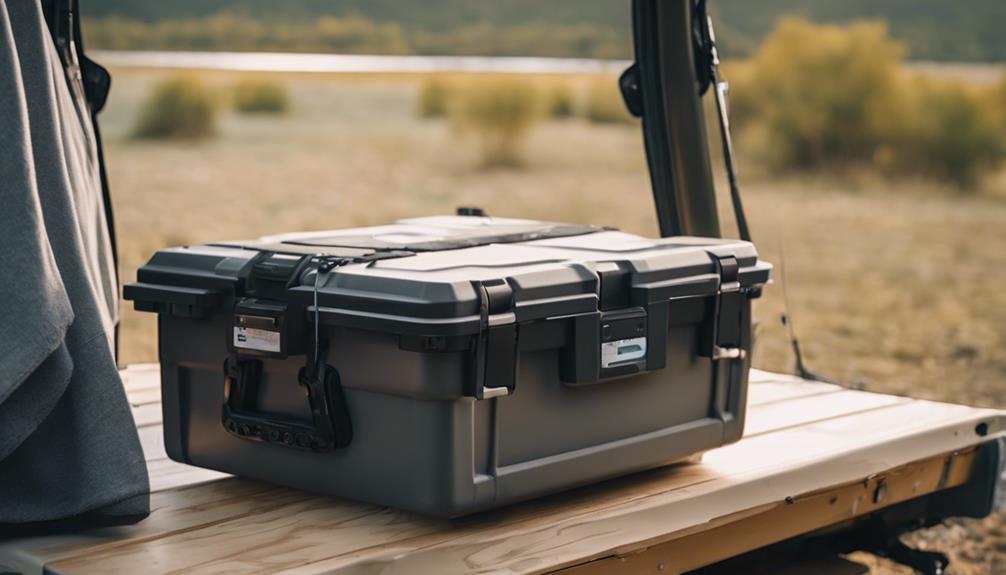
A clean and debris-free battery compartment is vital for securely installing your battery in a pop-up camper. Start by clearing out any dirt, dust, or debris to create an ideal environment for your battery.
Next, use a battery box or tray specifically designed for pop-up campers. This protects your battery from movement and environmental elements while guaranteeing it remains securely in place.
Once you've placed the battery in the box, make sure to secure it with appropriate straps or fasteners. This step is essential to prevent the battery from shifting during travel, as movement can lead to damage to the connections.
Check that the battery terminals are easily accessible for maintenance while also being protected from accidental short circuits. Cover them when not in use to guarantee safety.
Regularly inspect the battery compartment for signs of corrosion or wear on connections. It's important to verify that all components are tightly secured to maintain ideal performance.
Testing the Electrical System
Testing the electrical system of your pop-up camper guarantees everything runs smoothly and helps you catch potential issues before they become major problems.
Start by using a multimeter to check your battery's voltage, confirming it's around 12.6 volts when fully charged. This is a vital step in testing the electrical system.
Next, inspect these key components:
- Kill switch: Located under the galley lift system, a faulty switch can block power to your camper's electrical components.
- Battery breaker: Look for any tripped switches, especially if the system isn't powering on; these are common failure points.
- Converter box: Verify it's functioning properly by checking for any tripped household-type breakers affecting AC power distribution to the outlets.
Maintenance Tips for Longevity
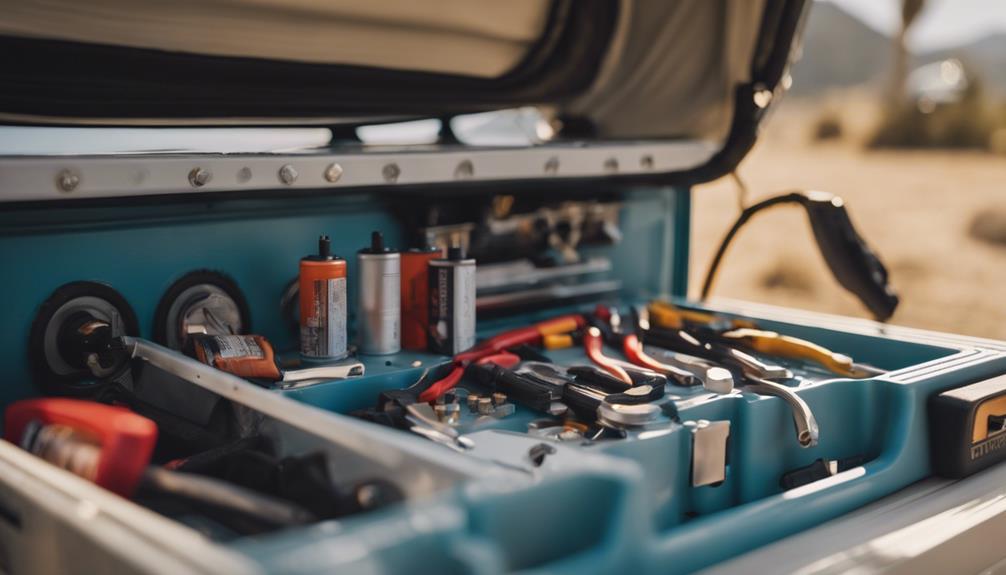
Regular maintenance guarantees your pop-up camper's battery remains in peak condition, extending its lifespan and reliability.
Start by regularly inspecting and cleaning the battery terminals to prevent corrosion. Solid connections are essential for peak power delivery. For lead-acid batteries, check and maintain the water levels to avoid damage; this step is critical for prolonging battery life.
When your camper's not in use, store the battery in a cool, dry place. Extreme temperatures can severely impact battery performance and lifespan, so make this a priority. During long periods of inactivity, utilize a battery maintainer or charger to keep the battery topped off and healthy. This will help confirm you're ready for your next adventure without any surprises.
Additionally, carry out periodic load tests to monitor battery health. These tests can help identify potential issues early on, allowing you to address them before they lead to failure.
Troubleshooting Common Issues
Troubleshooting common issues with your pop-up camper's electrical system can save you from unexpected problems on your trips. If you find yourself without power, here are a few steps to follow:
- Check the kill switch: It's typically located under the galley lift system. If it's off, your camper won't receive power.
- Reset the battery breaker: Sometimes, you'll need to reset it to restore functionality to your electrical system.
- Inspect tripped breakers: Look in the converter box for any tripped household-type breakers and reset them if necessary.
Regular maintenance checks can help prevent these issues.
If your rooftop air conditioner isn't working on shore power, confirm the service is within the required 20-30 amp range, as it won't operate on a 15 amp outlet.
Frequently Asked Questions
How to Hook up Battery to Pop-Up Camper?
To hook up your battery, find the compartment, clean it, and connect the positive terminal to the red cable and the negative to the black. Verify secure connections and check for any fuses needing attention.
What Kind of Battery Do I Need for My Pop-Up Camper?
Did you know a typical deep cycle battery can last over 1,500 cycles? For your pop-up camper, opt for a 12-volt lead-acid or AGM battery, ideally between 100 to 200 amp-hours, based on your power needs.
Does Plugging in a Pop-Up Camper Charge the Battery?
Yes, plugging in your pop-up camper charges the battery. When connected to shore power, the converter box replenishes the 12-volt battery while providing AC power, ensuring you're ready for your off-grid adventures.
Does a Camper Battery Charge When the Camper Is Plugged In?
Yes, your camper battery charges when plugged in, thanks to the converter box. Just make certain the shore power connection is strong enough, and check that any kill switch is set to 'on' for effective charging.
Can a Generator Replace the Need for a Battery on a Pop-Up Camper?
Yes, you can hook up generator to camper to power the appliances and electronics without using a battery. This allows for continuous power supply, especially when dry camping. However, it’s important to ensure the generator is compatible with the camper’s electrical system for safety and efficiency.
Conclusion
Installing a battery on your pop-up camper opens up a world of convenience and freedom on your adventures. You might worry about the complexity of the process, but with a little guidance, it's a straightforward task.
Imagine the joy of lighting up your campsite and powering your devices, all while feeling secure and self-sufficient. Don't let concerns hold you back—embrace the thrill of exploration and make unforgettable memories with reliable power at your fingertips.

