To keep your pop-up camper dry, start by checking common leak sources like window seals, roof vent frames, and seams between the top and bottom halves. Inspect for deterioration and water stains, especially around windows. Clean and dry any wet areas, ensuring cushions and canvas are properly maintained. Use a garden hose to test for leaks and apply sealants to any discovered gaps. Regular maintenance, such as checking seals and cleaning window channels, can prevent leaks from worsening. Stay tuned for more tips on maintaining your camper and ensuring it stays leak-free this season!
Key Takeaways
- Inspect roof vent frames and seams for cracks and gaps, as these are common sources of leaks in pop-up campers.
- Check rubber seals around windows and doors for any gaps or deterioration that could allow water intrusion.
- Look for water stains beneath windows and on the interior roof, indicating potential leak points.
- Perform regular maintenance by cleaning window channels to prevent clogs that can lead to water overflow.
Identifying Common Leak Sources
Identifying common leak sources in your pop-up camper is essential for maintaining its integrity and preventing water damage. One of the first areas to check is the roof. Deteriorating roof vent frames can be a significant source of leaks, especially if they've gone unchecked for a while. Make it a habit to inspect these vents regularly, sealing any gaps or cracks you find.
Another common issue is clogged sliding window channels. When these channels fill with debris, water can overflow and seep into your camper, causing leaks. You should also pay attention to the seams between the top and bottom halves of the camper; they're prone to water intrusion over time. Inspecting for wet walls beneath windows after heavy rain can help you pinpoint potential leak points.
Don't forget to look for water stains around windows and vents, as these can indicate where leaks have occurred. Regular maintenance, like clearing debris from window channels and sealing roof vents, goes a long way in preventing leaks. By staying proactive, you can keep your pop-up camper dry and ready for your next adventure.
Inspecting Seals and Seams
After checking for common leak sources, turn your attention to inspecting the seals and seams throughout your pop-up camper to confirm they're holding up against the elements.
Begin by examining the rubber seals around windows, doors, and roof vents. Look for any gaps, tears, or signs of wear. If these seals aren't in good condition, water can easily intrude.
Next, check the caulking along seams where the roof meets the camper body. This area is a common source of leaks, especially if the sealant has deteriorated. Pay special attention to pop rivets and screws in the roof and walls, as they can develop leaks over time due to exposure to the elements.
Don't forget to inspect the seams between the top and bottom halves of the camper, particularly if your trailer is older than 40 years. Older models are particularly susceptible to leaks in these areas.
Assessing Water Damage
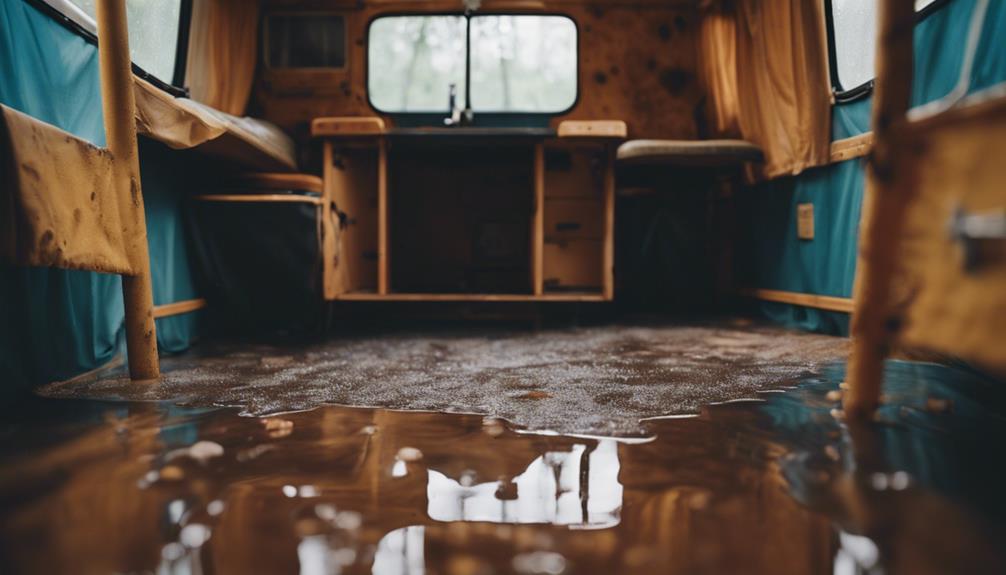
Evaluating water damage in your pop-up camper is essential for ensuring it remains safe and comfortable for your trips. Start by identifying any potential water leaks that may have caused issues. Look for signs of prolonged moisture exposure, which can lead to serious damage.
Here's what to check:
- Inspect mattresses and cushions for soaking or increased weight.
- Look for water staining or dripping around ceiling lights and the interior roof.
- Check for wet insulation and sagging areas in the roof.
- Assess the condition of plywood under bunk ends and countertops.
Cleaning and Drying Techniques
Cleaning and drying your pop-up camper thoroughly is essential to prevent mold and guarantee a safe, comfortable environment for your next adventure.
Start by removing all cushions and placing them outside on patio furniture to dry completely. Use effective cleaning and drying techniques by washing cushion and curtain covers on a delicate cycle, then air dry them in the sun to inhibit mildew growth.
Next, inspect and clean the canvas carefully to remove dirt and any microscopic mold. Verify it dries completely before storing it to avoid future water damage.
Open windows and use fans to circulate air inside the camper; this will help expedite the drying process and lower humidity levels.
Repairing Roof and Vents
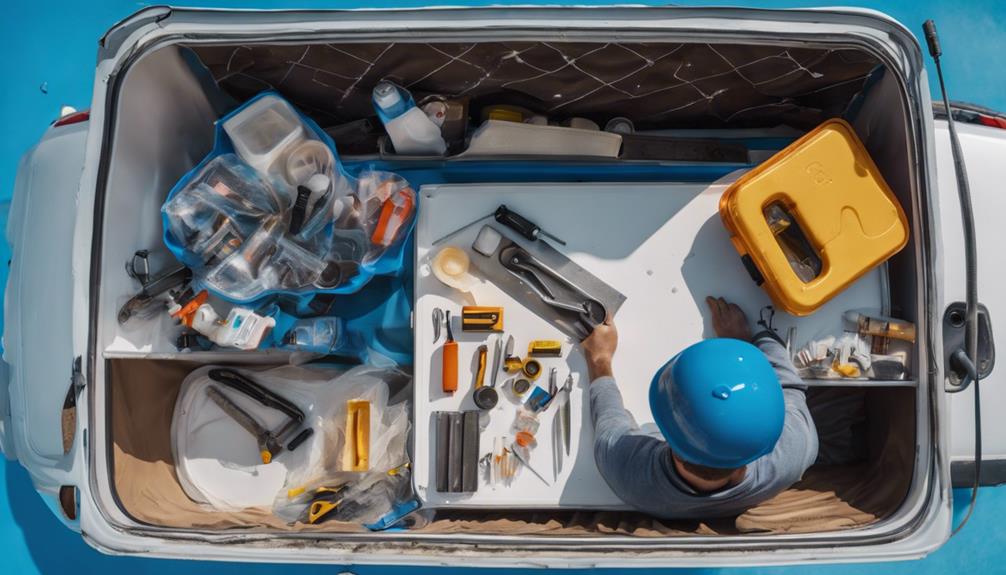
To keep your pop-up camper leak-free, you need to inspect the roof seams and seal any vulnerable areas, especially around the vents.
Look for gaps or tears in the rubber seals and re-caulk where necessary to block water entry.
Regular maintenance of these spots can save you from costly repairs down the road.
Inspect Roof Seams
Inspecting the roof seams of your pop-up camper is essential, as they often reveal signs of wear that can lead to leaks if not addressed promptly. Regular checks can help you spot issues before they become major problems, saving you time and money in repairs.
Here are some key areas to focus on during your inspection:
- Look for cracks or gaps in the roof seams, as these are common entry points for water leaks.
- Check the caulk seals where the roof meets the trim; deterioration in these areas is a frequent source of leaks in older campers.
- Examine the roof vent frames for signs of wear from sun exposure, which can compromise their integrity.
- Inspect the rubber seals around windows and lights for folds or gaps that can allow water to enter.
Seal Vent Areas
Sealing vent areas is essential for keeping your pop-up camper dry and preventing water damage. Start by inspecting the rubber seals around your roof vent. Look for any gaps or signs of deterioration, as these are common sources of leaks. If you notice any issues, it's time to replace the seals to guarantee a good seal.
Next, check the caulking where the roof meets the trim and around the roof vent and AC unit. Make sure this caulking is intact and watertight. If it appears cracked or worn, remove the old caulking and apply a fresh layer to keep moisture out.
For additional protection, consider using a tent seam sealer on any visible seams. This is especially important for older campers where seams may be more vulnerable to leaks. Also, applying a waterproof coating, like a polymer waterproofing product, to the entire roof surface can provide an extra layer of defense against leaks.
Lastly, conduct thorough inspections after heavy rains and maintain a routine of checking and resealing vent areas to prevent future leaks. Keeping these areas secure will help you enjoy your camping trips worry-free.
Waterproofing Canvas and Materials
To keep your pop-up camper in top shape, you need to focus on cleaning the canvas effectively and applying the right waterproofing techniques.
Regular maintenance will help extend the life of your materials and prevent leaks.
Let's explore how to properly care for your camper's canvas and guarantee it stays dry during your adventures.
Cleaning Canvas Effectively
Cleaning the canvas regularly with Woolite laundry cleaner not only removes dirt and mold but also boosts its waterproof capabilities. By taking the time to clean your camper's canvas effectively, you prevent grime from breaking down the fabric and guarantee it remains protective against the elements.
Here are some key tips to keep in mind:
- Use Woolite to remove dirt and microscopic mold.
- Thoroughly dry the canvas before storing to prevent mildew growth.
- Apply 303 Aerospace Fabric Guard after cleaning for added waterproofing.
- Avoid touching the canvas during rain to prevent water seepage.
Making these practices part of your maintenance routine will enhance the longevity of your pop-up camper's canvas. By focusing on cleaning canvas effectively, you not only protect your investment but also enjoy your outdoor adventures without worry.
Waterproofing Techniques Available
Maintaining your pop-up camper's waterproofing involves understanding the various techniques available for treating canvas and other materials effectively.
Regular cleaning of the canvas using products like Woolite laundry cleaner can remove dirt and microscopic mold, which is vital for preserving its waterproof capabilities. If your camper features fabric materials, applying 303 Aerospace Fabric Guard is a smart move to enhance their waterproofing.
For newer vinylized canvas, you mightn't need additional waterproofing, but keeping it clean is fundamental for peak performance. On the other hand, old-style waterproofing techniques may not work well with modern materials, so be sure to focus on proper maintenance to prevent leaks.
Don't forget to inspect the seams regularly. Using a tent seam sealer can help prevent water intrusion, particularly in older pop-up campers, which are more vulnerable to roof leaks.
Also, make sure that your water tank is secure and free from any leaks, as this can affect your camper's overall waterproofing.
Maintenance for Longevity
Proper maintenance of your pop-up camper's canvas and materials is essential for ensuring its longevity and preventing leaks. Keeping your canvas in top condition not only protects you from the elements but also saves you money on repairs down the line.
Here are some key maintenance tips to follow:
- Regularly clean the canvas with Woolite laundry cleaner to remove dirt and mold.
- Apply 303 Aerospace Fabric Guard to enhance waterproofing and shield against UV damage.
- Inspect seams and use tent seam sealer to prevent leaks, especially in older campers.
- Check the original waterproofing on your canvas and reapply treatments as needed.
Seasonal Maintenance Tips
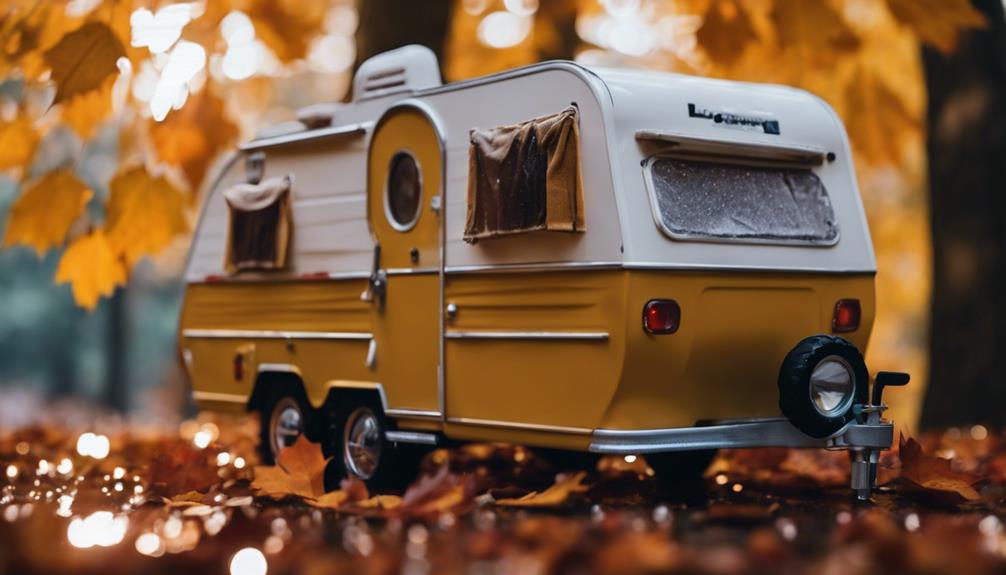
Regular inspections of your pop-up camper's seals and caulking can prevent leaks and extend its lifespan. Start by performing seasonal checks on the caulk along windows, seams, and roof vents. Look for any cracks or gaps that could allow water to penetrate. If you notice any issues, reapply caulk to guarantee a tight seal.
Next, clean and flush window channels to prevent clogs, which can lead to overflow during heavy rainfall. Keeping these areas clear is essential for maintaining a leak-free camper. Additionally, store your camper level to minimize water pooling on the roof, allowing for proper drainage during storms.
Don't forget to inspect the rubber seals around windows and lights. Look for signs of wear and tear, and replace any damaged components promptly. This small effort can save you from bigger headaches down the road.
Before winter, empty the fresh water tank to prevent cracks and leaks caused by expanding ice.
Using Temporary Fixes
Even with diligent seasonal maintenance, leaks can still occur, so knowing how to implement temporary fixes is essential for protecting your pop-up camper from water damage. When you spot a leak, act quickly to prevent further issues.
Here are some effective temporary fixes you can use:
- Tarp Cover: Use a tarp to cover the roof, blocking additional water from entering until you can make permanent repairs.
- Silicone Sealant: Apply Gorilla 100% Silicone Sealant to visible gaps or cracks, creating a quick waterproof barrier.
- Eternabond Tape: For minor leaks, utilize Eternabond tape. It sticks well and is designed for durability, making it a great short-term solution.
- Portable Repair Materials: Keep aluminum tape and sealant handy for immediate fixes while traveling—these can save you from unexpected water damage.
Long-Term Prevention Strategies
To keep your pop-up camper leak-free, regular maintenance checks are essential.
You should also focus on effective waterproofing and sealing techniques to protect against moisture.
Routine Maintenance Checks
Maintaining your pop-up camper involves routine checks on caulking and seals to prevent leaks and guarantee long-lasting protection against water damage.
These routine maintenance checks are essential for catching potential issues before they escalate into costly repairs. Regular inspections help you identify areas where water intrusion could occur, ensuring your camper stays dry.
Here are some key maintenance tasks to prioritize:
- Inspect caulking around windows, seams, and roof vent frames regularly.
- Conduct seasonal checks, especially before and after winter storage.
- Flush window channels periodically to remove debris.
- Store your camper level and in a sheltered location.
Waterproofing and Sealing Techniques
Regular maintenance checks are just the beginning; implementing effective waterproofing and sealing techniques can greatly enhance your pop-up camper's protection against leaks. Start by inspecting the rubber seals around your camper's roof, windows, and doors. Verify there are no gaps or tears that might allow water to seep in.
Next, apply a high-quality waterproofing product, like 303 Aerospace Fabric Guard, to clean the canvas. This restores its waterproof capabilities and shields it from future leaks. For seams showing wear, use tent seam sealer to reinforce these vulnerable areas.
Store your pop-up camper in a sheltered location to minimize exposure to harsh weather, which can damage seals. Additionally, verify proper drainage by parking at a slight angle to facilitate water runoff and prevent pooling around your camper.
Here's a quick reference table for your waterproofing and sealing techniques:
| Technique | Purpose |
|---|---|
| Inspect rubber seals | Prevent water penetration |
| Apply waterproofing | Restore canvas protection |
| Use seam sealer | Reinforce vulnerable seams |
| Shelter storage | Minimize seal damage |
Community Resources and Support
Finding support within the community forum can greatly enhance your ability to tackle leak issues in your pop-up camper. With over 412,884 posts and a dedicated section for repairs, you'll find a wealth of knowledge at your fingertips. The supportive environment encourages members to share their personal experiences, offering practical solutions and maintenance techniques.
Engaging with the community can help you:
- Access 55,122 discussions focused on leak issues.
- Discover product reviews to identify effective repair materials.
- Learn about essential regular inspections to prevent leaks.
- Participate in community clubs for networking and insight sharing.
Understanding community rules is vital to fostering respectful and productive interactions. By participating actively, you not only gain valuable insights but also contribute to the collective knowledge, helping others facing similar leak issues.
Embrace the power of community resources and support to keep your pop-up camper dry and in top condition.
Frequently Asked Questions
How to Keep Moisture Out of a Pop-Up Camper?
To keep moisture out of your pop-up camper, regularly check seals, maintain window channels, and store it level. Use tarps for runoff, keep windows slightly open, and promote airflow to prevent mold and mildew.
How Do You Find the Source of a Leak in a Camper?
To find a leak in your camper, inspect visible water stains, check window seals, and test sections with a hose. Clear debris from channels and thoroughly examine the roof for any signs of deterioration.
How to Prevent Moisture in a Camper?
To prevent moisture in your camper, regularly check and maintain seals, park with a slight tilt, cover it with a tarp during winter, and store it in a sheltered spot when not in use.
What's the Best Way to Waterproof a Pop up Camper?
To waterproof your pop-up camper, clean the canvas thoroughly, apply a specialized waterproofing treatment, inspect and maintain seals, and use seam sealer on exposed stitching. These steps will enhance your camper's water resistance effectively.
What Are the Common Signs of a Pop-Up Camper Leak that Require Roof Sealing?
Common signs of a pop-up camper leak that require roof sealing include water stains on the ceiling or walls, musty odors inside the camper, and visible cracks or gaps in the roof seal popup camper roof. It’s essential to address these issues promptly to prevent further damage to the camper’s interior.
Conclusion
In the quest to keep your pop-up camper dry, you might wonder if leaks are inevitable.
The truth is, with diligent inspection and regular maintenance, you can greatly minimize the risk.
By actively checking seals, addressing damage, and employing effective repair strategies, you can enjoy countless worry-free adventures.
So, don't let the fear of leaks hold you back—embrace the journey and make sure your camper remains a haven, rain or shine!

