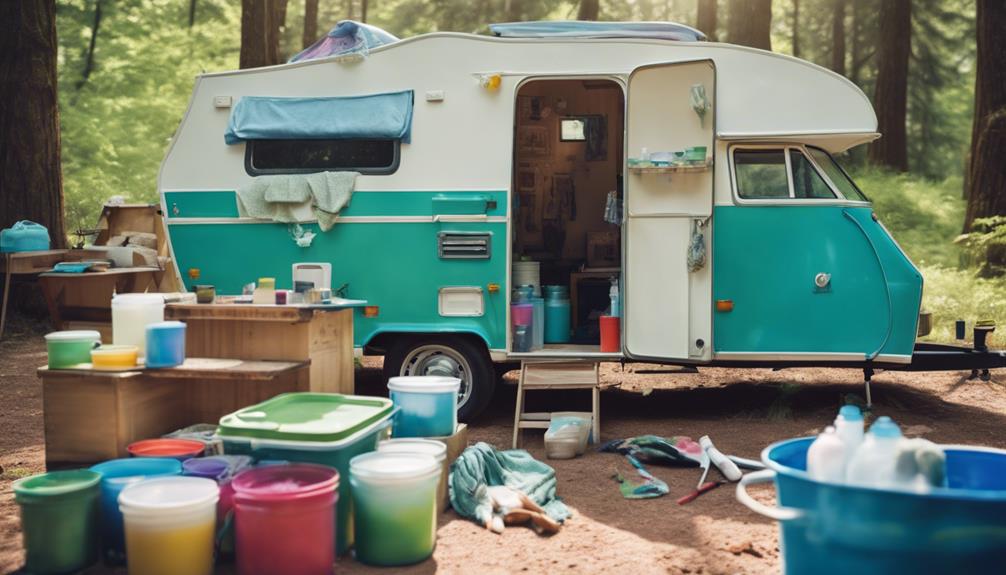
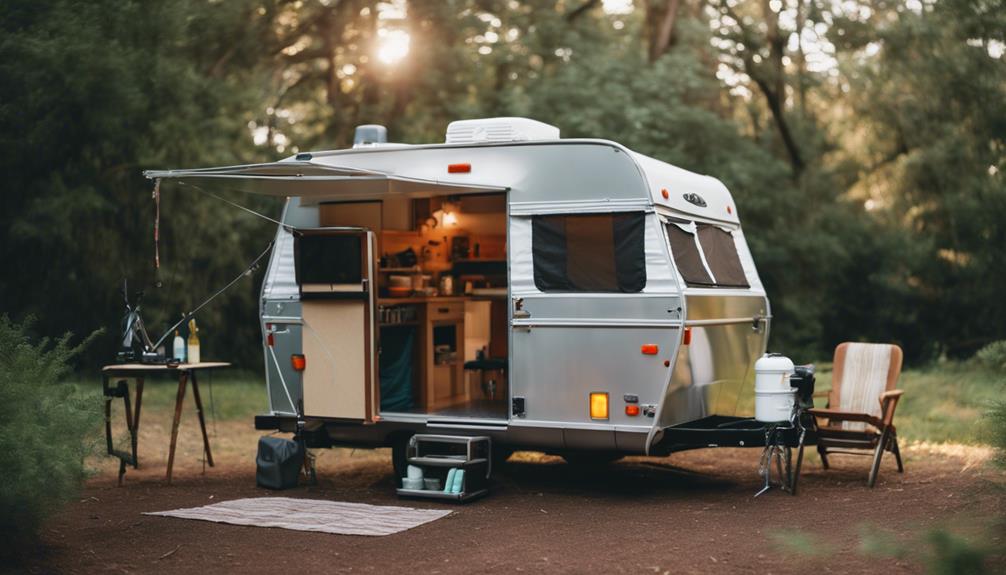
To dye your pop-up camper canvas, start by cleaning it with detergent and baking soda. Check for any damage and do a patch test for dye compatibility. Use dark green RIT dye mixed with hot water, salt, and dish soap in a suitable container. Submerge the canvas, stirring for 10 minutes, then let it soak for 45 minutes. Rinse it thoroughly afterward. Finally, take care of your dyed canvas by using mild soap for cleaning and applying a waterproofing treatment to maintain color. You'll discover more tips and techniques to make your customization successful.
Key Takeaways
- Clean the canvas thoroughly with detergent and baking soda to ensure proper dye absorption.
- Use dark green RIT dye, mixing it with salt and dish soap in hot water.
- Submerge the canvas in the dye solution, stirring continuously for 10 minutes, then soak for 45 minutes.
- Rinse the dyed canvas thoroughly to remove excess dye and maintain color.
Preparing Your Canvas for Dyeing
Before you start dyeing your pop-up camper canvas, make sure to thoroughly clean it with detergent and baking soda to remove any dirt and grime that could hinder dye absorption. This step is essential for achieving a vibrant and even color on your trailer canvas.
After cleaning, inspect the canvas for any damage, such as tears or worn areas that might need repair. It's vital to address these issues before you begin, as they can affect the final result.
Check if your canvas has been waterproofed in the past ten years; older treatments can greatly impact dye adherence.
If everything looks good, conduct a patch test on a small, inconspicuous area of the trailer canvas. This test helps you gauge how the fabric reacts to the dye, ensuring that you're satisfied with the color before applying it to the entire surface.
Essential Dyeing Materials Needed
Gathering the right materials is essential for successfully dyeing your pop-up camper canvas. Start with dark green RIT dye, which will be your primary coloring agent. To enhance dye absorption, you'll also need salt. Don't forget dish soap, like Dawn, as it helps with the dyeing process.
Hot water is vital, so make sure you have access to water above 160°F. A suitable container, like a 5-gallon bucket or kiddie pool, is necessary for mixing your dye solution. Before you start the dyeing process, wash the canvas with detergent and baking soda to remove any dirt and stains that could interfere with the dye.
You'll need a stirring tool to continuously agitate the fabric in the dye solution for about 10 minutes. After that, allow the canvas to soak for 45 minutes to guarantee even coloring. Once you've achieved your desired hue, thorough rinsing is required to remove any excess dye.
Step-by-Step Dyeing Process

Start by thoroughly washing the canvas with detergent and baking soda to guarantee it's clean and ready for dye absorption. This step is essential, as any dirt or stains can interfere with the dye's effectiveness.
Next, prepare your dye solution using dark green RIT dye. Mix it with hot water (above 160°F), adding salt and a few drops of dish soap (like Dawn) to enhance color uptake.
Once your dye solution is ready, submerge the canvas completely. Stir it continuously for about 10 minutes, ensuring the dye penetrates evenly. After that, let it soak for an additional 45 minutes to achieve ideal dye saturation. This soaking time is key to getting the vibrant color you want.
After the soaking period, rinse the canvas thoroughly to remove any excess dye. Make sure there's no further washing needed, as that could affect the color intensity you've just achieved.
If your canvas had a waterproofing treatment before, think about applying a new waterproofing solution after dyeing. This will help protect the canvas and preserve the fresh color you've added.
Enjoy your newly dyed pop-up camper canvas!
Post-Dyeing Care and Maintenance
Maintaining the vibrant color of your newly dyed canvas requires regular care and attention. Start by cleaning the dyed canvas regularly with mild soap and water. This helps keep its appearance fresh without compromising the dye.
When you inspect the canvas, look for signs of fading or wear. If you notice any, consider reapplying a protective waterproofing treatment to extend the life of the dye.
Storing your pop-up camper in a shaded area is essential, as minimizing sun exposure can greatly reduce fading. If you encounter mold or mildew, treat it promptly with a mixture of vinegar and water. This not only addresses the issue but also helps preserve the dye's integrity.
Be cautious with cleaning products; avoid harsh chemicals or abrasive materials, as these can strip the dye and ruin the overall look of your canvas.
Tips for Successful Customization

Customizing your pop-up camper canvas can transform its appearance and reflect your personal style, making it stand out during your outdoor adventures. To guarantee a successful dyeing experience, follow these essential tips:
| Step | Details |
|---|---|
| Check Canvas Condition | Verify the canvas hasn't been waterproofed for over 10 years for ideal dye absorption. |
| Choose the Right Dye | Use a fabric-appropriate dye, like dark green RIT dye, and boost absorption with salt and dish soap. |
| Conduct a Patch Test | Test a small, hidden area first to see how the dye performs before committing to the whole canvas. |
Stir your dye solution for about 10 minutes and soak the canvas for 45 minutes, ensuring you rinse thoroughly afterward. This method helps achieve a vibrant color without additional washing. Finally, consider applying a waterproofing treatment after dyeing to preserve the color's vibrancy and protect against environmental elements. With these tips, you'll customize your pop-up camper canvas beautifully!
Frequently Asked Questions
What Kind of Paint to Use on Pop-Up Camper Canvas?
You should use acrylic exterior paint for your pop-up camper canvas. It's durable, weather-resistant, and has UV protection. Opt for light colors to reflect sunlight, and make certain it's mildew-resistant to prevent mold growth.
Can You Dye a Canvas Tent?
Yes, you can dye a canvas tent if it hasn't been waterproofed for over ten years. Make sure to test dye on a small piece first to see how well the fabric absorbs the color.
Can You Dye Canvas Awnings?
Imagine you've got an old canvas awning that's faded over the years. You can't dye it easily because of waterproofing treatments, but testing a small area first might help you find a suitable alternative.
Can You Paint Tent Canvas?
Yes, you can paint tent canvas using water-based exterior semi-gloss paint. Just clean it thoroughly, apply a primer, and use multiple thin coats for even coverage. Always test the paint first to ascertain compatibility.
Is Dyeing the Canvas of a Pop-Up Camper Necessary if I Can Just Replace It?
If the canvas replacement for camper is in good condition, dyeing it may not be necessary. However, if it’s worn or damaged, dyeing won’t restore its strength or durability. You may save time and money by replacing it, ensuring a seamless fit and longer lifespan for your pop-up camper.
Conclusion
Now that you've learned how to dye your pop-up camper canvas, you're ready to transform your camping experience.
Embrace the vibrant colors and unique designs that reflect your personality.
Remember, preparation and care are key to achieving lasting results.
With practice and patience, you'll master the art of customization, making your camper truly one-of-a-kind.
So, grab your supplies and let your creativity flow—each trip will feel like a new adventure in your personalized getaway!


