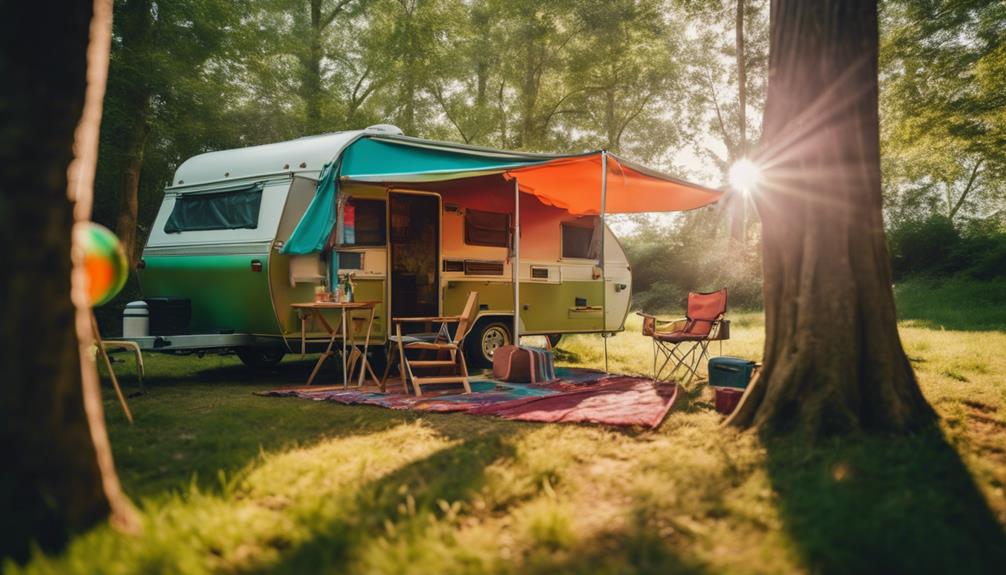
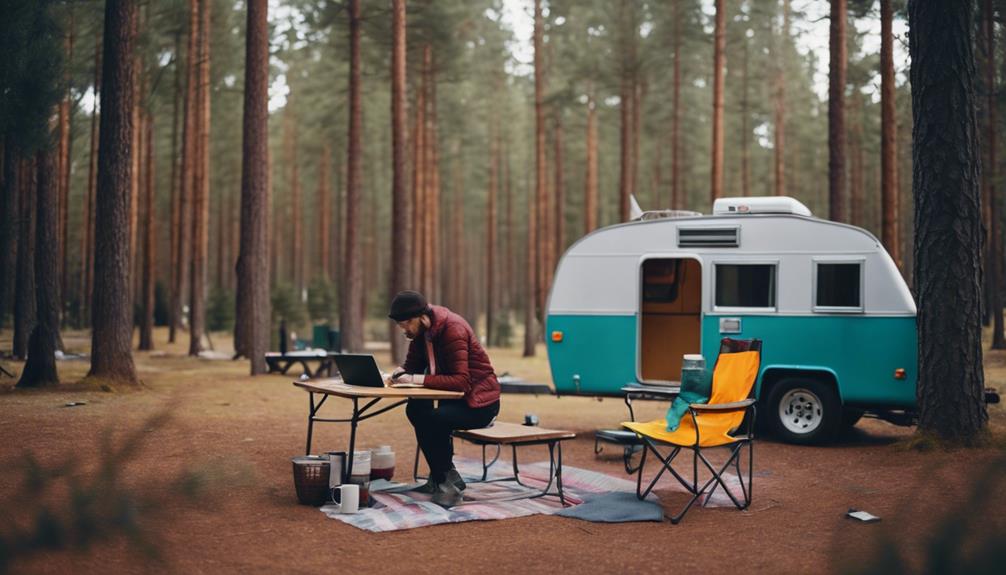
To attach an awning to your pop-up camper, start by rolling out the awning fabric and securing the sewn-in cord into the C channel along the roof edge. Next, connect the support tubes to brackets for added stability. Stand up the legs and secure them with ropes and stakes to withstand wind. Always check for missing components or damage before installation. Taking proper care of your awning can enhance your outdoor comfort considerably. For more tips on selecting the right materials and ensuring a smooth setup, there's plenty more to explore.
Key Takeaways
- Unzip the awning's storage bag and roll out the fabric, ensuring no tangles are present before installation.
- Insert the sewn-in cord into the C channel along the camper's roof edge for secure attachment.
- Position and connect the down tubes to ground supports or receiving brackets for enhanced stability.
- Stand up the legs, align them properly, and secure with ropes and stakes to withstand wind.
Understanding Awning Components
To effectively attach an awning to your pop-up camper, it's important to understand the key components involved in its setup and support. Start by familiarizing yourself with the various awning styles available, as they can differ markedly in functionality, material, and ease of use. You'll typically find both manual and automatic options, each with unique benefits.
The C channel, located along the roof edge of your camper, plays a vital role in the installation process. This channel allows you to slide the sewn-in cord from the awning securely into place, ensuring a tight fit.
Once the awning is positioned, you'll need to focus on the support structures. Upper tubes provide the necessary side support, attaching to brackets situated just below the awning's storage bag. These tubes help stabilize the awning during windy conditions.
Additionally, down tubes extend from the awning to either ground supports or receiving brackets, further enhancing stability. Understanding these components will make it easier for you to set up your awning effectively, ensuring a comfortable shaded retreat during your camping adventures.
Step-by-Step Installation Guide
To get started with attaching your awning, you'll need to gather the required tools and materials.
Then, you can follow a straightforward installation process to guarantee everything's set up correctly.
If you run into any issues, troubleshooting common problems can help you get back on track quickly.
Required Tools and Materials
What tools and materials do you need to successfully attach an awning to your pop-up camper? Gathering the right equipment is essential for a smooth installation process. You'll need to make certain you have all the required materials and tools ready before diving in.
Here's a handy list to help you prepare:
- Awning – Make sure it's the right size for your camper.
- Mounting brackets – These hold the awning securely in place.
- Screws – You'll use these to attach the mounting brackets.
- Screwdriver and drill – Important for securing everything together.
Additionally, don't forget a ladder to safely reach the camper's roof.
Familiarize yourself with the installation instructions that come with your awning, as specific setups may vary. Before you start, double-check all components for any signs of damage or wear. This guarantees your awning will be secure and stable once installed.
With the right tools and materials on hand, you're all set to create a shady retreat for your next adventure!
Installation Process Overview
Start by unzipping the storage bag and rolling out the awning fabric, making certain it's free from tangles and obstructions.
Next, attach the sewn-in cord at the top of the awning into the C channel along the roof edge of your pop-up camper for a secure installation. This step is essential for guaranteeing the awning stays in place during use.
Once the fabric is secured in the track, position the down tubes. You can connect them either to the ground or to receiving brackets, which will provide additional stability for the awning structure.
After that, stand up the legs of the awning, making sure they're straight and properly aligned. Secure them with ropes and stakes to reinforce support, making certain they're steady enough to withstand wind and weather.
Before finalizing the installation process, double-check that all components are aligned and intact. Inspect for any visible damage to guarantee a safe outdoor retreat.
Following these steps carefully assures a hassle-free setup, allowing you to enjoy your shady space with confidence.
Troubleshooting Common Issues
When you encounter issues during the awning setup, a systematic approach can help you quickly identify and resolve them. Here's a quick guide to troubleshoot common problems:
- Check for Missing Components: Start by unzipping the storage bag and rolling out the awning. Verify all parts are intact and ready for setup. If something's missing, refer to your installation instructions.
- Inspect the C Channel: Make certain the sewn-in cord of the awning fits securely into the C channel along the roof edge. If it doesn't, adjust the cord or check for any blockages.
- Align Down Tubes: Position the down tubes properly. If they're wobbly, either stake them down or connect to receiving brackets for stability.
- Stability of Support Tubes: After folding down the upper support tubes, check their alignment. If they seem unstable, re-secure them with ropes and stakes, making sure everything is straight.
Remember to regularly inspect the awning for any wear or damage.
Following these steps will streamline your setup and help you enjoy your shady retreat without hassle!
Assessing Awning Condition

Before you attach your awning, you need to assess its condition thoroughly.
Check the fabric for any visible damage, like tears or mildew, and make certain all components are present and functional.
This step is essential to guarantee your awning works effectively and safely.
Visible Damage Inspection
Regularly inspect the awning fabric for tears, fraying, or holes that could compromise its functionality and durability. A thorough inspection is vital to guarantee your awning remains in peak condition and provides the shade you need during your camping adventures.
Here's what to focus on during your damage inspection:
- Fabric Condition: Look for any visible tears or fraying that may have developed over time. Even small holes can expand and worsen.
- Down Tubes: Check for bent or damaged legs, as they're essential for stability when the awning is deployed.
- Storage Bag: Verify the storage bag is intact and contains all necessary components, like the sewn-in cord and brackets or poles for setup.
- Mechanical Parts: Examine any mechanical parts for rust or corrosion, as these can negatively impact the awning's performance and safety.
Component Completeness Evaluation
Evaluating the completeness of your awning components is vital for guaranteeing a smooth and safe setup on your pop-up camper. Start by checking for any visible damage, like bent legs or tears in the fabric. Next, confirm that all necessary parts are present to facilitate the awning setup.
Here's a quick checklist to assist with your component completeness evaluation:
| Component | Condition Check | Action Needed |
|---|---|---|
| Storage Bag | No rips or tears | Replace if damaged |
| Down Tubes | Straight and functional | Repair or replace |
| Mechanical Parts | Free of rust or corrosion | Clean or replace |
Inspect the sewn-in cord and C channel on the roof edge of your camper; they should be intact for proper attachment. Regularly evaluating the overall condition of your mechanical parts is vital. If you notice excessive wear and tear, determine whether repairs can be made or if a complete replacement is necessary for peak performance. Keeping your awning components in good shape will guarantee a safe and enjoyable camping experience.
Maintenance Tips for Longevity
To guarantee your awning lasts, inspect it frequently for visible damage like frayed fabric or bent legs, addressing any issues promptly. Regular maintenance is key to prolonging the life of your awning.
Here are four essential tips to keep your awning in top shape:
- Inspect Regularly: Check for damage, including frayed edges or bent support poles, at least once a month. Early detection can save you from costly repairs.
- Clean Thoroughly: Use mild soap and water to clean the fabric. This removes dirt and prevents mildew, extending its lifespan. Make it a habit to clean after each camping trip.
- Store Properly: When you're not using the awning, store it in its zippered bag. This protects it from sun damage and environmental wear.
- Check Mechanical Parts: Regularly look at down tubes and support poles for rust or corrosion. Treat any issues immediately to maintain structural integrity.
Replacement Options and Costs
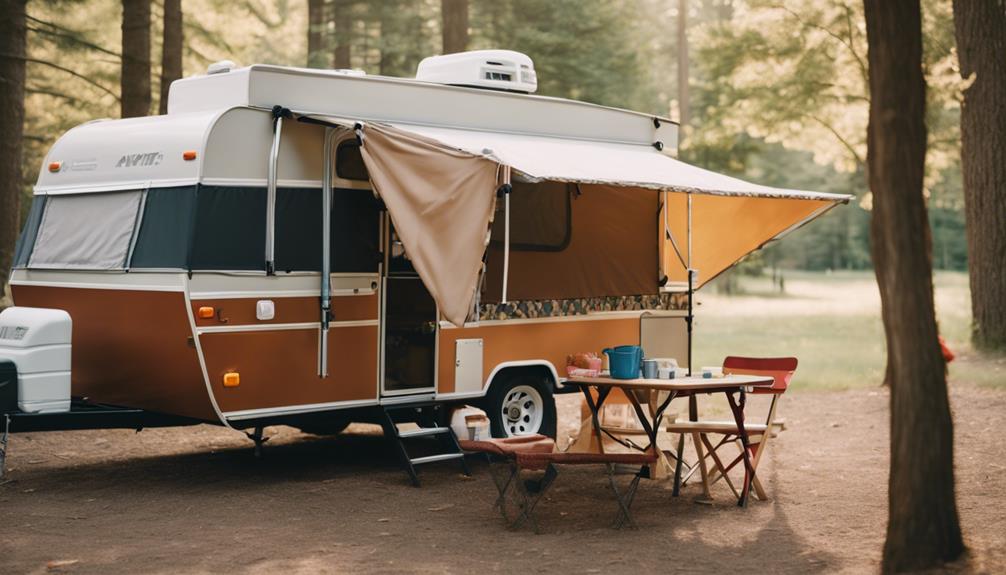
When it comes to replacing your pop-up camper's awning, you'll often find prices ranging from $125 to $300 based on the model and seller. It's important to explore various options, like Trimline awnings, which are commonly available on platforms such as eBay. These replacement awnings can offer you both quality and affordability.
Before making a purchase, check for compatibility with your specific camper model. Not all awnings will fit every camper, so confirming the correct match is vital for peak performance. Additionally, remember to factor in any shipping fees, as these can add to your overall costs.
Once you've selected your new awning, you'll appreciate that most come with clear installation instructions. This makes the setup process straightforward, even if you're not particularly handy. Follow the provided guidelines carefully to guarantee a secure and proper installation.
Enhancing Outdoor Comfort
Having a new awning not only protects your pop-up camper but also considerably enhances your outdoor comfort by providing shade and shelter from the elements. This addition creates a cozy retreat where you can enjoy your time outdoors without the harsh sun or unexpected rain ruining your experience.
Here are some ways you can maximize your outdoor comfort with awnings:
- Enjoy Shade: Awnings block direct sunlight, reducing heat inside your camper and keeping your outdoor space cooler.
- Create an Extended Living Area: Use side panels or screen rooms to enjoy meals or activities while staying protected from wind or rain.
- Add Privacy and Insect Protection: Incorporate sun shades or screens to enhance your outdoor experience by keeping bugs at bay and offering a bit of seclusion.
- Secure Your Setup: Properly secure your awning with ground stakes and guy lines to guarantee stability during breezy conditions.
Don't forget about maintenance! Regularly cleaning your awning fabric will prolong its lifespan, guaranteeing your shady retreat remains a comfortable haven for many camping trips to come.
DIY Awning Solutions

DIY awning solutions offer campers a budget-friendly way to create shade and shelter, enhancing your outdoor experience without breaking the bank. You can easily construct homemade awnings using tarps and collapsible tent poles, providing effective coverage at your pop-up camper site. A recommended tarp size for ideal coverage is 12×16 feet. This size helps minimize rain splash while keeping your outdoor space comfortable.
To secure your tarp as an awning, consider using bungee cords at the corners. This method allows you to anchor the tarp to the camper, ensuring stability even in breezy conditions. Take advantage of existing features on your camper, like attachment points or hooks, to streamline the setup process and avoid unnecessary modifications.
For more creative solutions and ideas, check out resources like TarpBuddy.com. This site offers tips to enhance your DIY awning setups effectively.
With these simple steps, you can enjoy a shaded retreat that adds comfort to your camping adventures without stretching your budget. Embrace the DIY spirit and transform your outdoor experience today!
Weather Considerations
Before setting up your awning, check the weather forecast to avoid unexpected storms that could damage your setup. Being aware of the weather conditions is essential for ensuring your awning remains secure and functional.
Here are some tips to keep in mind:
- Monitor Wind Speed: High winds can cause your awning to retract suddenly or even become damaged. Always check wind conditions before setup.
- Use Augers and Straps: Secure your awning with augers and cinch straps to enhance stability, especially during moderate storms.
- Prepare for Rain: Heavy rain can create drainage issues. Consider using larger tarps (12×16 feet) to help manage water flow under the awning.
- Regular Maintenance: Conduct maintenance checks on the mechanical parts of your awning, looking for any rust or corrosion. This can prevent unexpected failures during adverse weather.
Community Tips and Support
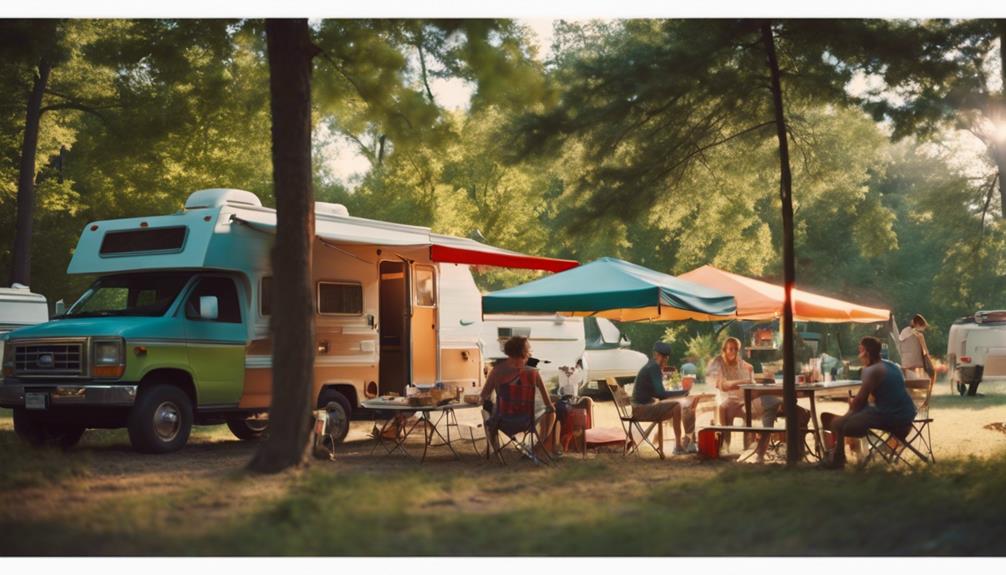
Community support can be invaluable when it comes to attaching an awning to your pop-up camper, offering insights and tips from those who've navigated the same challenges.
Engaging in community discussions can help you identify the best installation techniques tailored to your specific camper model. Before you purchase an awning, make sure to check its compatibility with your camper, as community members frequently emphasize this vital step.
Utilizing online forums is a great way to share your setup challenges and receive advice from experienced users who've successfully installed awnings. Many seasoned RVers recommend thoroughly inspecting all awning components for damage or wear before beginning your installation. This proactive approach can save you from future headaches.
When it comes to securing awnings against wind, you'll find plenty of tips shared by fellow campers. They often suggest using guy lines and stakes to enhance stability during inclement weather.
Frequently Asked Questions
How Does an Awning Attach to a Camper?
An awning attaches to a camper by inserting a sewn-in cord into a C channel along the roof edge. You then position the support tubes and check for obstructions to guarantee a secure setup.
How Do You Secure an RV Awning in High Wind?
You might think securing an RV awning in high winds is simple, but it's essential. Use augers and cinch straps for anchoring, adjust support poles, and always monitor wind conditions to prevent damage.
How Do You Tilt an Awning on a Camper?
To tilt your awning, locate the adjustable arms or down tubes. Lower one side more than the other, ensuring the awning's securely fastened in the C channel and all components are aligned for stability.
How Do You Tie Down an RV Awning?
Think of your awning as a sail catching the wind. To tie it down, use ground stakes and guy lines, ensuring they're taut and angled away for maximum stability against gusts. Regularly check them throughout your trip.
Conclusion
Now that you know how to attach an awning to your pop-up camper, you can enjoy those sunny days in the shade, relish outdoor meals with family, and create a cozy retreat wherever you go.
By understanding your awning components, maintaining them properly, and exploring DIY options, you can enhance your camping experience.
So, get out there, set up your shady haven, and make lasting memories under your new awning. Adventure awaits!

